Tech
Vesper’s Host guide – Destiny 2

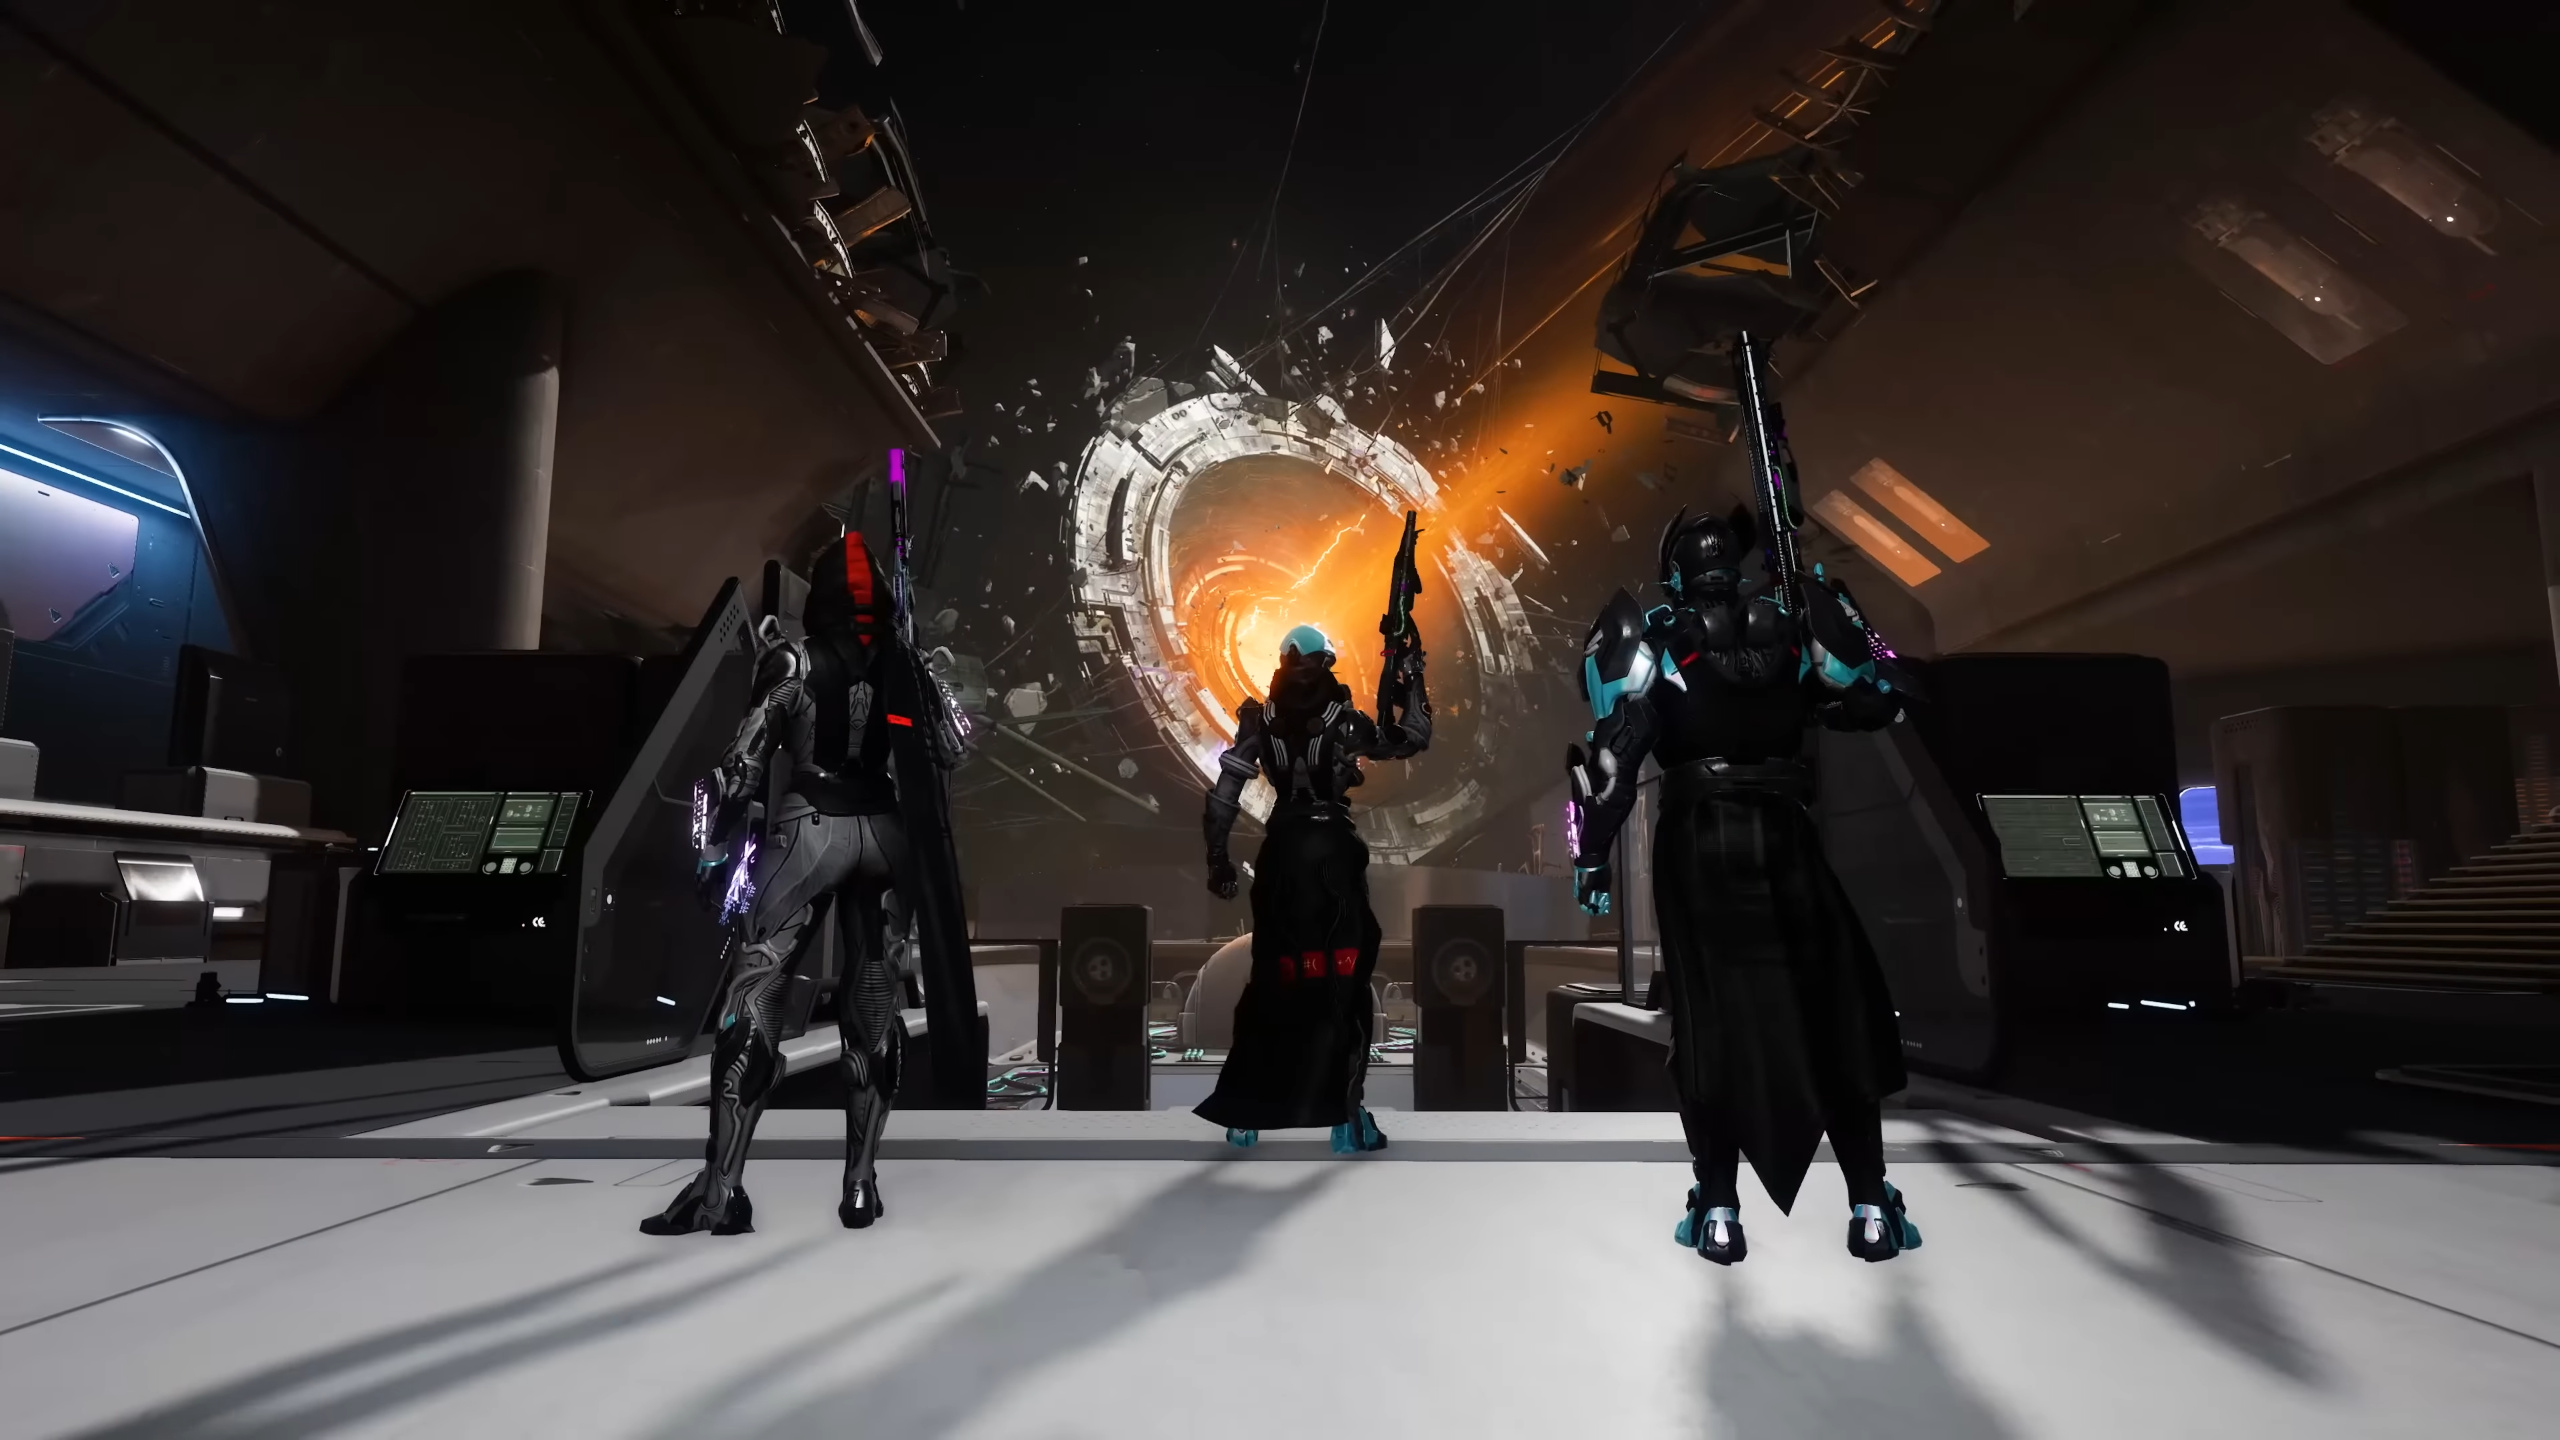
Vesper’s Host is the dungeon included with the Destiny 2: Revenant release. This dungeon launched in October 11, 2024, and tasked players with venturing back to Europa to take on a familiar location reminiscent of the Deep Stone Crypt. This Vesper’s Host walkthrough will guide you through the entire dungeon, explain encounter mechanics, and ideal boss DPS options.
Vesper’s Host Table of Contents
Vesper’s Host Contest Mode & Power
Source: Bungie
Vesper’s Host is the first dungeon in Destiny 2 history to include a Contest Mode that is available for the first 48 hours on its release on October 11, 2024. After the first three teams cleared the dungeon on Contest Mode, the Normal Mode was made available. Any player that completes the dungeon on Contest Mode will receive the Orbital Tournament emblem.
In order to be ready for the dungeon, players will need to be at 1985 Power in order to be at the level cap for all encounters. Take a look at our max Power guide for information on the Power grind.
Take a look at our live blog who is winning the Vesper’s Host World First race.
How to start Vesper’s Host

Source: Shacknews
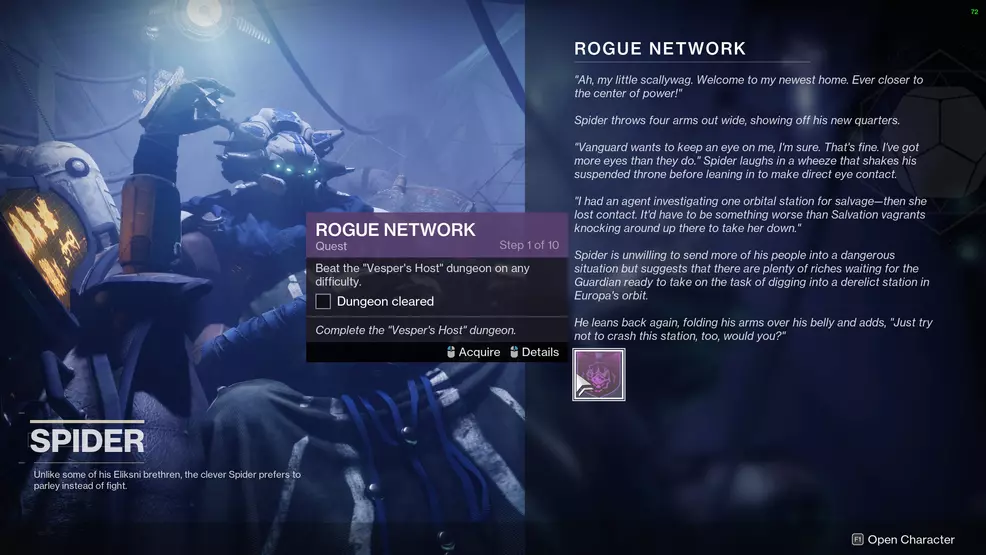
You must have the Rogue Network quest from Spider in order to start Vesper’s Host. Spider is currently available in the Last City social hub. With the quest in your inventory, you will be able to launch the dungeon.
Activation
The goal of the Activation encounter is to find and activate panels using the Scanner and Operator buffs within the time limit. Activating a correct set of panels will cause nuclear cores to coalesce. You will need to collect three nukes and bring them back to the center room. To start the encounter, interact with the sphere.
Scanner and Operator buffs work similarly to how they do in Deep Stone Crypt and Operation: Seraph’s Shield. Scanner will let a player see panels and interaction points highlighted and the Operator buff will let another player shoot them. Picking up a buff starts a debuff timer. If you still have Scanner/Operator when the timer expires, you will die.
Defeat enemies and search for panels on the walls. The player with Scanner will need to call out which panels are not highlighted. The player with Operator must shoot all correct panels in an area, if done correctly the message, “A nuclear core begins to coalesce.” Shoot the wrong one and it will instantly kill you.
Collect the nuke from the room and return it to the starting area. You will now need to repeat this two more times in two more areas. Once three nukes are deposited, the encounter will finish, the reward chest will spawn to the right, and the progress forward will unlock.
Integration & Nukes
The goal of the Integration and Nukes encounter is to collect nukes from rooms and deposit them into buckets. In order to find nukes, you must open and close doors using a Power Reserves charge, which are collected from Fallen terminals and doors.
Each bucket will be labeled with a number, so ensure you deposit the nuke in the correct one. Move as a team through the hallways so you can swap the nuke between each other to avoid dying to the radiation debuff.
While this is happening, Raneiks Unified will be stalking the halls, dropping smaller servitors, and performing the Integration wipe. This move connects a beam to all players that it can see, to avoid getting wiped, simply break the line-of-sight by moving behind a wall, around a corner, etc.
When enough nukes are deposited, the encounter will end and you can move on to the first boss fight against Raneiks Unified.
Raneiks Unified
The goal of the Raneiks Unified boss fight is to activate four panels corresponding with highlighted servitors. This will cause the boss to unify in the starting room, beginning a damage phase.
Take note of the 10 panels that are wrapped around the wall near the rally flag point. Once the encounter starts, Raneiks Unified will teleports you, survive until he splits into 10 servitors. Each servitor will be labled from one through to ten (Raneiks-1, Raneiks-2, etc).
The player with the Scanner buff must identify the servitors that are highlighted and not their markings. For example, if Raneiks-7 is highlighted and it has 3 markings, it means Panel 7 must be shot third. Call out the panel number and its order. You will need to repeat this twice in order to get all four correct panels and their order. At this point, the player with the Operator buff can shoot the correct panels in the correct order.
When all four panels are activated, Raneiks Unified will teleport to the starting area and the damage phase will begin. The player with the Suppressor buff can activate a special grenade ability to cause Raneiks to split into the smaller servitors.
Deal damage to the servitors until the damage phase ends. Repeat the process until Raneiks Unified is defeated.
Corrupted Puppeteer
The Corrupted Puppeteer fight is about defeating puppets, killing clones, and depositing nukes. You will need to utilize all three buffs and avoid radiation.
Defeat the Broken Puppets in the main room, collect the Suppressor, Scanner, and Operator buffs. The Scanner needs to call out the correct panels to shoot, which appear around the room. Once activated, you can drop down to the lower area.
As before, clear enemies and have the Operator buff holder shoot the correct panels. The player with the Scanner buff should then call out which is the correct Puppet to defeat. It will drop a nuke which you must deposit into a bucket. This repeats one more time to remove the boss’ immunity shield, which will initiate damage phase.
During the damage phase, you can defeat a clone to claim a nuke, which extends the DPS phase and prevents the wipe mechanic.
Once the final boss of the Vesper’s Host dungeon is defeated, make sure you loot the chest to claim your rewards. There will be more to do in Vesper’s Host, including getting its associated Title, so keep an eye on our Destiny 2 Strategy Guide for more help.


