Tech
Black Ops 6 Zombies: Liberty Falls Main Quest Guide
Call of Duty Zombies has always been ripe with secrets, and Black Ops 6 is no exception, providing players with the Liberty Falls Main Quest so that the hardcore fans of COD Zombies can showcase their bravery and mastery of the challenge that awaits them in this West Virginian town overrun with the undead.
Related
Black Ops 6 Zombies: Terminus Main Quest Guide
Players must fight the undead horrors and experiments that are stopping their escape from Terminus Island in this Black Ops 6 Zombies main quest!
For players who want to complete the Liberty Falls easter egg, the steps will all be provided below with some useful tips on how to best complete them. Black Ops 6’s Liberty Falls is a relatively short Main Quest, but not without its share of challenges, so get ready to uncover some secrets of Project Janus.
Step 1: Obtain the Jet Gun
How to Build the Jet Gun
To begin the Liberty Falls easter egg, players need the Jet Gun. While the Jet Gun can be obtained randomly from the Mystery Box or with the Wonderbar! GobbleGum, there’s a more guaranteed way to get the Jet Gun every game.
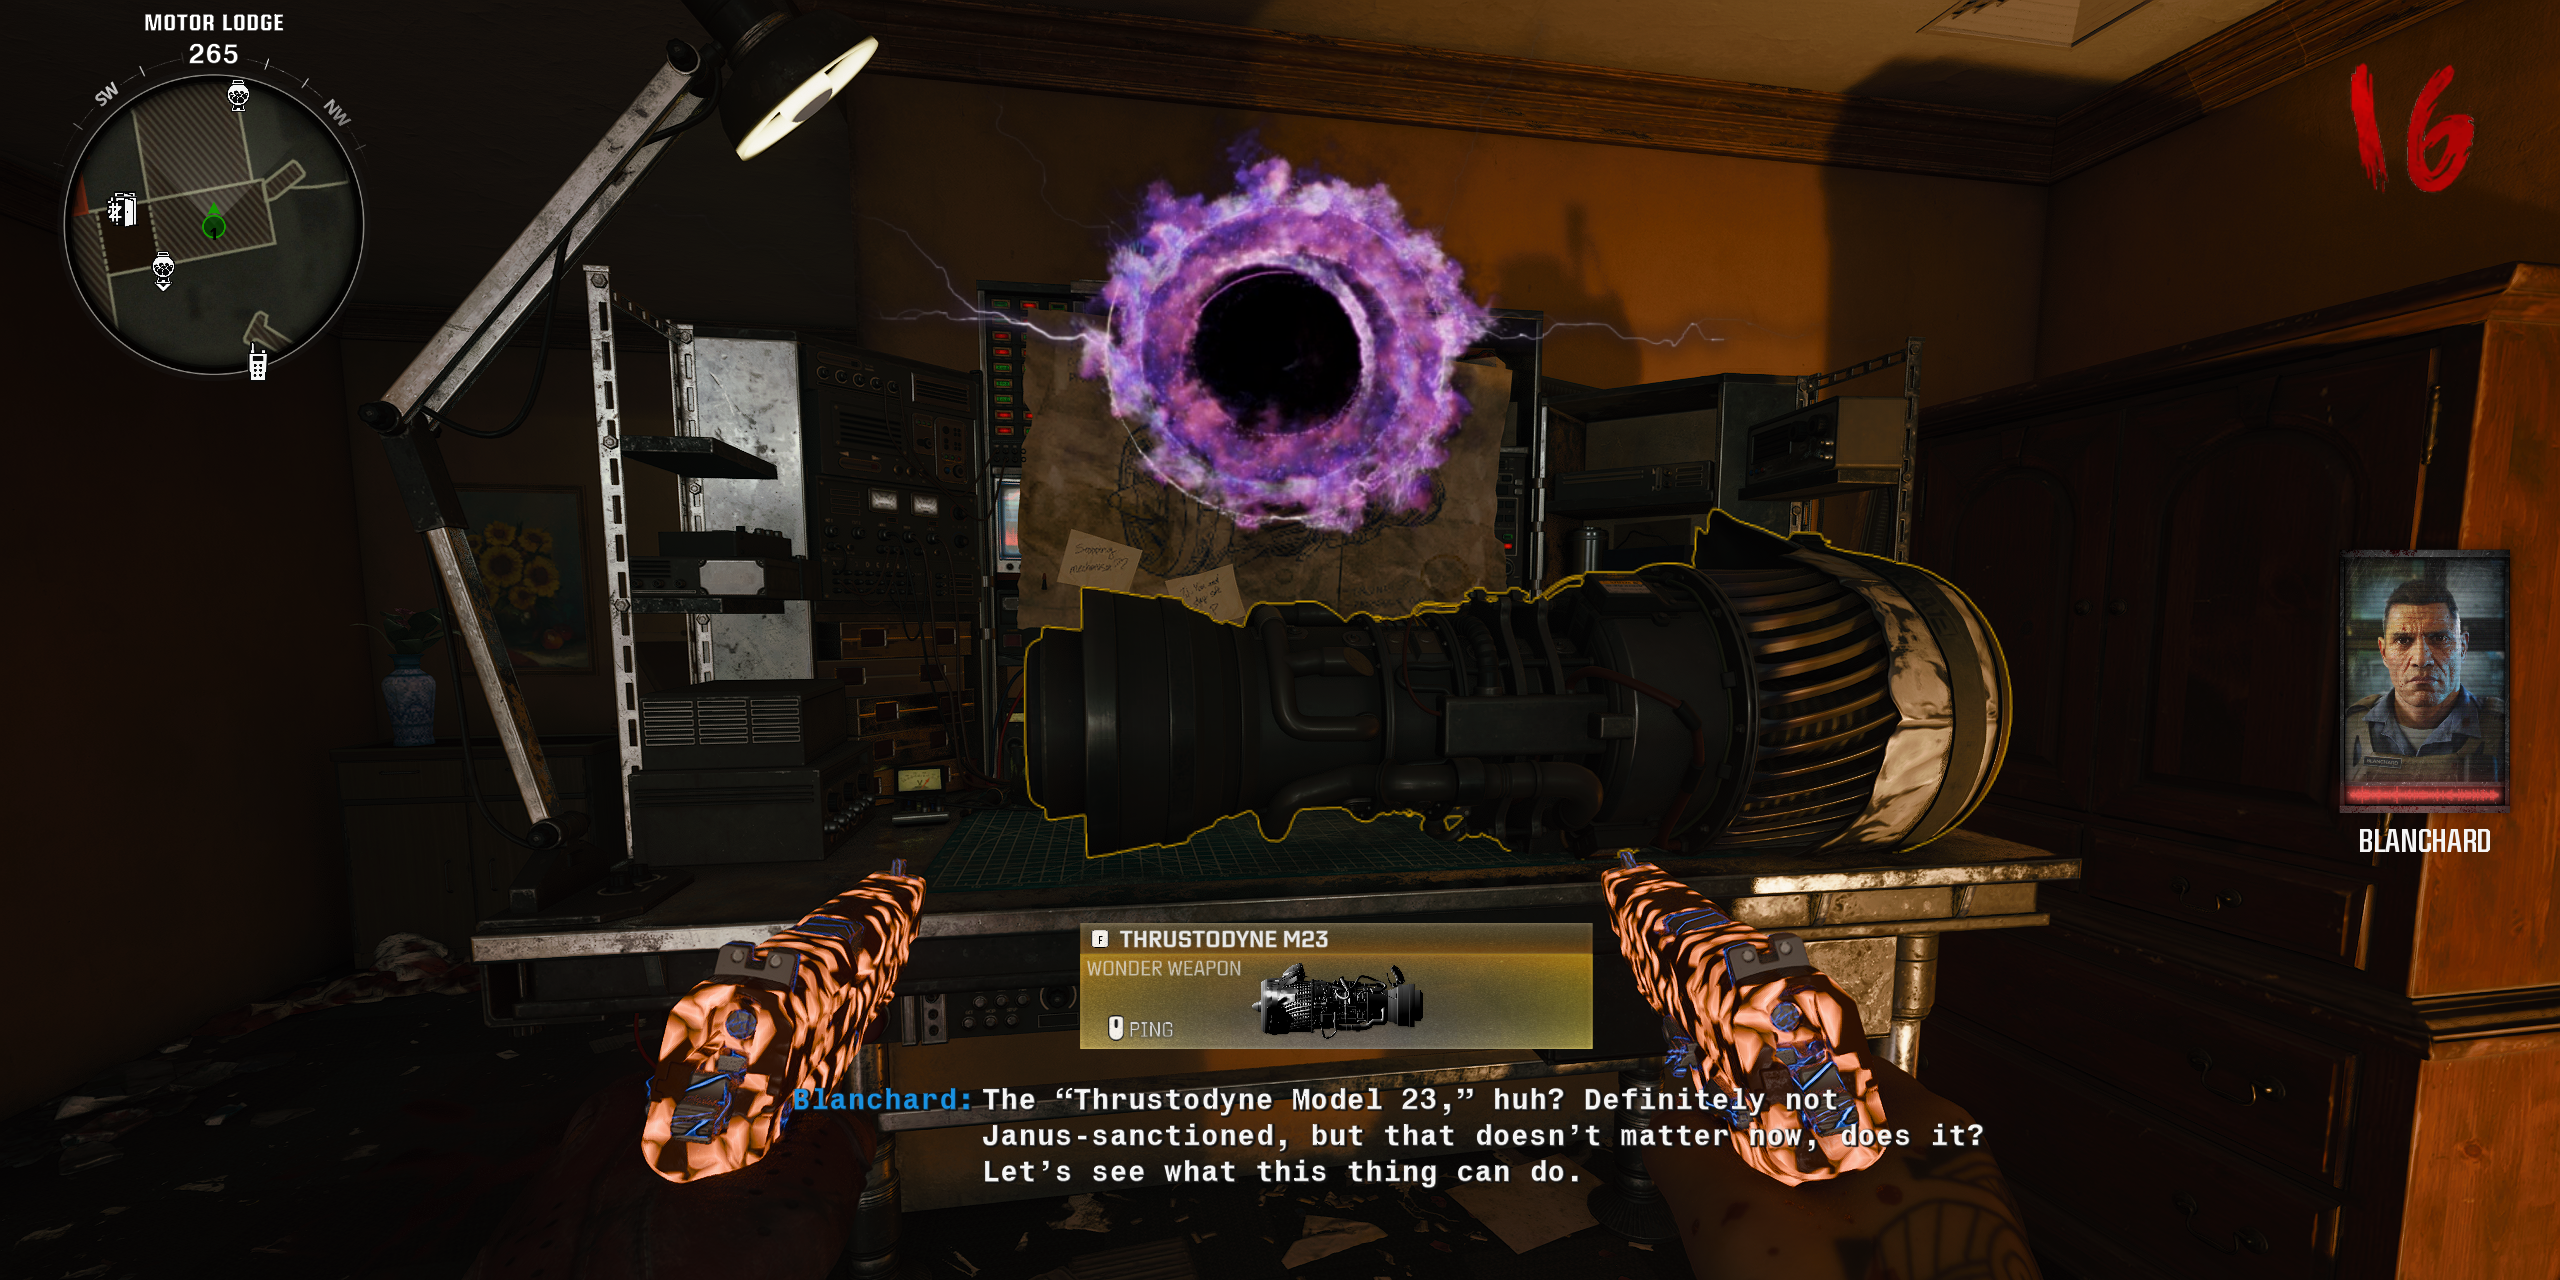
Once players spawn into Liberty Falls, head to the Motel and go up the stairs to the Motor Lodge to Room 202. It’s the room closest to the motel room with police tape on the door, but be warned, an army of zombies will barge free from this area, but on Round 1, that just means more easy points. In Room 202, players will find the workbench where they can craft the Jet Gun, and here are the steps to do so:
Obtain the Water Pressure Gauge
The first part of the Jet Gun is the Water Pressure Gauge, and players can find it by heading to Lily’s Flowerpot (the flower shop) on Washington Avenue, to the right of Speed Cola. There is a Water Valve here that can be picked up to the left of the main door. Once acquired, head to Fuller’s Liberty Lanes (the bowling alley), and on the right wall of the lanes there will be a control panel. Melee it to break it open and then hold the interact button to raise the Water Pressure. This step will have non-stop zombies spawning, so try to clear through rounds and utilize Monkey Bombs and Decoys. Get this done in early rounds to avoid a harsh challenge. After the Water Pressure Gauge is full, it will drop to the floor, allowing players to pick it up.
Obtain the Handbrake
Head into the Cemetery and progress through the rounds while waiting for a unique zombie to spawn called the Groundskeeper. Players need to immediately kill him or else he will disappear and they will have to wait again. Upon killing him, he will drop the Toolshed Key. Take the Toolshed Key to the Groundskeeper’s Yard and activate the toolshed on the far left to find the Handbrake part inside.
Obtain the Electrical Wires
Players will need a Mangler Cannon or a Mutant Injection for this step, as the Mangler’s arm cannon is the only thing strong enough to break through the locked gate of the Radio House Electrics Superstore found in Riverside. A Mangler Cannon is acquired from the Workbench or by killing a Mangler. Blasting open the Radio House door, players can interact with piles of trash on the floor, and at least one of them will have the Electrical Wires, which is the third and final part of the Jet Gun.
With all the pieces to the Jet Gun, return to Motel Room 202 and craft the beloved Thrustodyne M23 to progress with the Liberty Falls quest.
Step 2: Interact with the SDG Generator in the Church
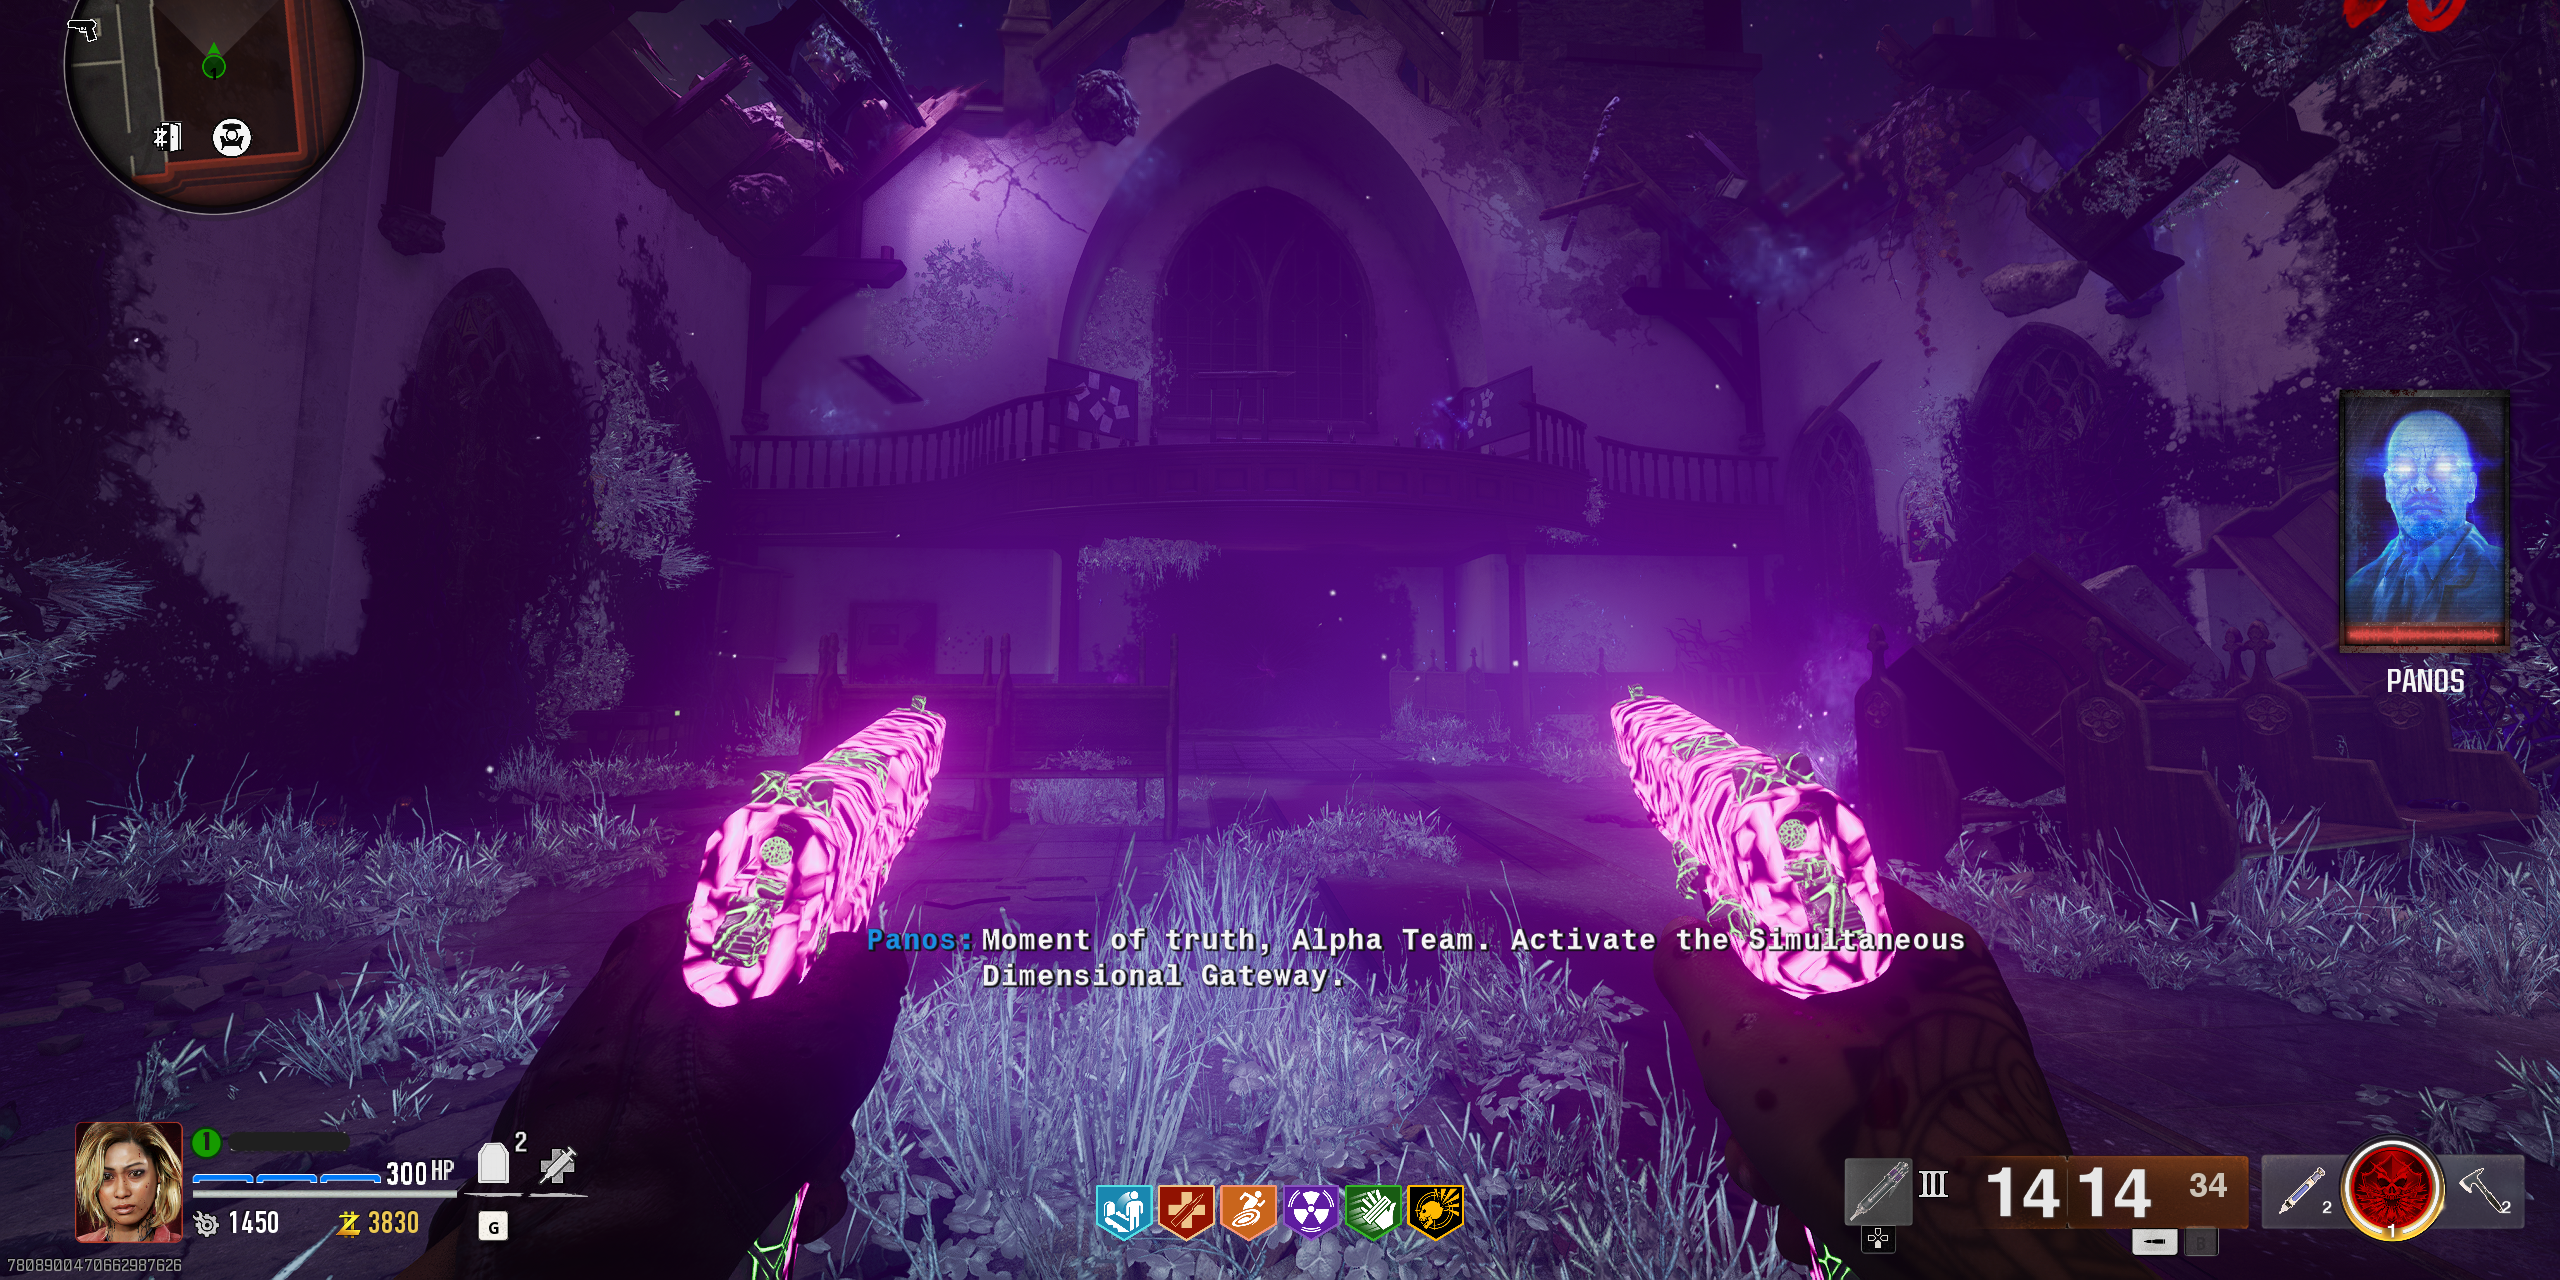
Players will need to reach the Church, where Pack-a-Punch is located. Once inside, players will need to interact with the SDG Generator that is found on the right side of the Church. Interacting with the red panel will activate an in-game cutscene with Doctor Panos, who will task players with finding and assembling the LTG Device.
Step 3: Obtain the LTG Device
How to Get the LTG Device
Now that players have a quest from Panos and the Jet Gun, it’s time to obtain the three parts to the LTG Device itself by using R2/RT/Left-Click to use the suction function of the Jet Gun and suck parts towards players:
- LTG Part #1 – Look up inside the Church to the right of Doctor Panos’ balcony, where an LTG part is floating in the air.
- LTG Part #2 – Inside Olly’s Comics, look up at the ceiling in the center of the room where broken panels reveal the second LTG part.
- LTG Part #3 – Head to Washington Avenue and jump up to the Rooftops. Now jump across the Rooftops to the white van and look in the right window of the barbershop, where the third and final LTG Part will be.
With all LTG Parts acquired, head to the rooftop of the Liberty Falls Bank and go to the left of the rooftop on “The Alamo” to craft the LTG Device at the workstation. Once crafted, simply pick it up to begin the next step.
Step 4: Capture the First HVT with the Aether Canister
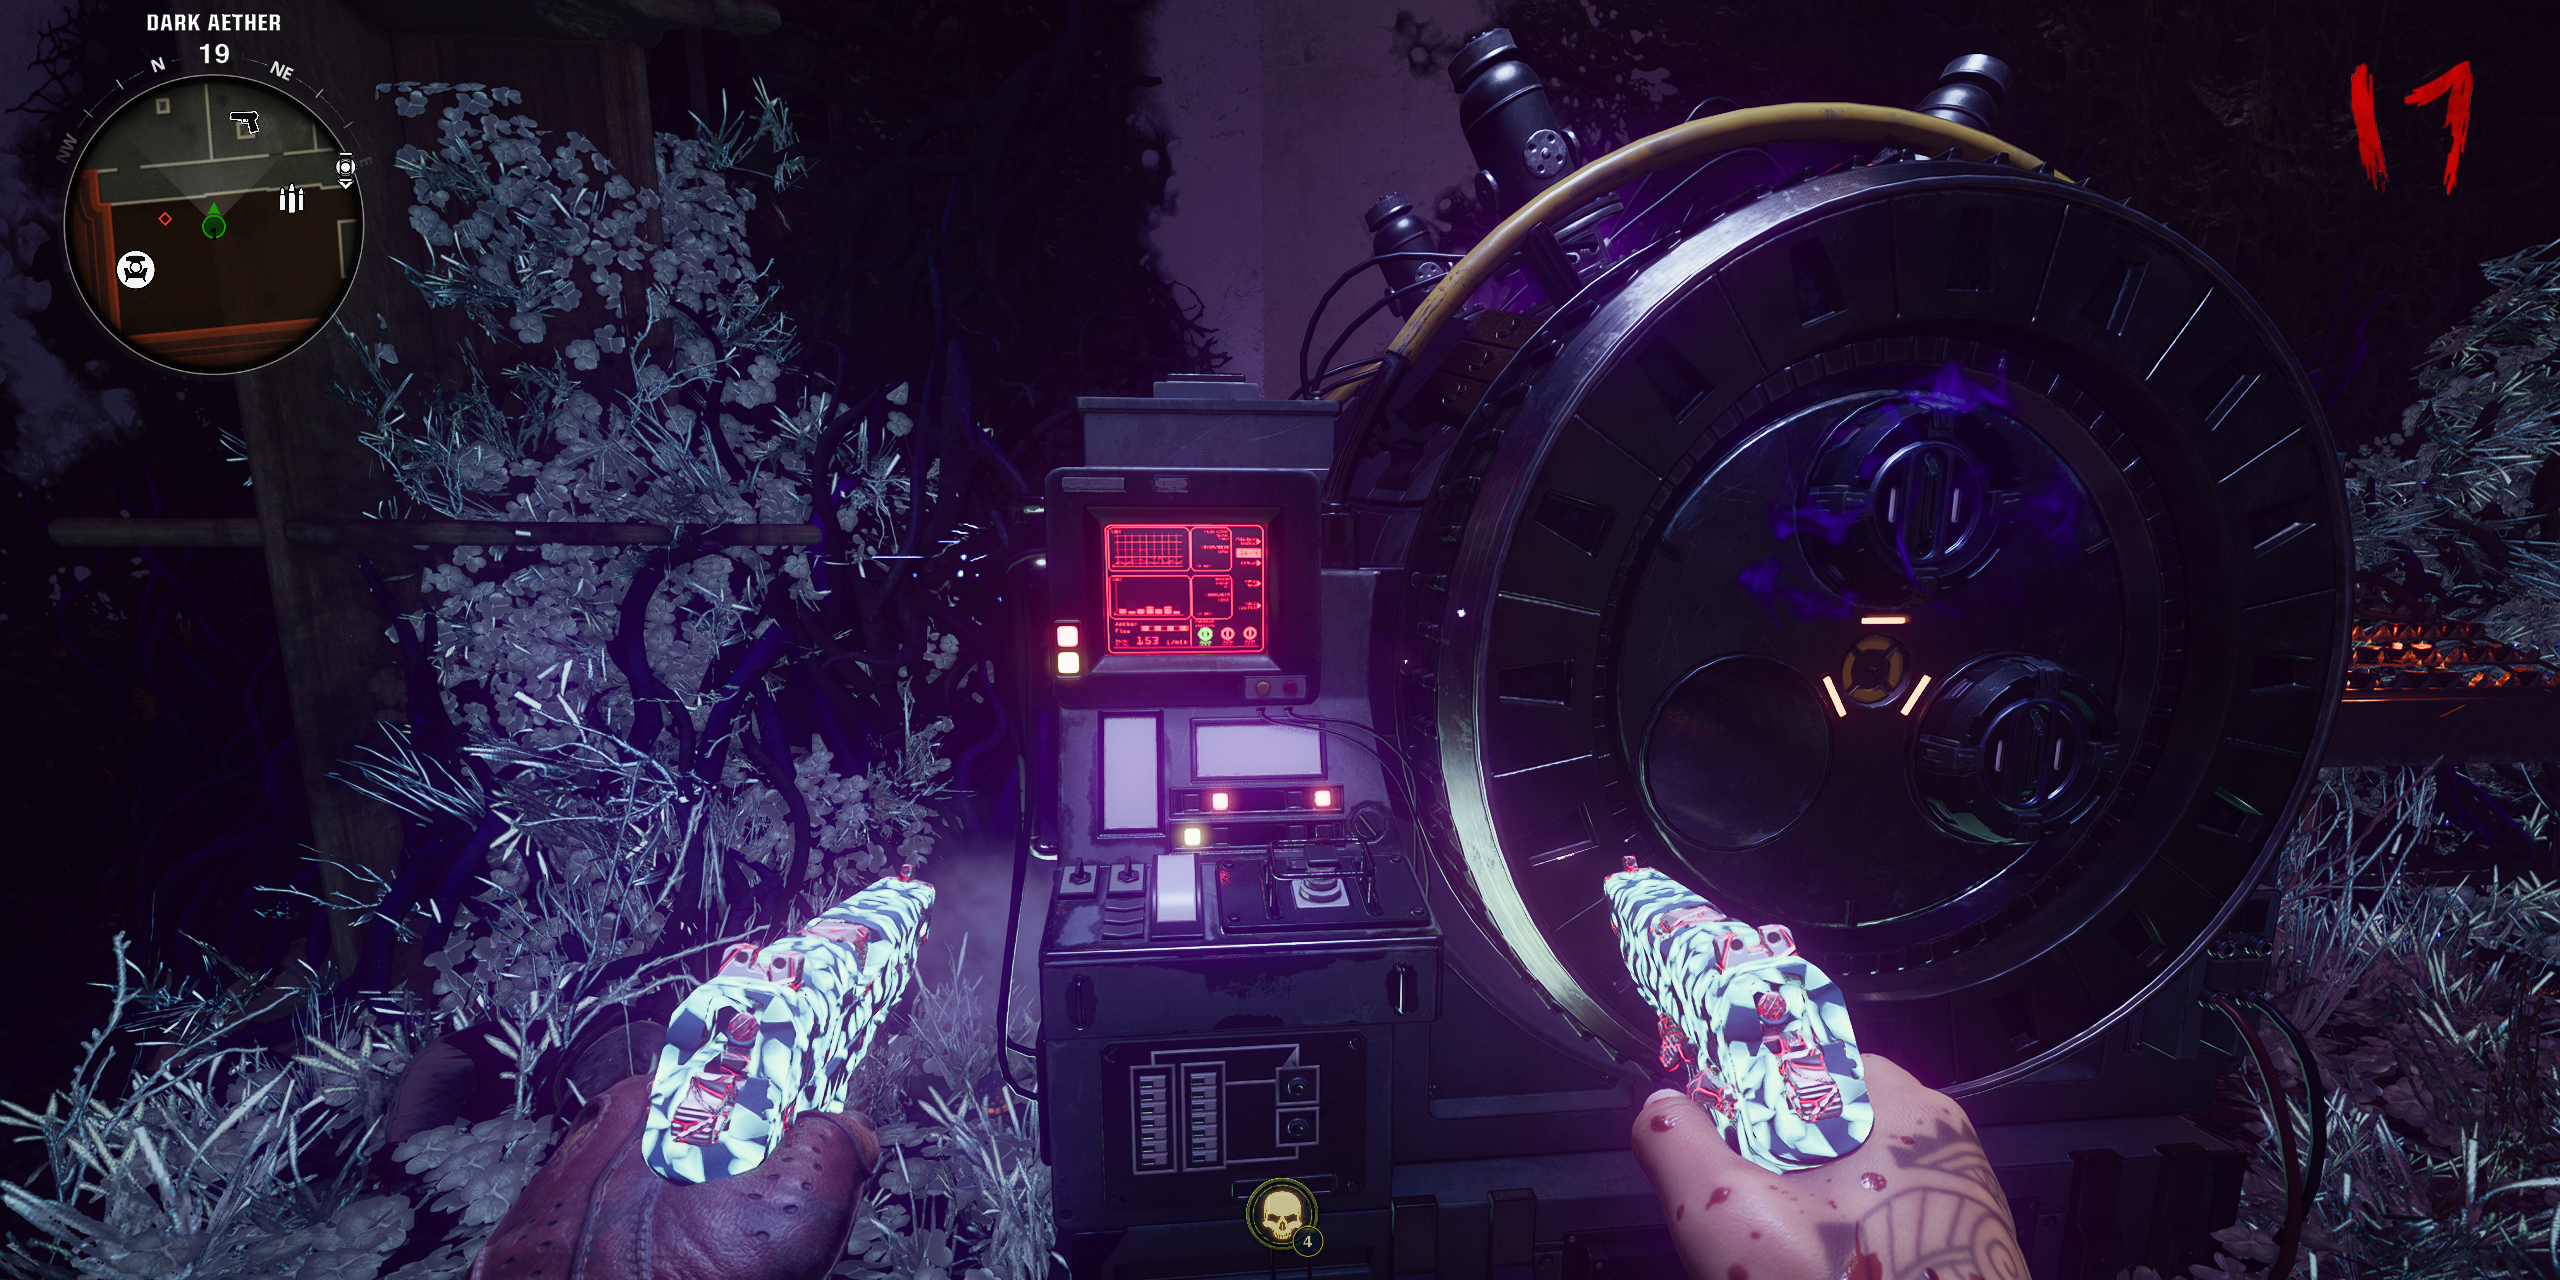
Heading to the Church, players will want to return to the SDG Generator, where a metallic tube will be sticking out of the center. Interact with this tube to pick it up. Be warned, it’s heavy and players cannot run with it. This Aether Canister needs to be carried to the Motor Lodge (spawn) and placed near any of the mines on the floor that connect to the Dark Aether Field Generator trap.
If players cannot interact with the Aether Canister, try and open all the doors on the map and progress a round.
With this setup, head to Riverside and interact with the Dark Aether cloud. Doing so will place the LTG, and it must be defended from zombies that will try to run into the portal that spawns to destroy it. Players must defend the portal for 60 seconds. After doing so, the Lythnor will spawn, which is just a red variant of the Abomination. Now, take this Lythnor to the Aether Canister you placed down earlier, and activate the Dark Aether Field Generator trap for 1,000 Essence. Players must kill the Lythnor once it’s near to the activated D.A.F.G. and the Aether Canister, which will see its essence transferred into the canister.
Now, pick up the Aether Canister, to which players have 90 seconds to bring it back to the Church. The timer for the Dark Aether Energy Leaking is seen on the right, so just run through the bowling alley to reach the Church in time and slot the canister back into the SDG Generator.
If players fail this step or the mini-boss despawns, simply re-interact with the LTG to respawn the mini-boss encounter.
Step 5: Use the Strauss Counter to Get the Second Aether Canister
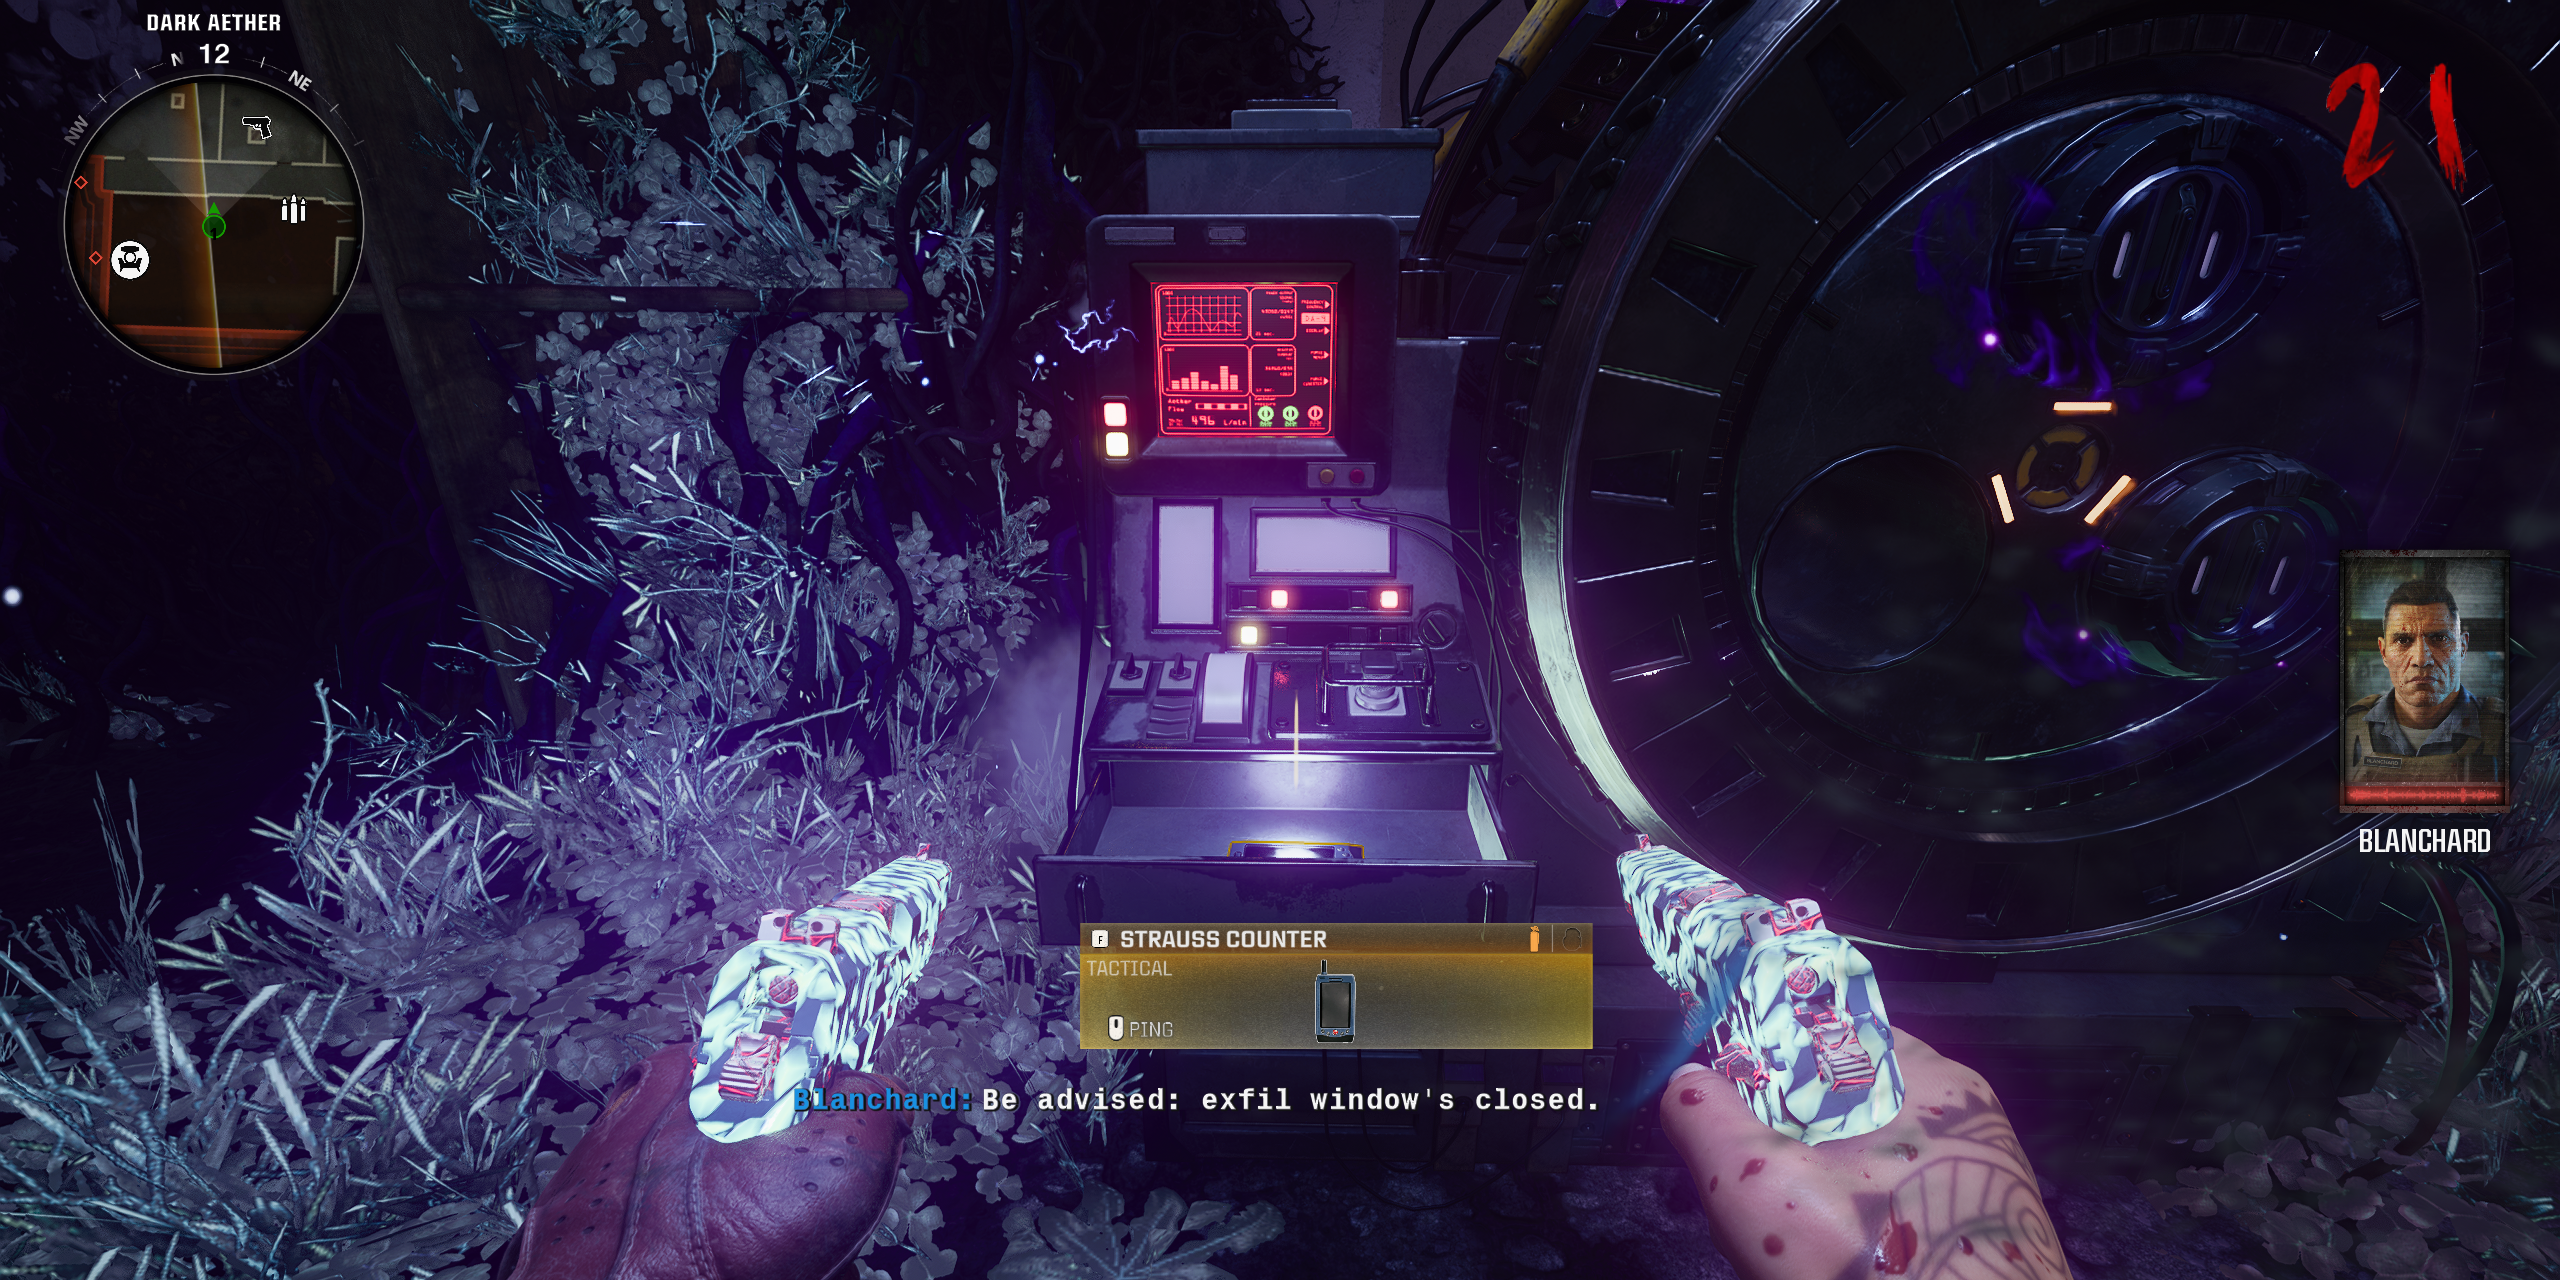
At the SDG Generator in the Church, players can now pick up the Strauss Counter, which will replace their Tactical Equipment. With the Strauss Counter, players will want to head to three unique locations listed below to find energy projectors. Once at each of these energy projectors, hold the Tactical Equipment button to pull out the Strauss Counter and note its color when activated near the projector. The Strauss Counter can either be Green, Yellow, or Red. Players can interact with the button on each projector to change its color, and here’s what color each of them needs to be:
- If the Strauss Counter is Green, make the projector color Red
- If the Straus Counter is Yellow, make the projector color Yellow
- If the Straus Counter is Red, make the projector color Green
Here are the locations for each projector:
- On the grass at the Hilltop Stairs near PhD Flopper
- At the back of the Groundskeeper’s Yard
- On the Yummy Freeze Rooftop accessed by heading up Liberty Falls Bank and dropping down the East side of “The Alamo”.
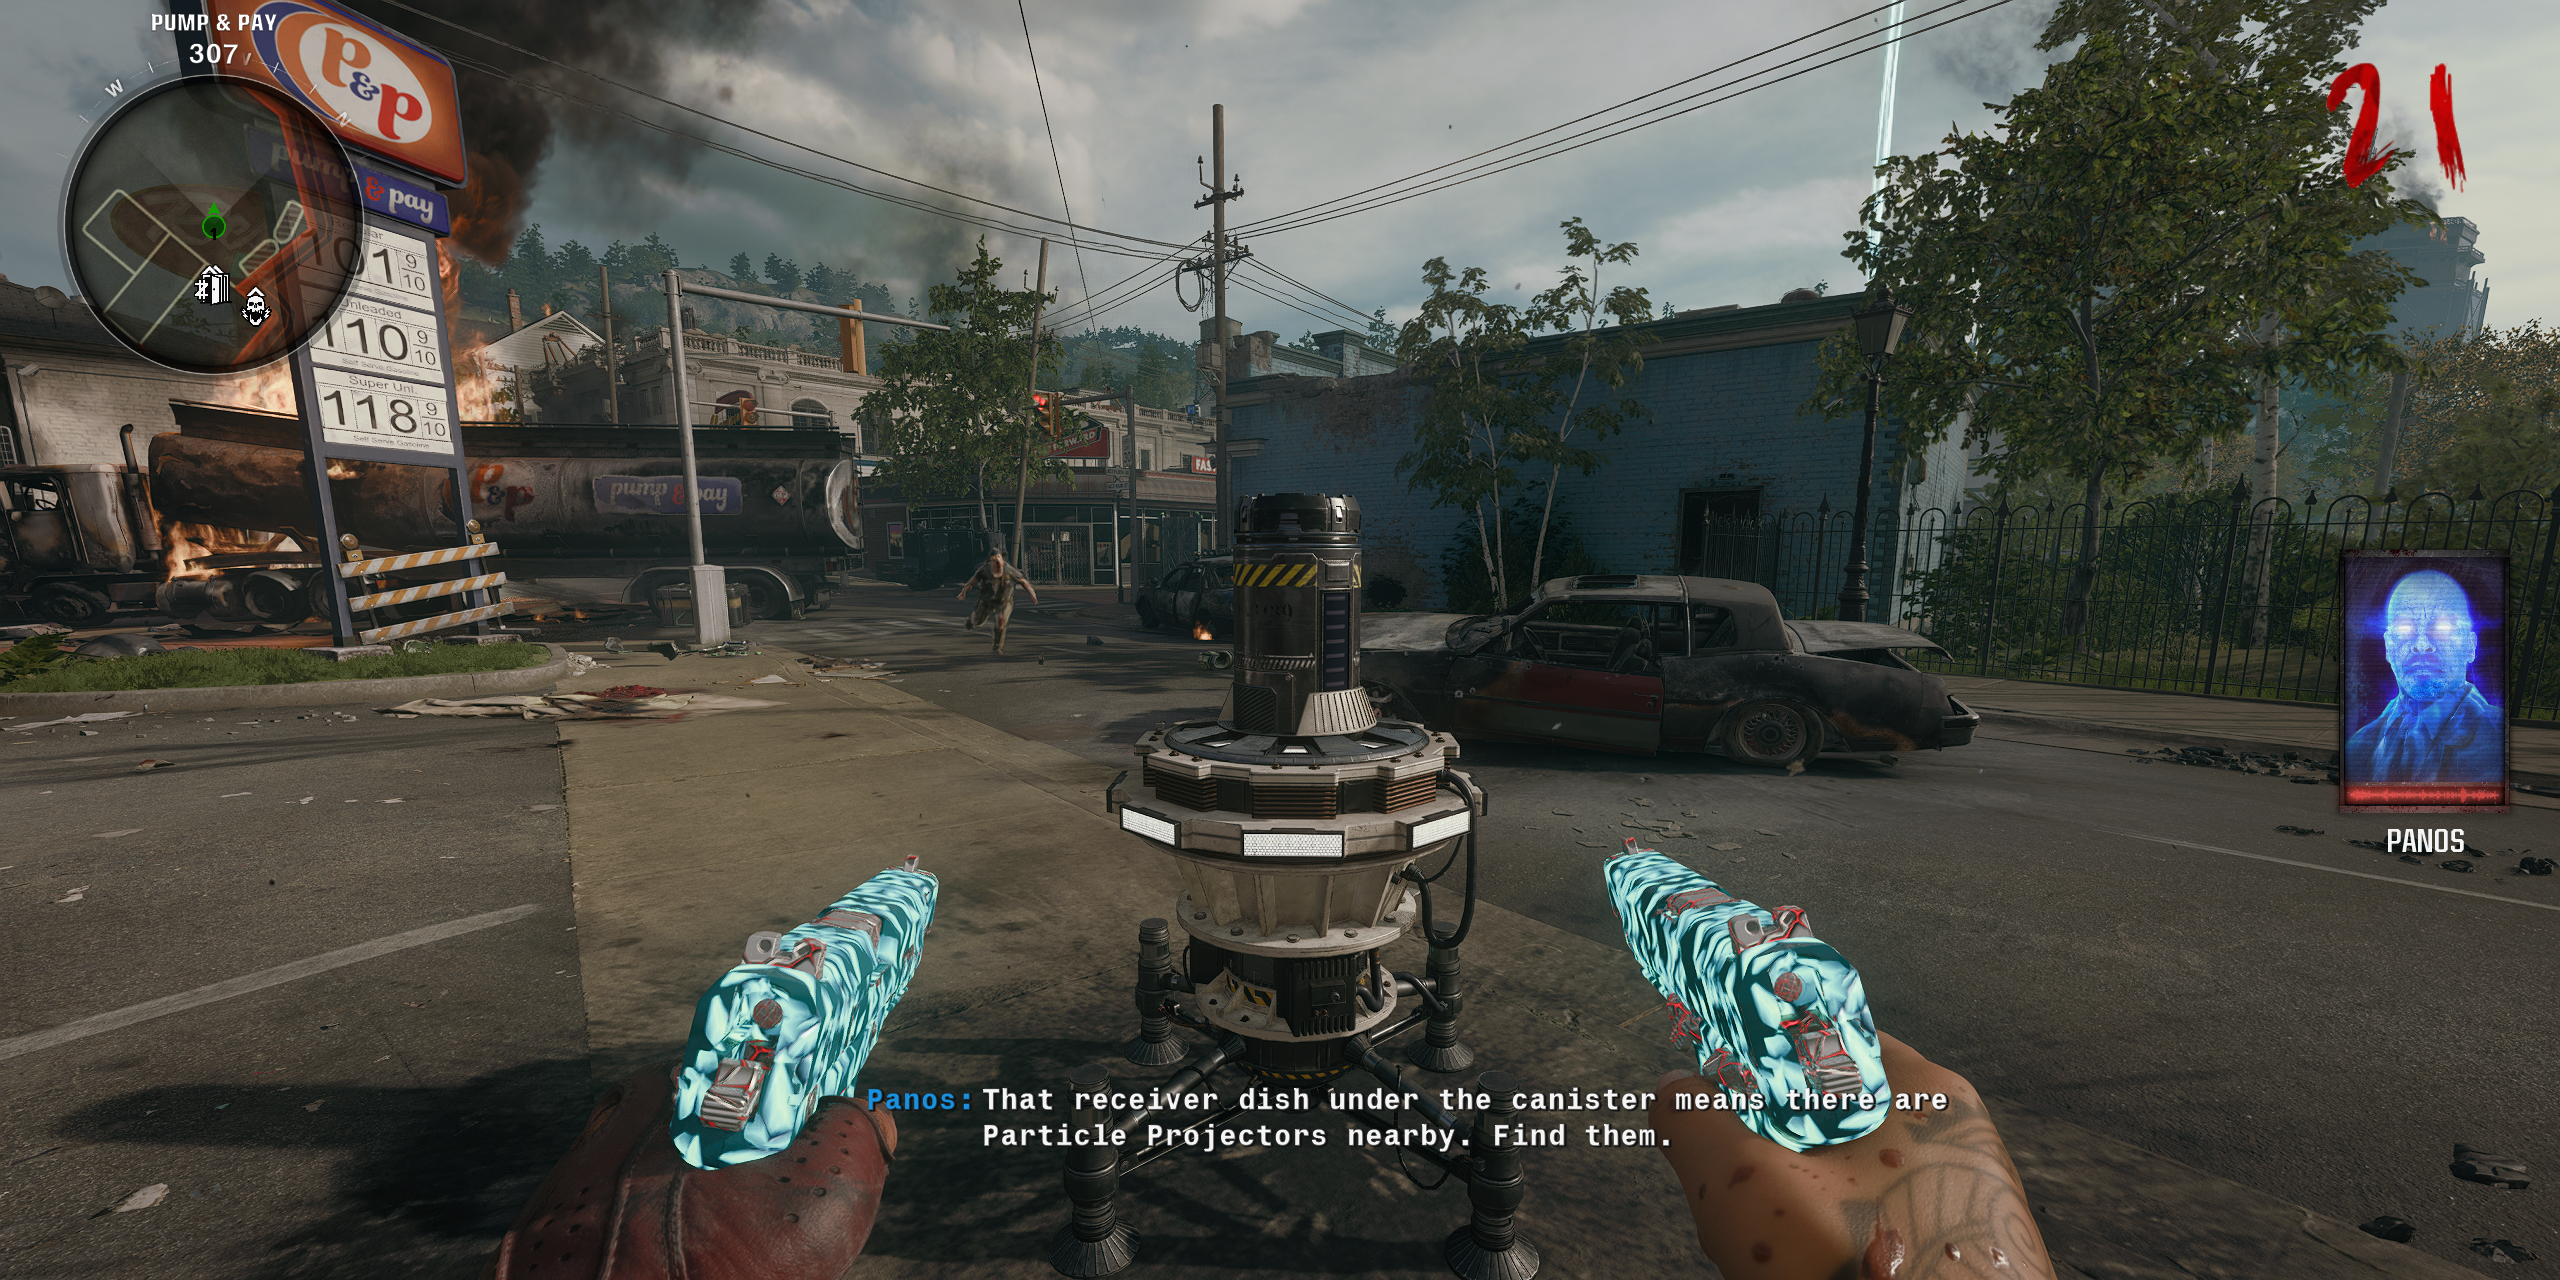
Once all projectors have been correctly calibrated, head back to the Pump & Pay at spawn and interact with the Aether Canister that has now appeared near where players are able to Exfil.
Step 6: Capture the Second HVT with the Aether Canister
With the Aether Canister claimed from the Pump & Pay, pick up the LTG that was left behind at Riverside then take the Aether Canister up Hill Street and leave it beside the floor mine that will be activated when the Dark Aether Field Generator trap is turned on in a later step.
Now, head to the Cemetery and place the LTG at the Dark Aether cloud to activate a portal. Again, keep zombies away from this portal and utilize all weapons that will stop them from entering the portal and damaging it. After 60 seconds, the portal will dissipate and a Mangler will spawn. Take this Mangler down Hill Street then activate the Dark Aether Field Generator trap and kill the Mangler when it’s close to the Aether Canister.
Just like before, grab the Aether Canister and take it to the Church to slot it inside the SDG Generator. Players have 90 seconds to do this step, and then they have just one final step to go.
Step 7: Prepare for the Final Encounter
Now that players have completed all previous steps, there is nothing left to do but obtain all the upgrades necessary for the big fight ahead. There is no boss fight in Liberty Falls, but there is an abundance of zombies in three phases, so it’s best to grab Tier 3 armor, all Perk-a-Colas, preferably a Legendary rarity weapon and Tier 3 Pack-a-Punch, and for extra help, the Mutant Injector Scorestreak. Once players activate the final encounter, there is no going back, so it’s best to come prepared for trouble.
Step 8: Activate the SDG Generator
Start the Final Encounter in Liberty Falls
Once the SDG Generator has been activated by all present players, the exits will close, and players simply need to kill every zombie that spawns to feed the generator with souls. With the right equipment (in this case the Pack-a-Punched GS45s, Jet Gun, and every Perk) players will have to fight through three waves of zombies. The first wave is simple and just has some zombies, whereas the second phase has a few deadly Manglers. The third phase can be a tad difficult due to the strengthened Abomination, but if players are ever in trouble, pop a Scorestreak like a Mutant Injector to become invulnerable and still deal damage.
Once players have beaten the three waves, their character will be downed (intentionally) and a cutscene will begin. After it ends, players will have completed the Liberty Falls Main Quest!
Liberty Falls Main Quest Rewards
What Do You Get For Completing the Liberty Falls Easter Egg?
Players will receive two rewards for completing the Liberty Falls main quest, but only after they return to the lobby from their successful game:
- The first reward is the Ray Gun PJ-SRU, a unique skin used for the Ray Gun
- The second reward is the Liberty Falls Quest Complete Calling Card, which has a golden zombie skull attached if players complete it within the first few days of release.

- Released
- October 25, 2024

