Tech
Destiny 2 Vesper’s Host Rogue Network Quest: How To Get Dungeon Class Item Armor – Complete Guide

Need help locating all the hidden messages in the Vesper’s Host dungeon for the Rogue Network questline and to unlock the class item armor? We’ve got you covered!
The highly anticipated Vesper’s Host dungeon is now available in Destiny 2. Along with the new Ice Breaker Exotic sniper rifle, a range of legendary weapons, and armor, players will need to complete a quest that is key to unlocking the dungeon’s exclusive class item armor pieces for each class.
To unlock these class items, players must complete a lengthy “Rogue Network” questline that involves finding hidden collectibles and solving puzzles throughout the dungeon.
In this comprehensive guide, we’ll walk you through the steps to complete the Rogue Network quest and unlock the class item armor in Destiny 2’s Vesper’s Host dungeon.
Destiny 2 Vesper’s Host Rogue Network Questline Guide
To begin the “Rogue Network” quest, head to the new Last City seasonal hub and pick it up from Spider. You can easily find Spider by marking his location on your map, which will give you waypoint guidance straight to him. The Rogue Network quest has a total of 10 quest steps, here’s how to complete all of them.
You can find each quest step with descriptions below:
- Step 1: Best the “Vesper’s Host” dungeon on any difficulty.
- Step 2: Locate the beacon on Vesper’s Station’s outer hull.
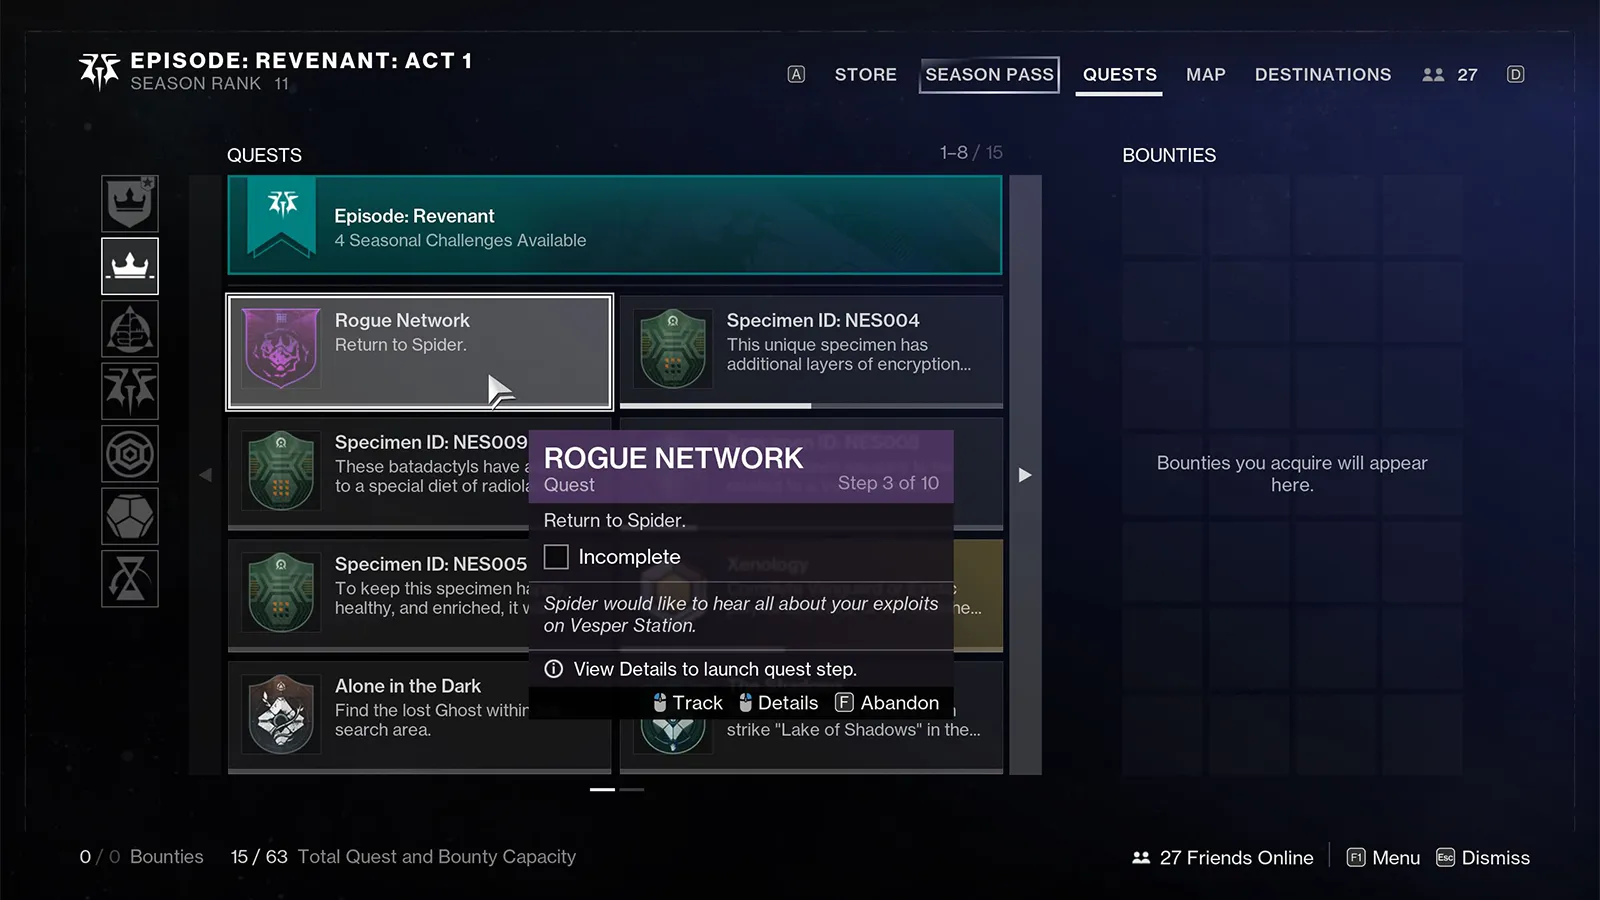
- Step 3: Return to Spider.
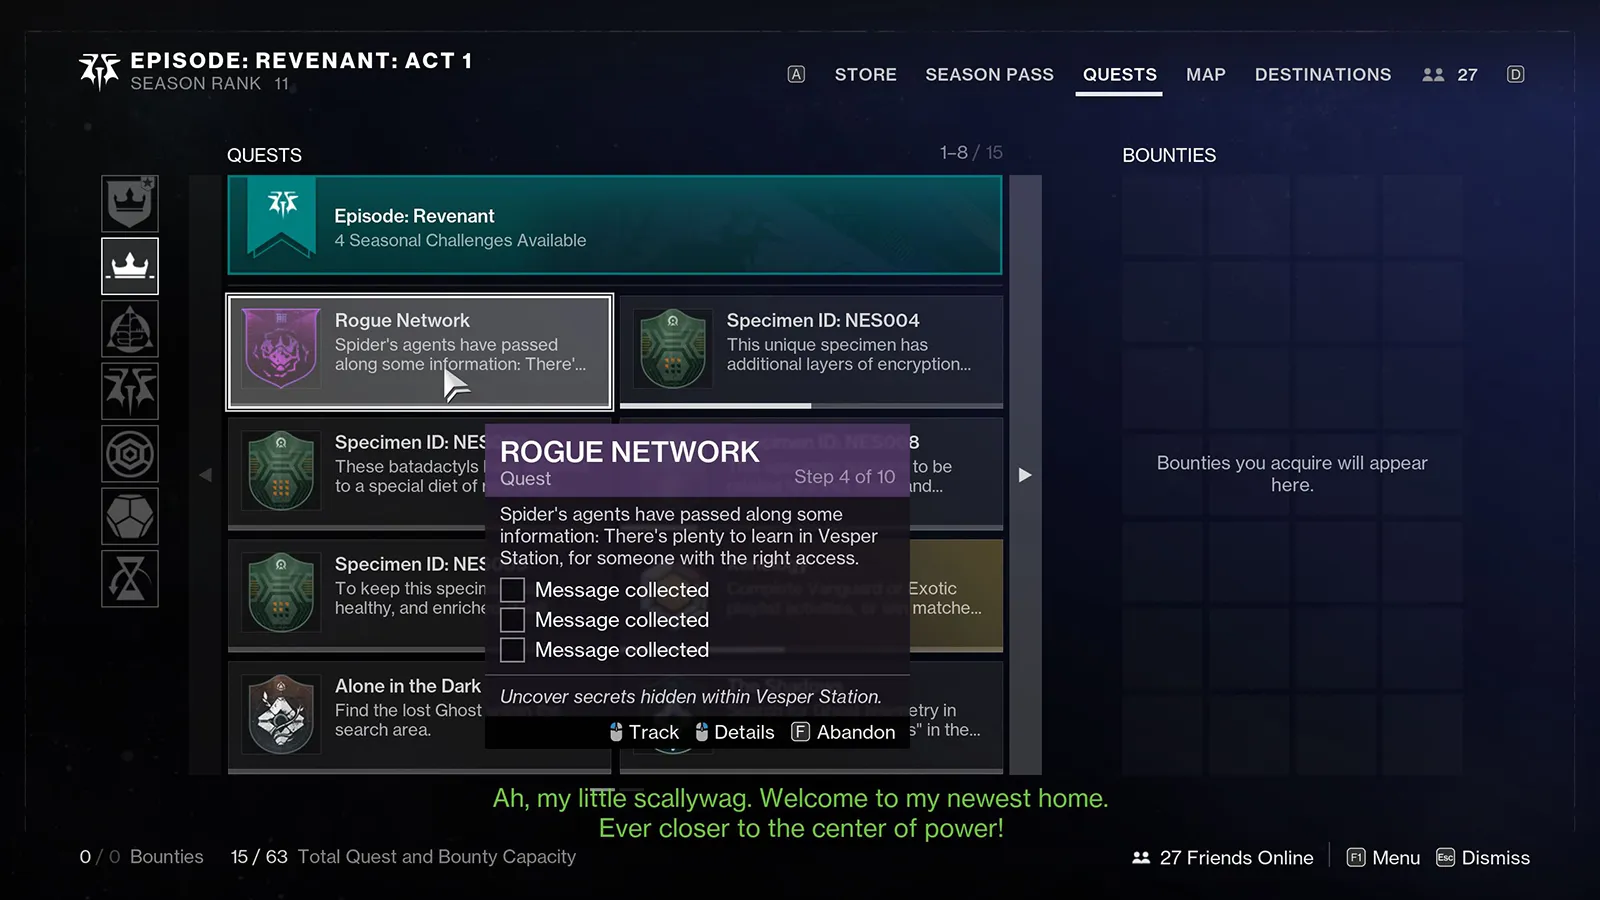
- Step 4: Spider’s agents have passed along some information: There’s plenty to learn in Vesper Station for someone with the right access. Collect three hidden messages.
- Step 5: Now that you have its token, you can access the first-level BrayTech storage module. Open the secret chest in the dungeon.
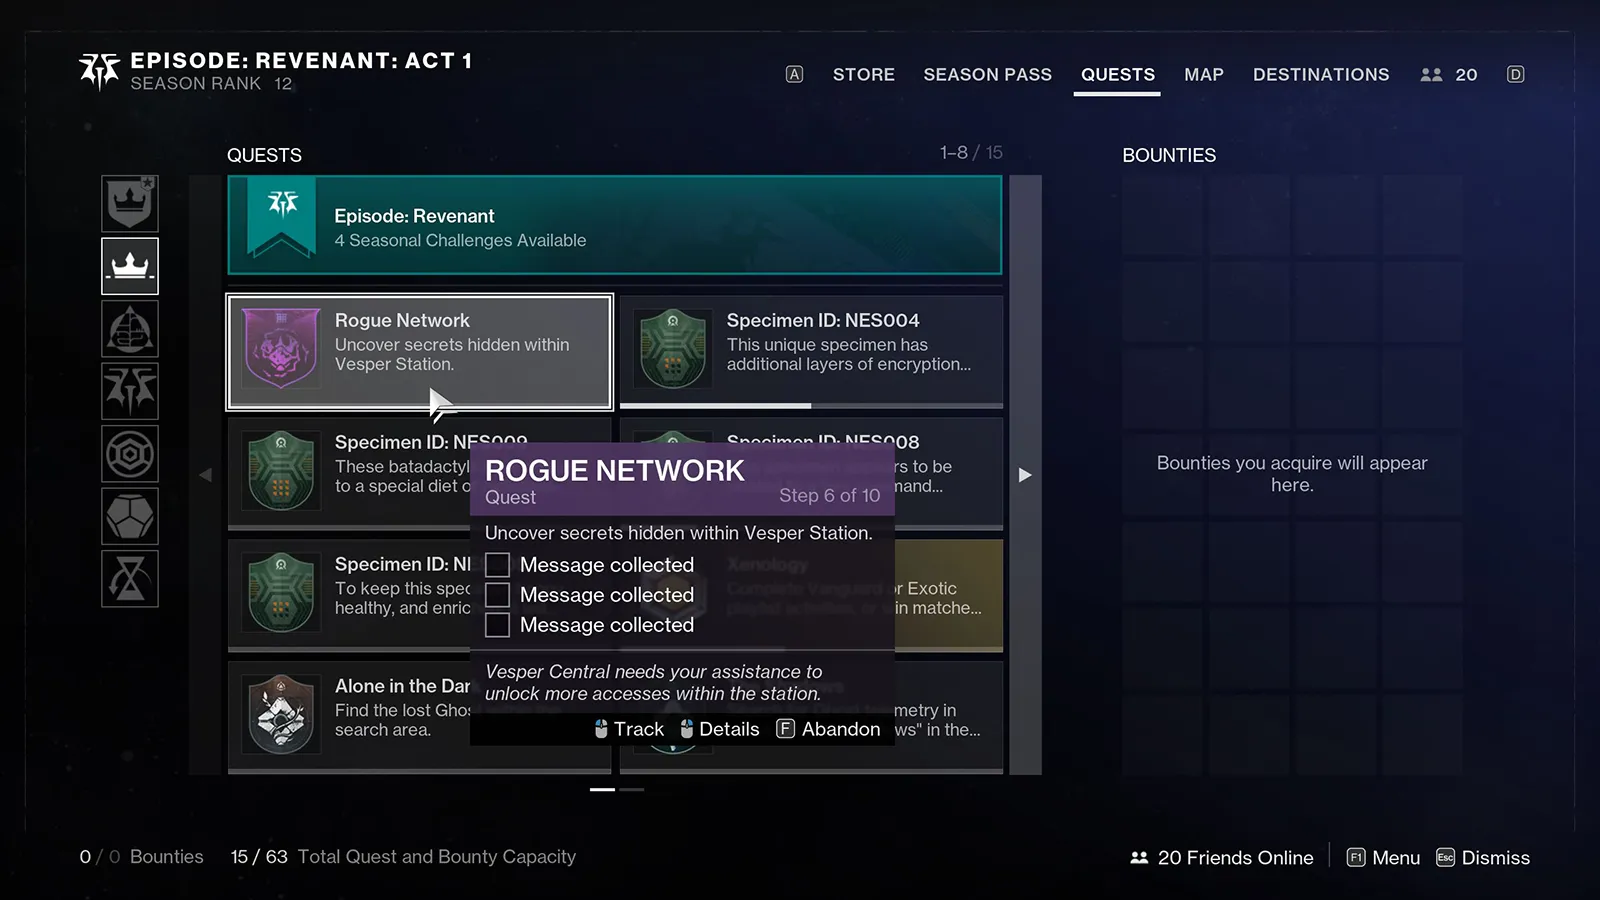
- Step 6: Uncover secrets hidden within Vesper Station. Collect three hidden messages.
- Step 7: Open the secret chest in the dungeon.
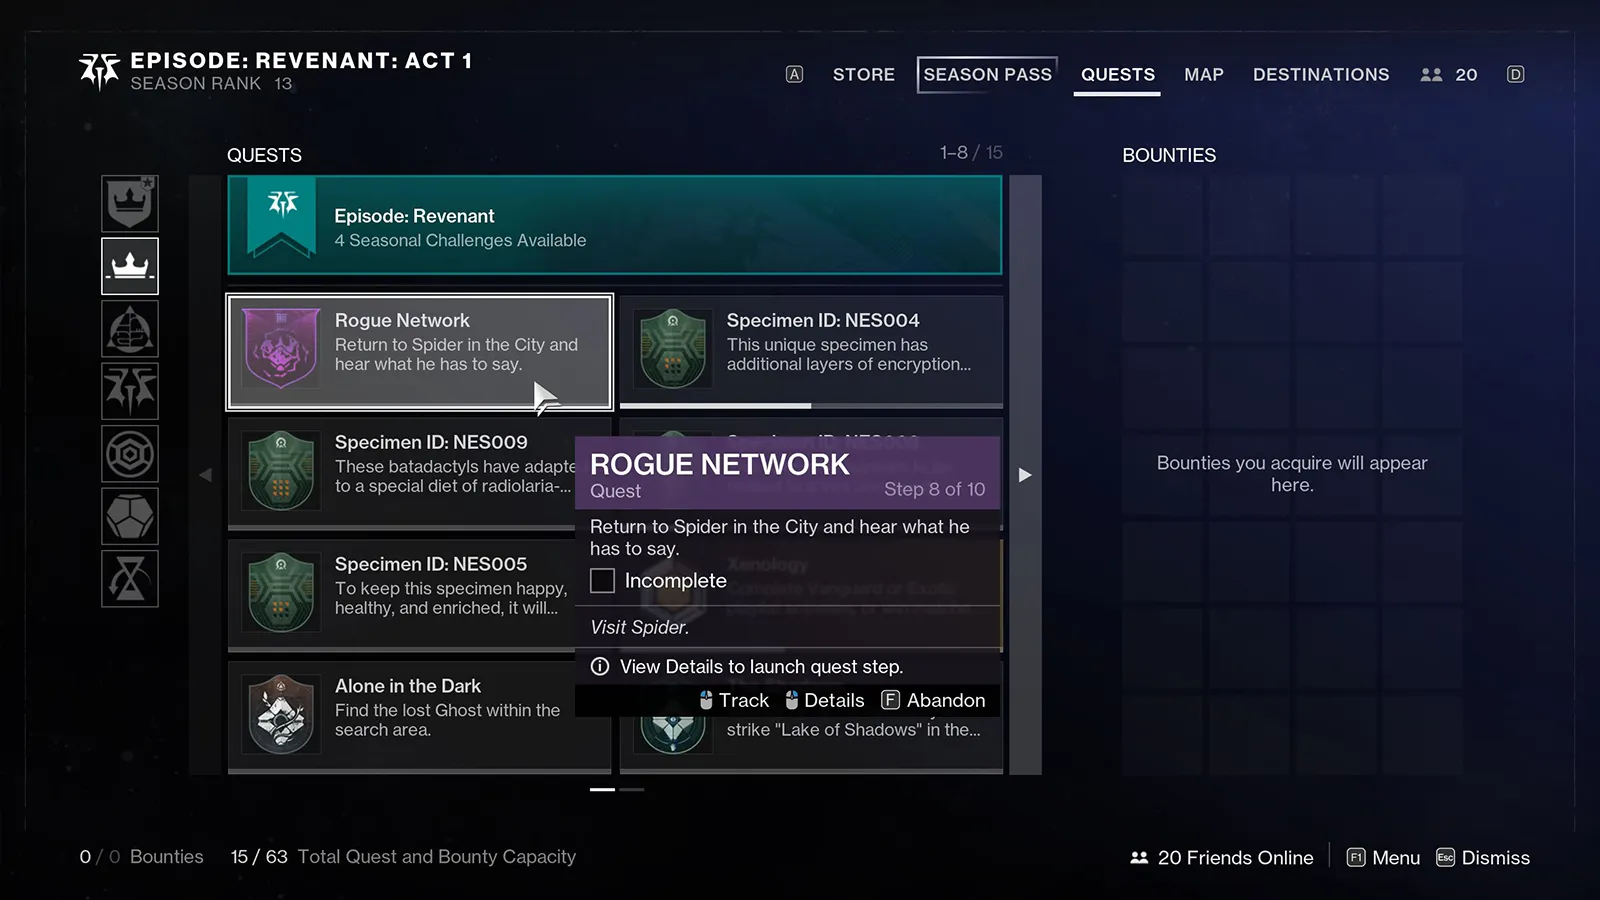
- Step 8: Return to Spider in the City and hear what he has to say.
- Step 9: Use your key on the second-level BrayTech storage module.
- Step 10: Visit Spider.
Step 1: Complete the dungeon and Collect the Beacon
The first quest step is to complete the Vesper’s Host dungeon on any difficulty. You can launch the dungeon from the Europa destination, found in the top right corner of the map. Complete all three encounters to finish the dungeon.
If you want to speed things up, you can simply complete the final boss encounter, The Corrupted Puppeteer, and it will count toward quest progress.
Need help with the dungeon? Check out our full Vesper’s Host walkthrough for step-by-step guidance to get you through quickly and efficiently.
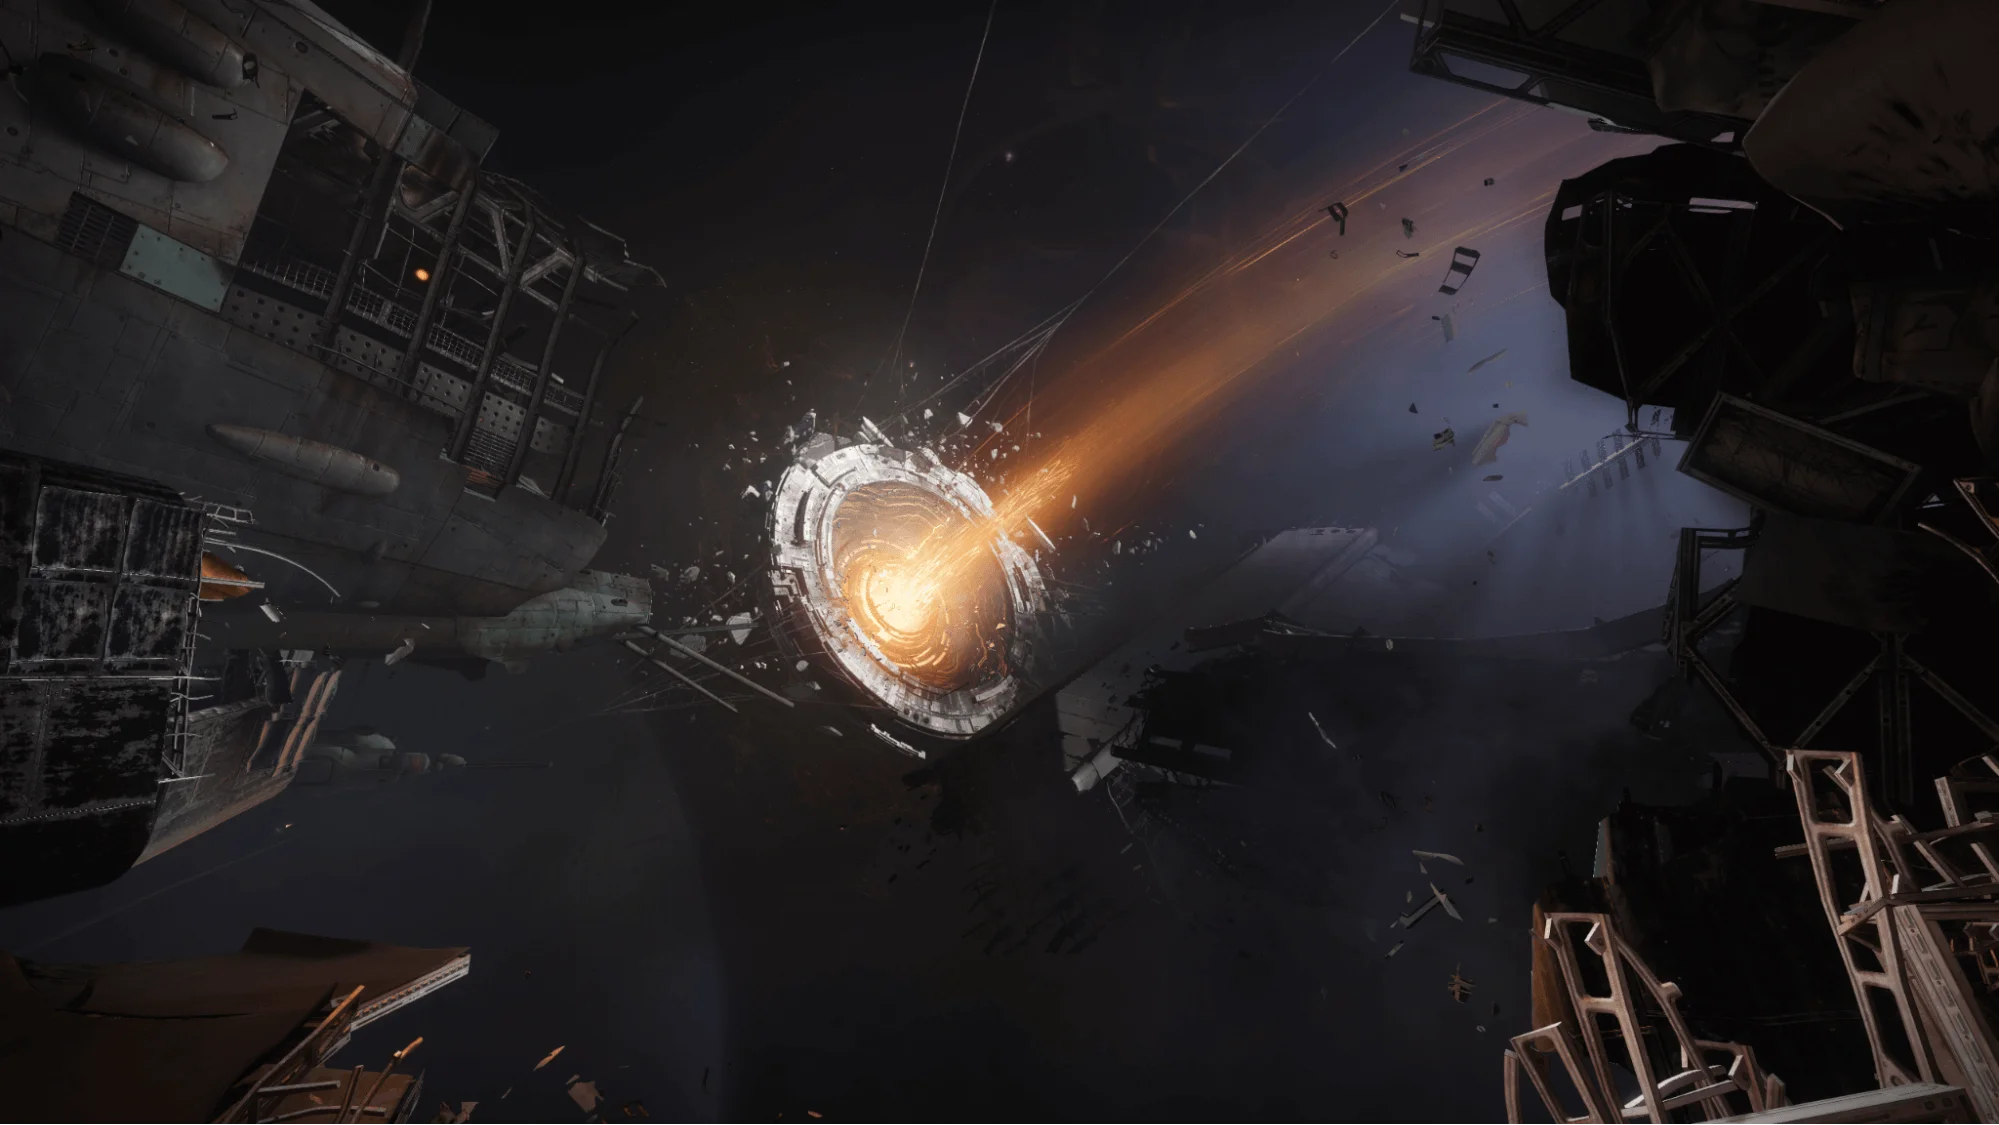
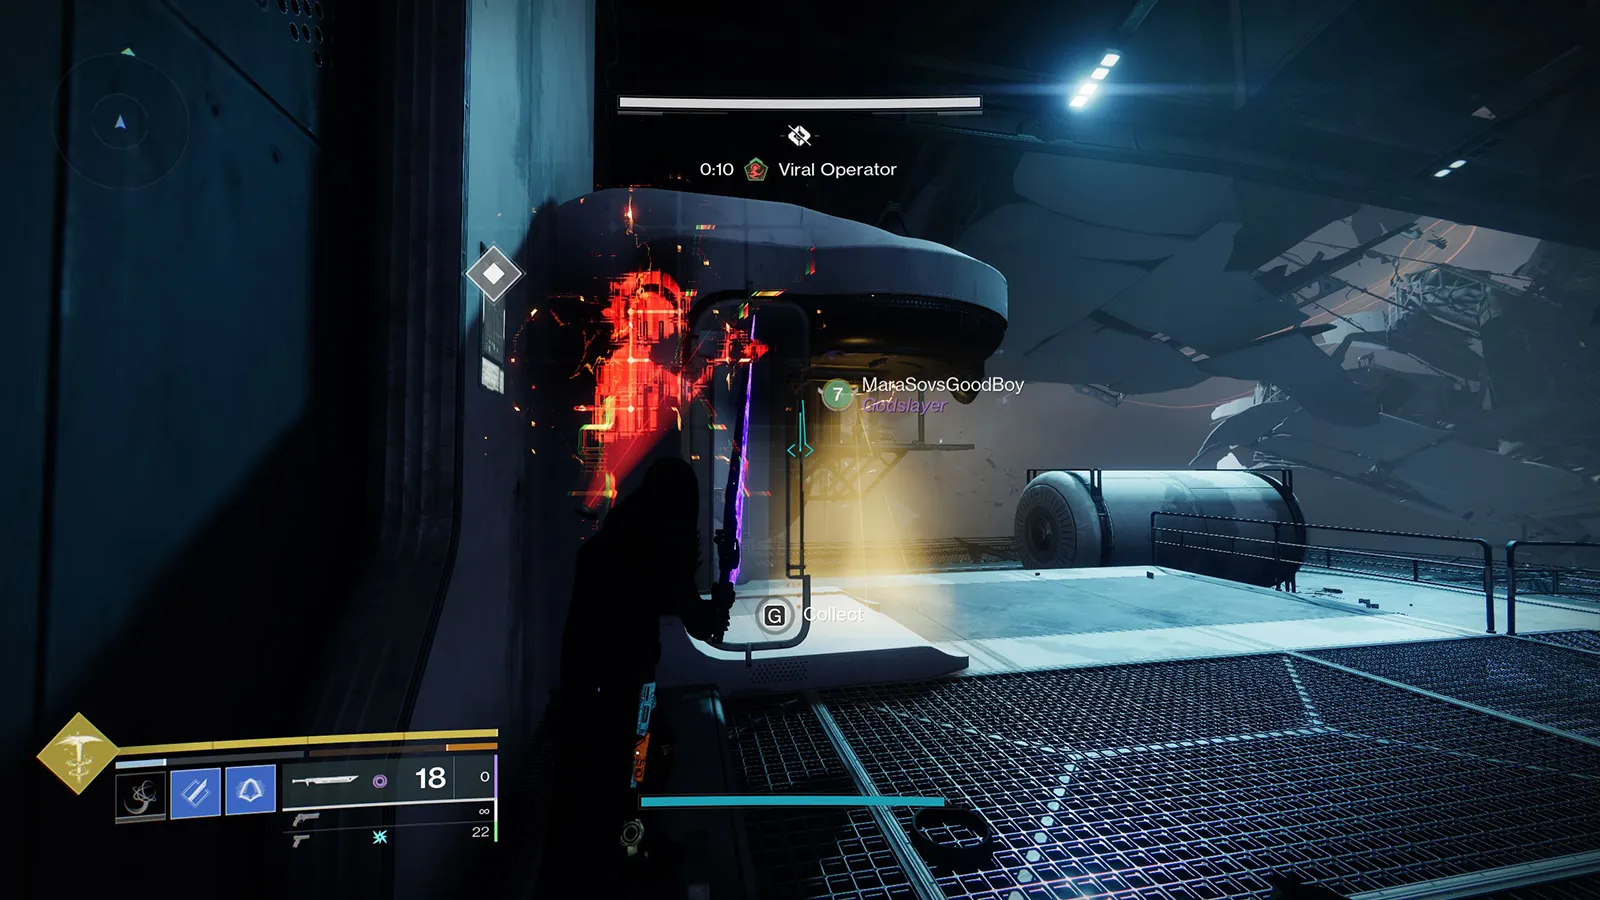
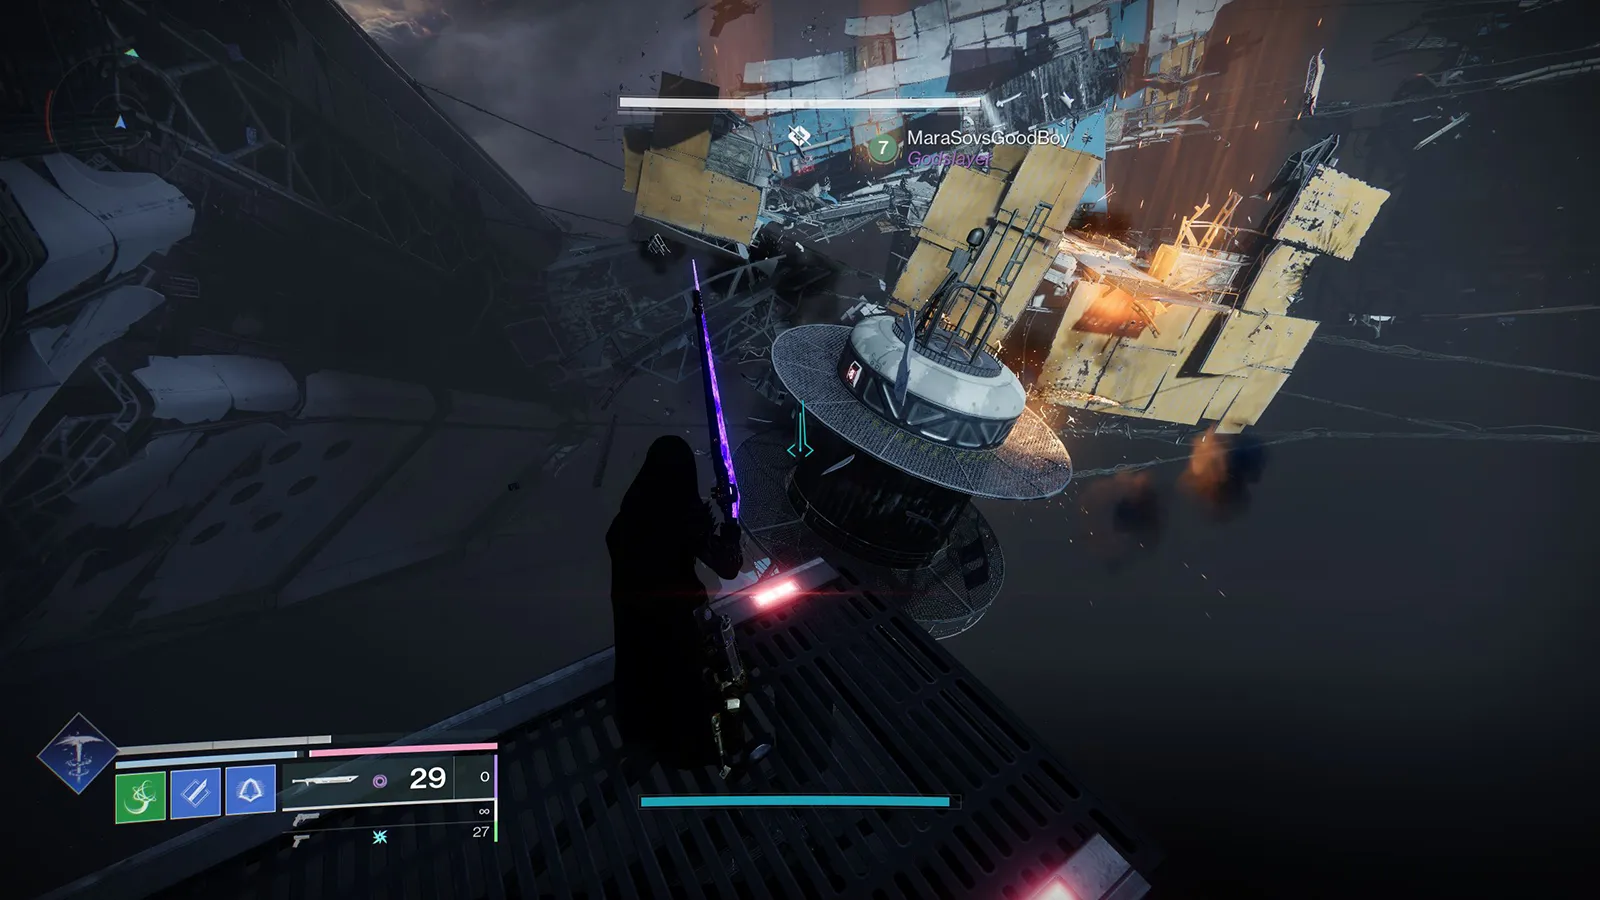
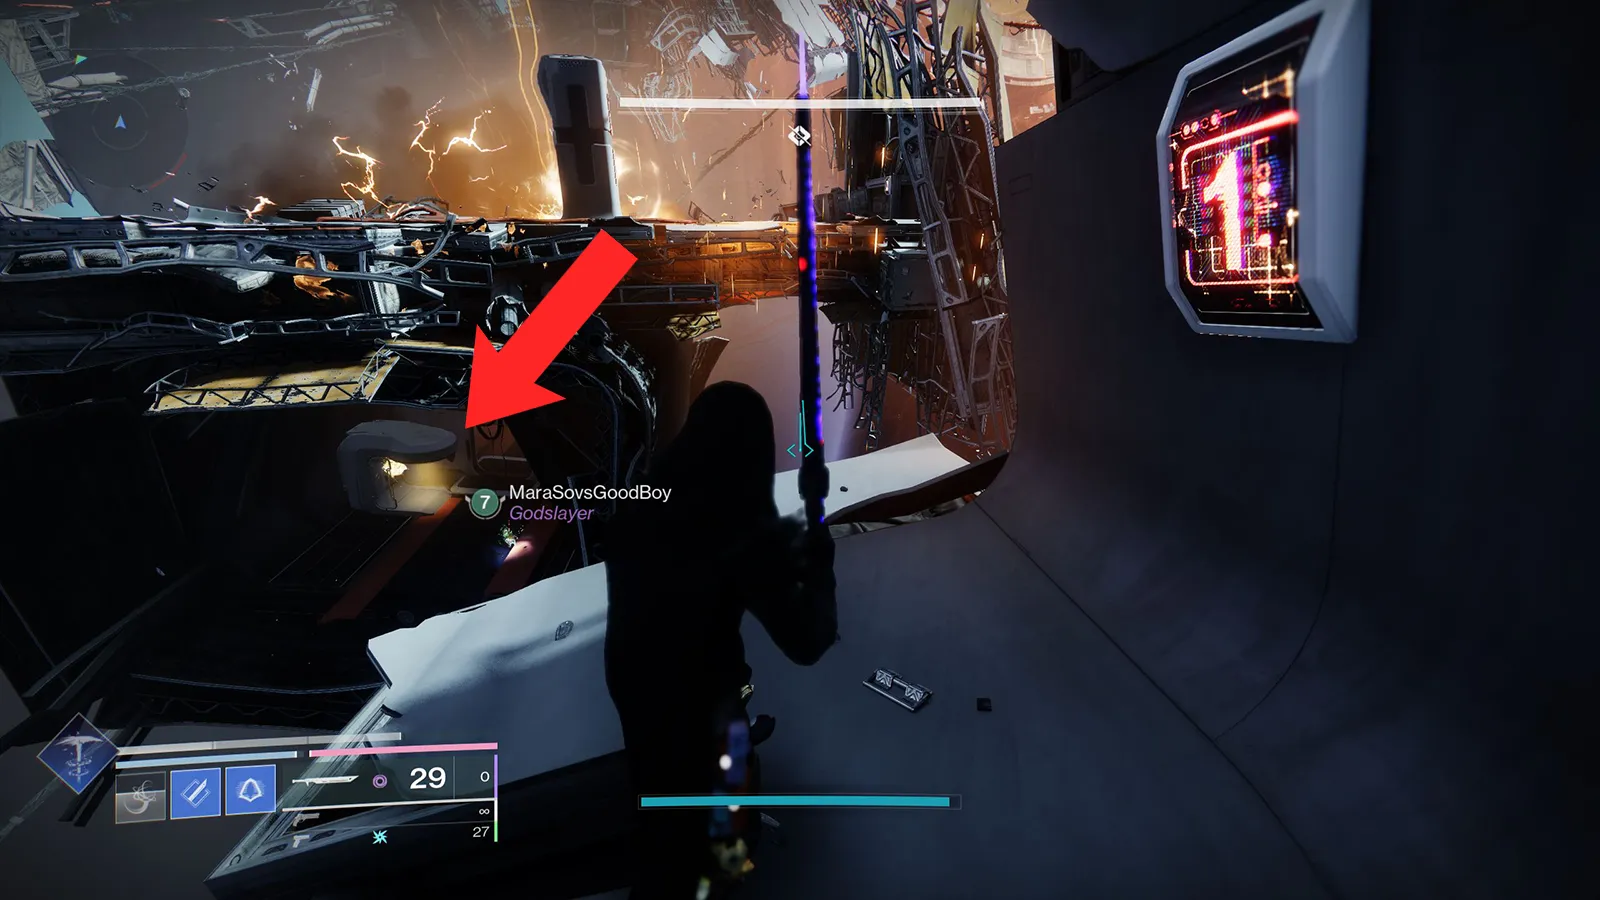
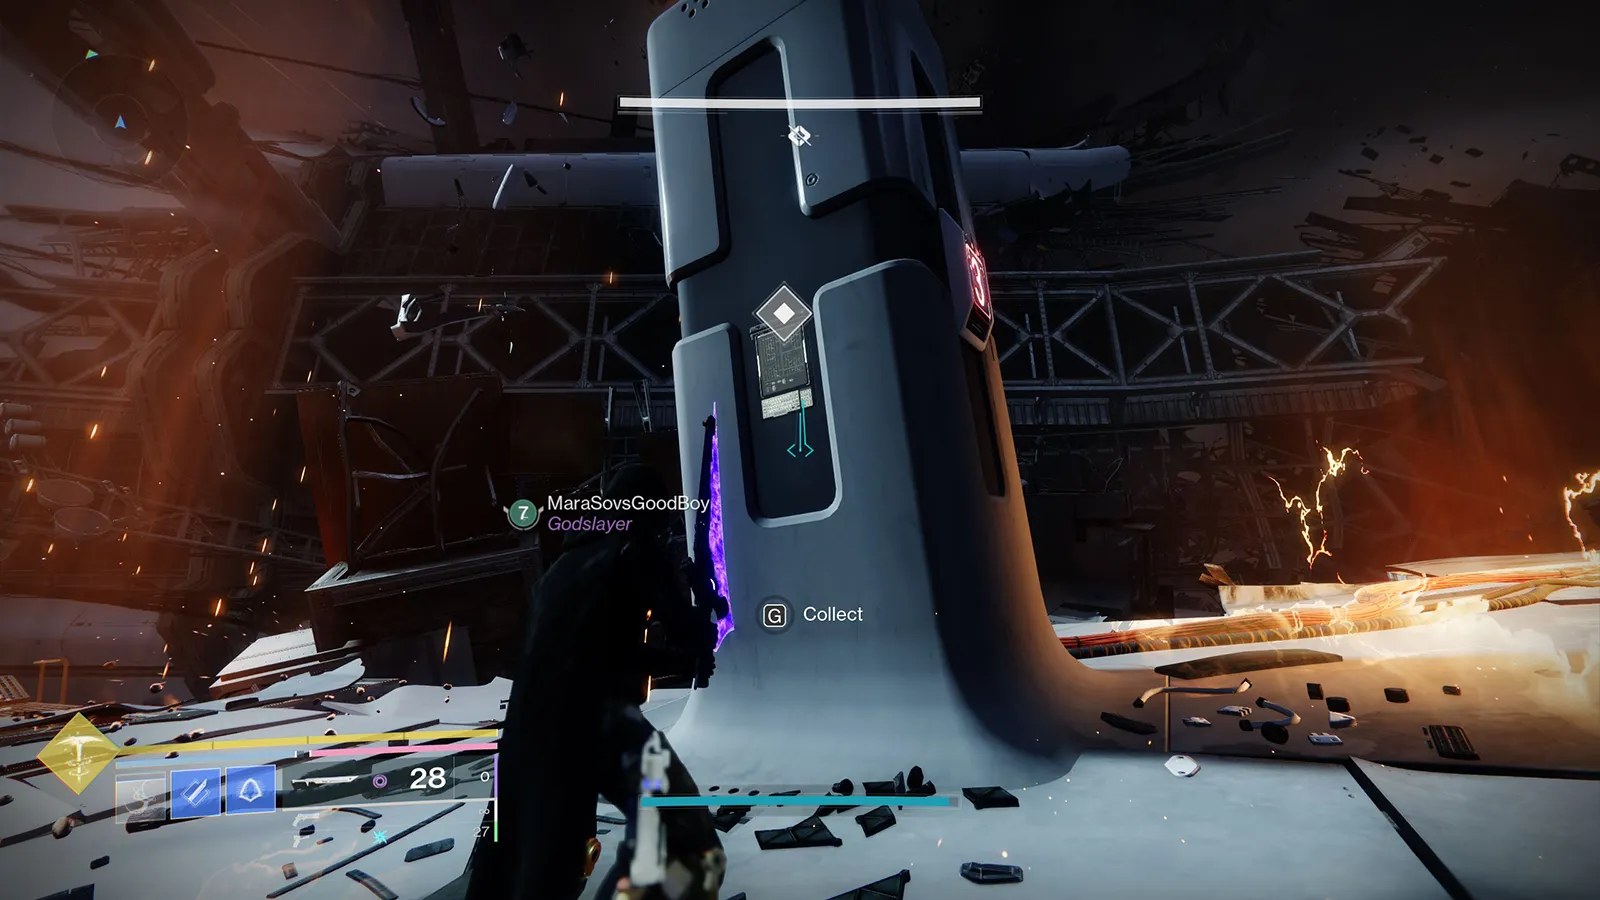
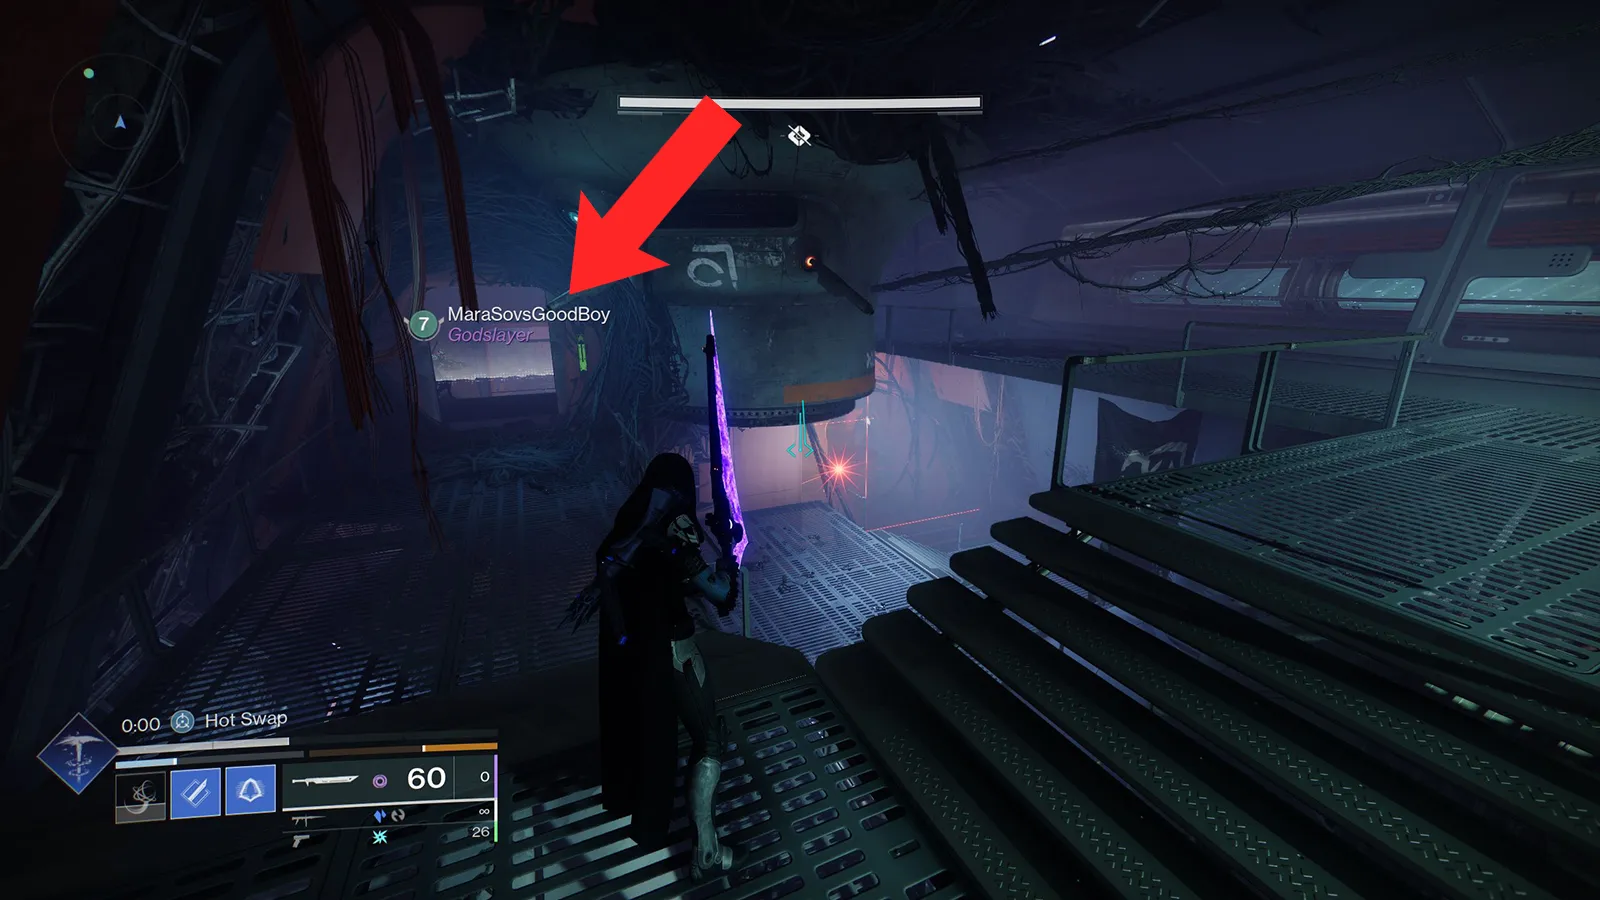
After you have beaten the final boss, you need to collect the beacon located on one of the left pillars next to the reward chest that spawn in the middle.
Do not leave the dungeon after beating the final boss, this beacon becomes available after you complete the dungeon in the final arena where you do the DPS phase.
Step 2: Visit Spider
Simply head back to the Spider in the Last City seasonal to progress the quest.
Step 3: Find 3 Hidden Messages
In this step, you’ll need to solve three puzzles. Successfully completing each puzzle unlocks a unique message. Here’s how to find and complete all three puzzles.
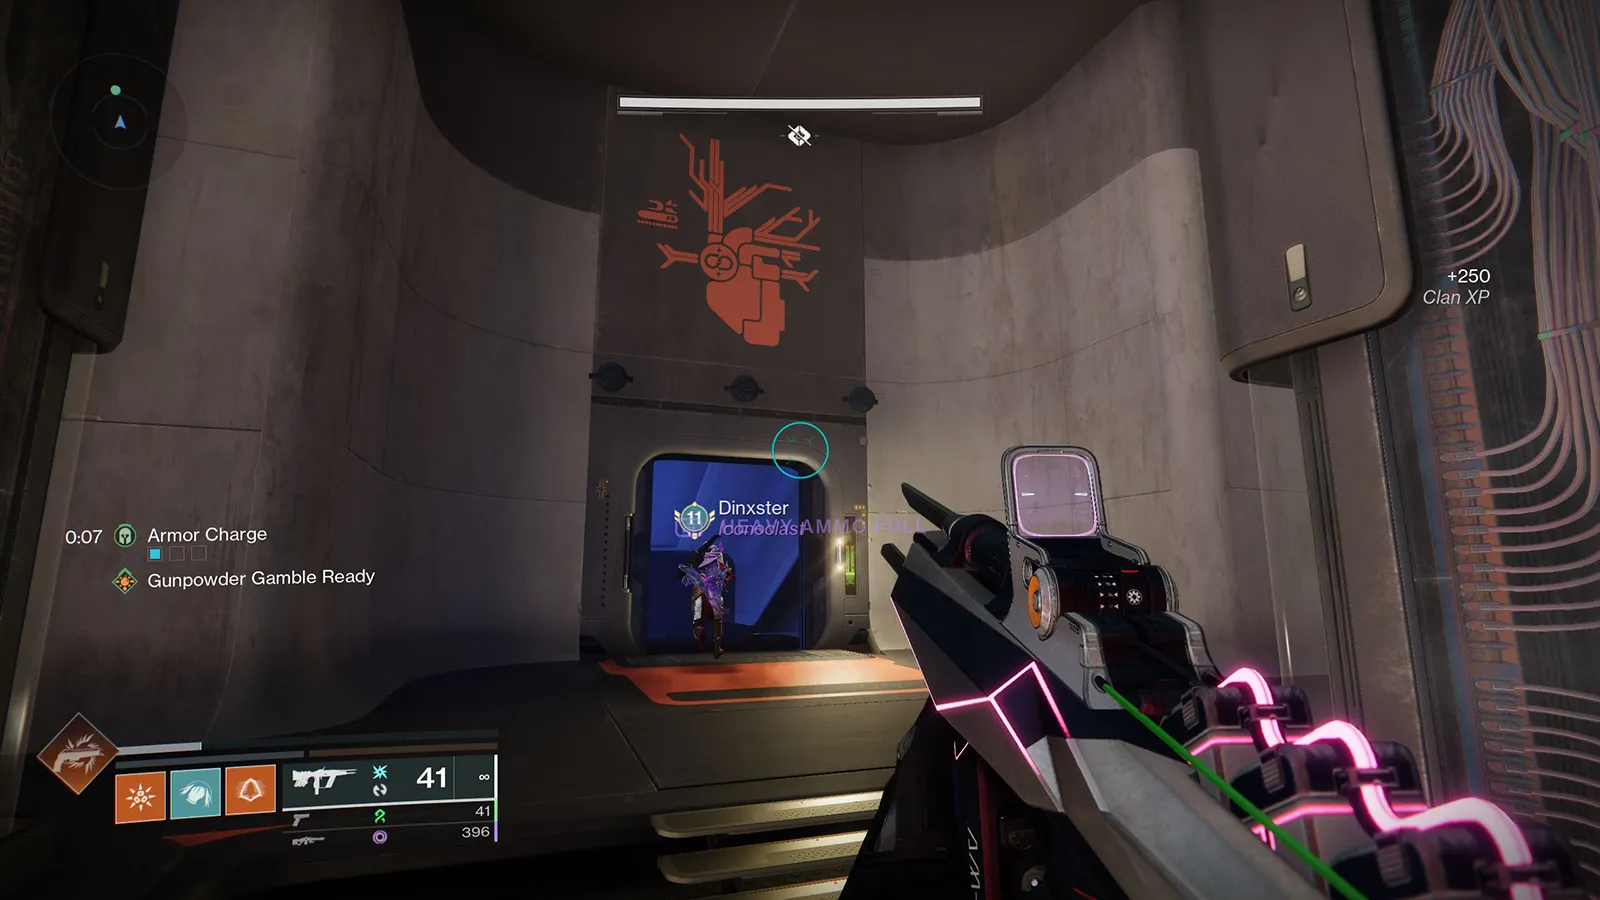
First Message: 1st Encounter – Heart Room
The first puzzle is found in the Heart Room during the first encounter. To access the room and solve the puzzle, you must first complete the encounter since the door will remain locked until then.
Here’s how to solve the first puzzle:
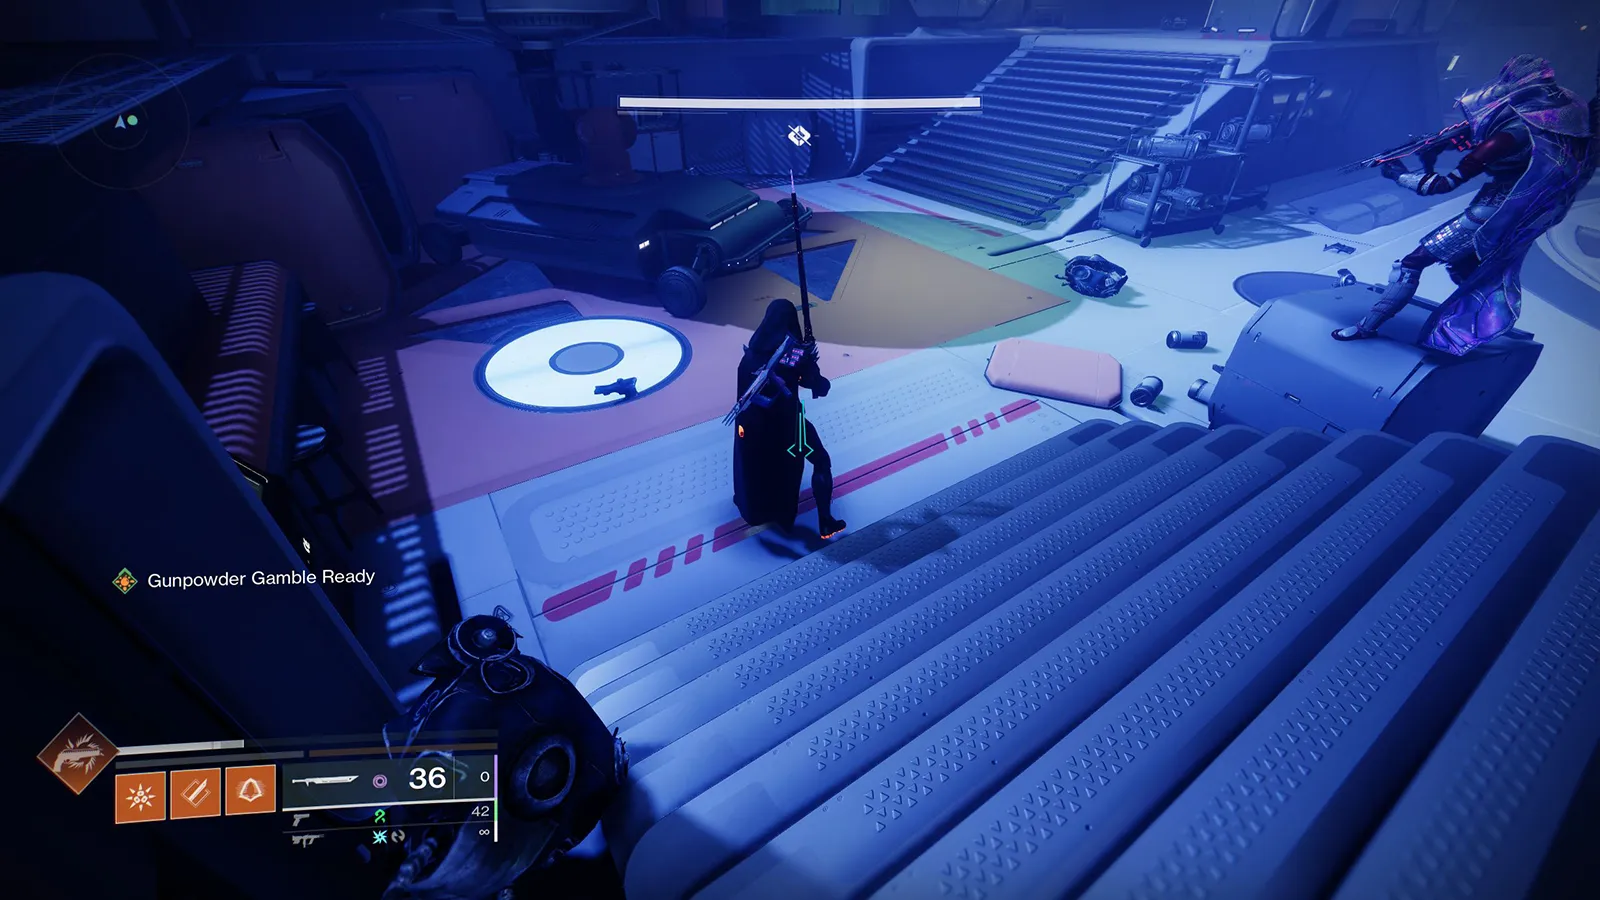
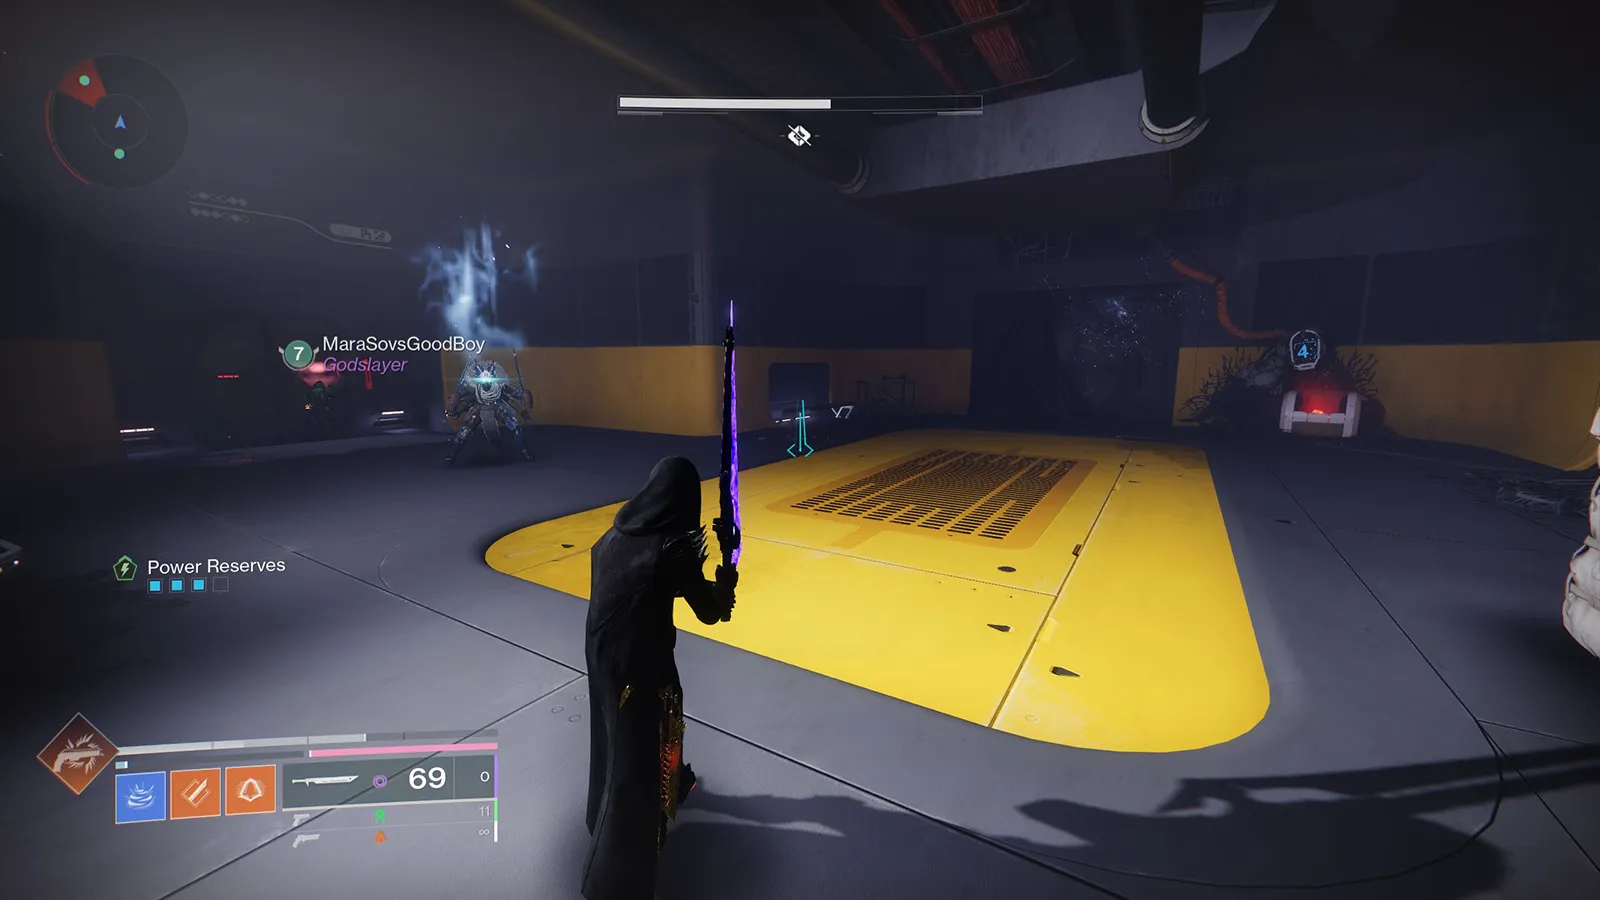
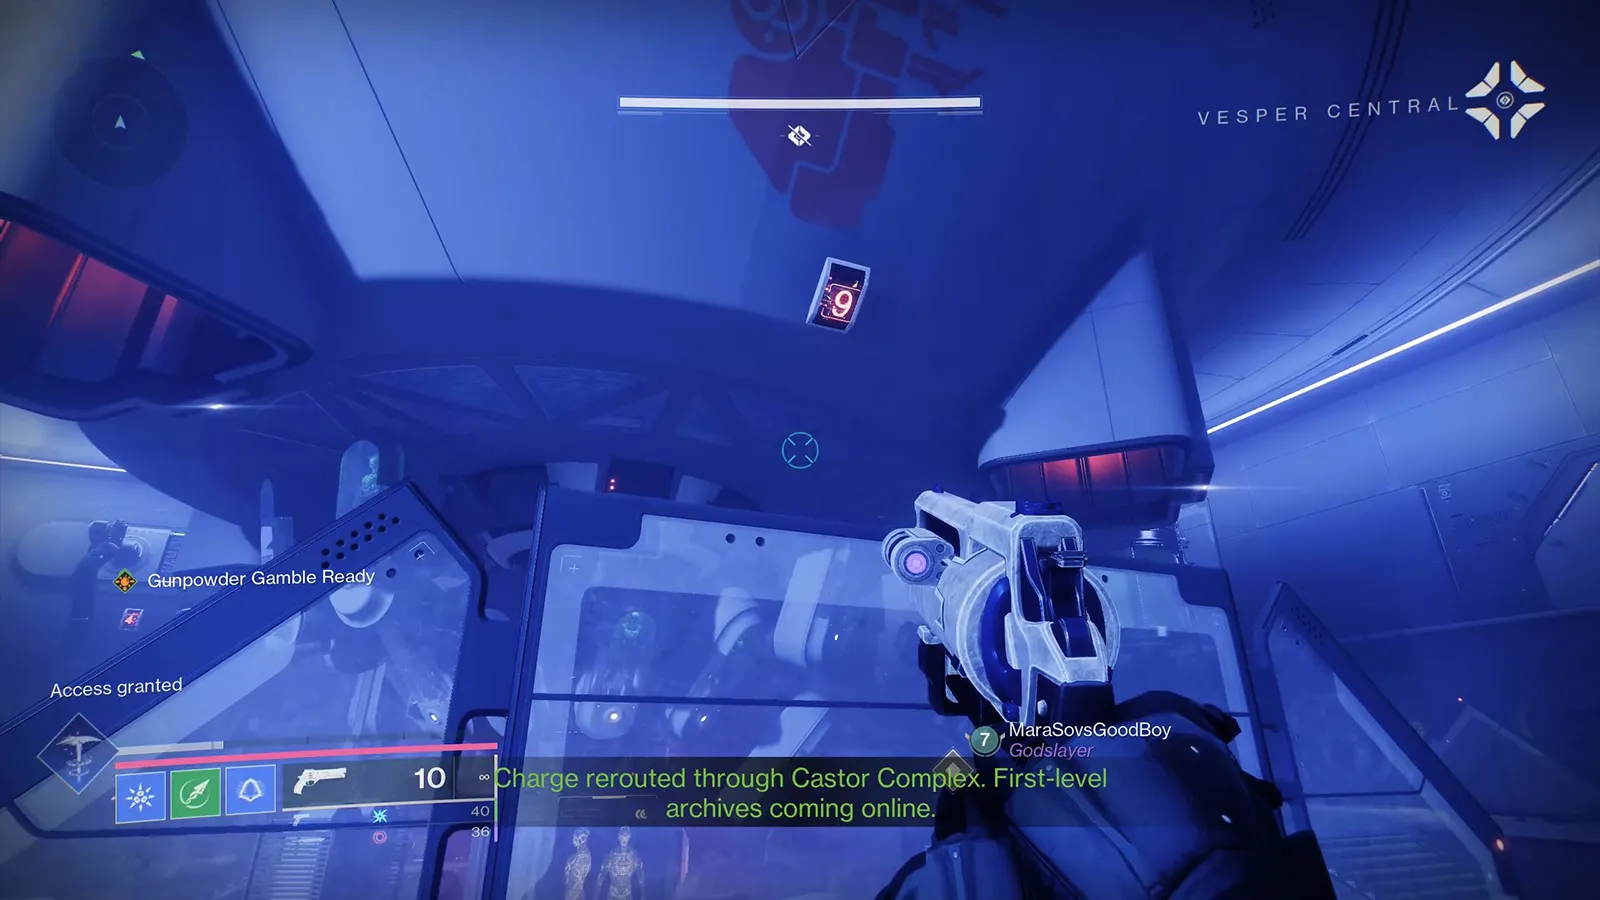
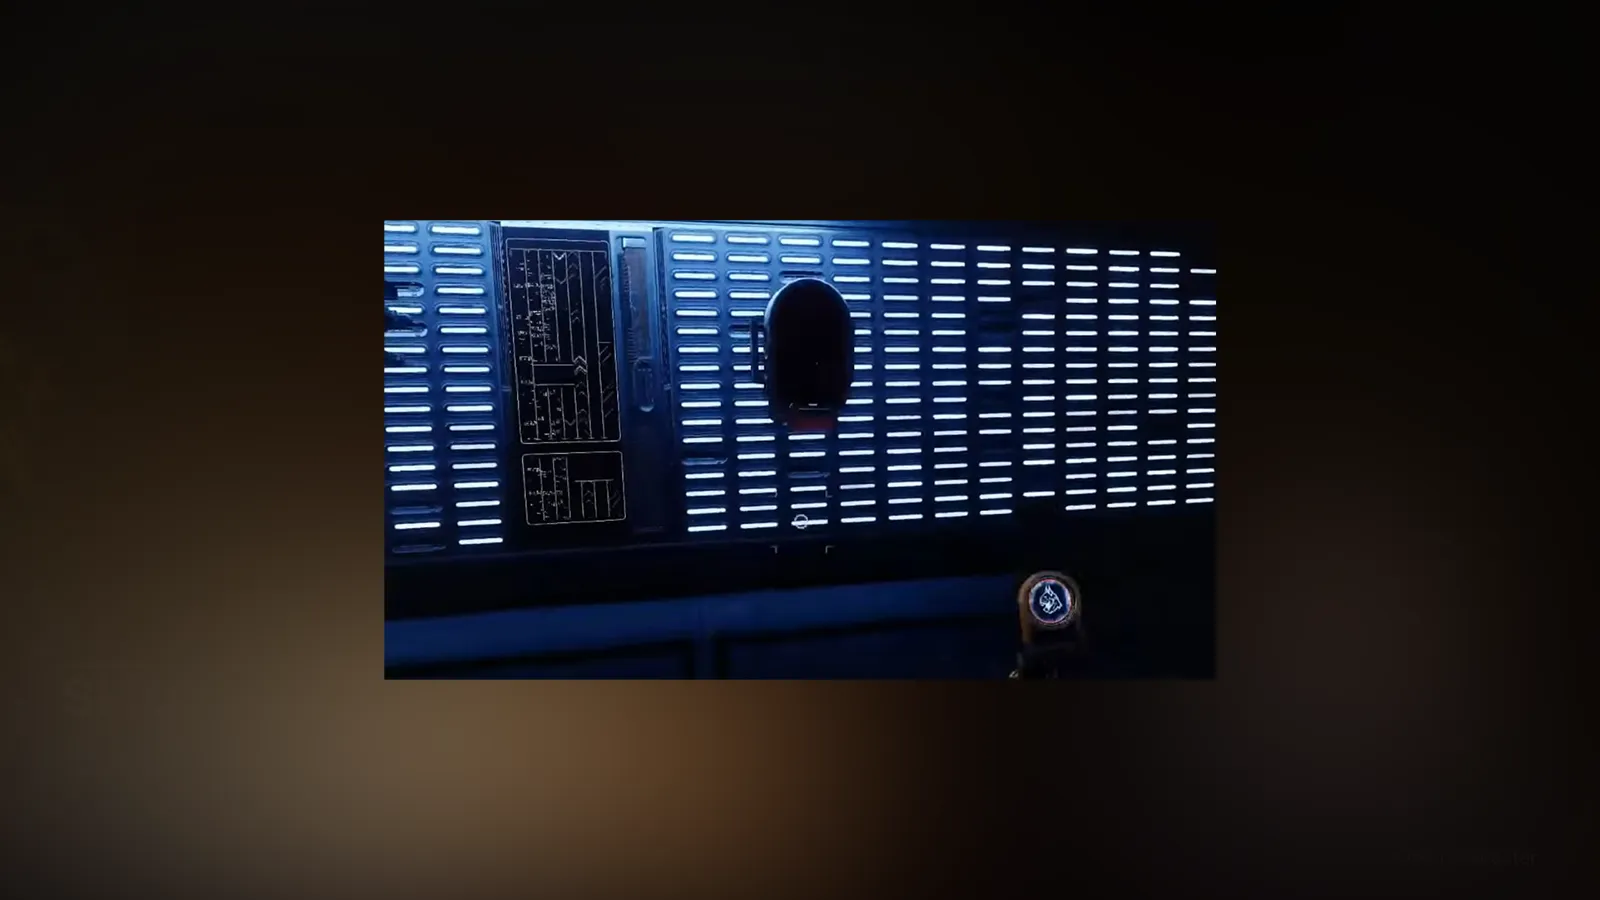
- Once the encounter is cleared, you’ll gain access to the Heart Room, leading you to a large blue room filled with black plates, each with a small white circle in the center.
- One of these plates will be blinking. Jump on the first blinking plate to activate it.
- If done correctly, a new plate will start blinking. Continue activating each blinking plate in sequence until all plates have been activated.
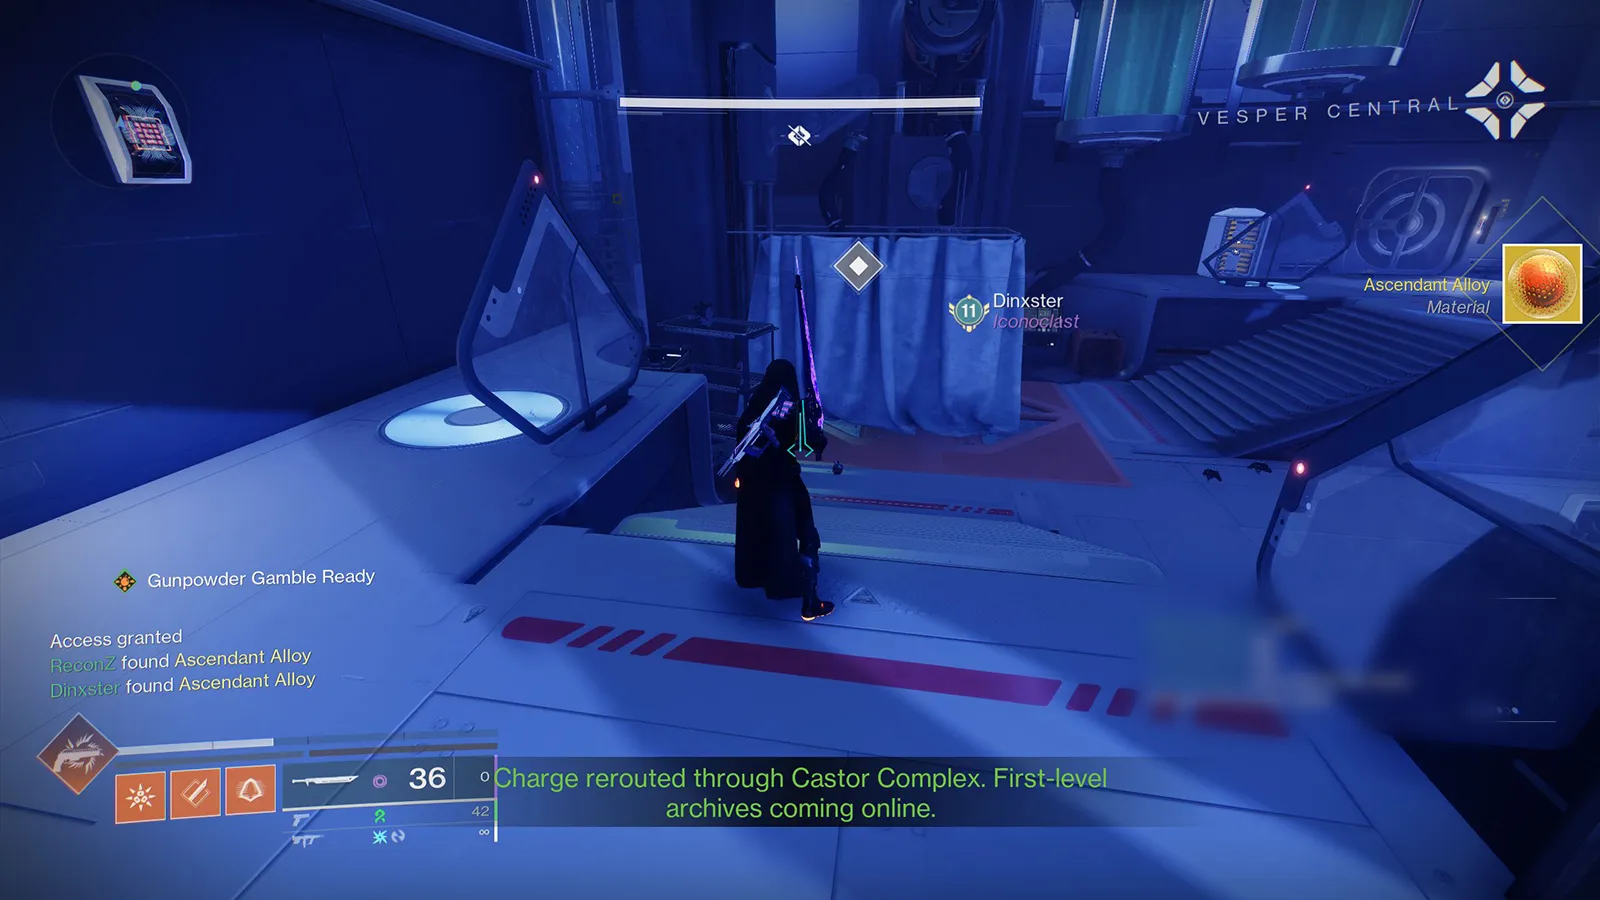
- Once all plates are activated, you’ll see a message on your HUD that says, “Access granted,” and you’ll receive an Ascendant Alloy as a reward.
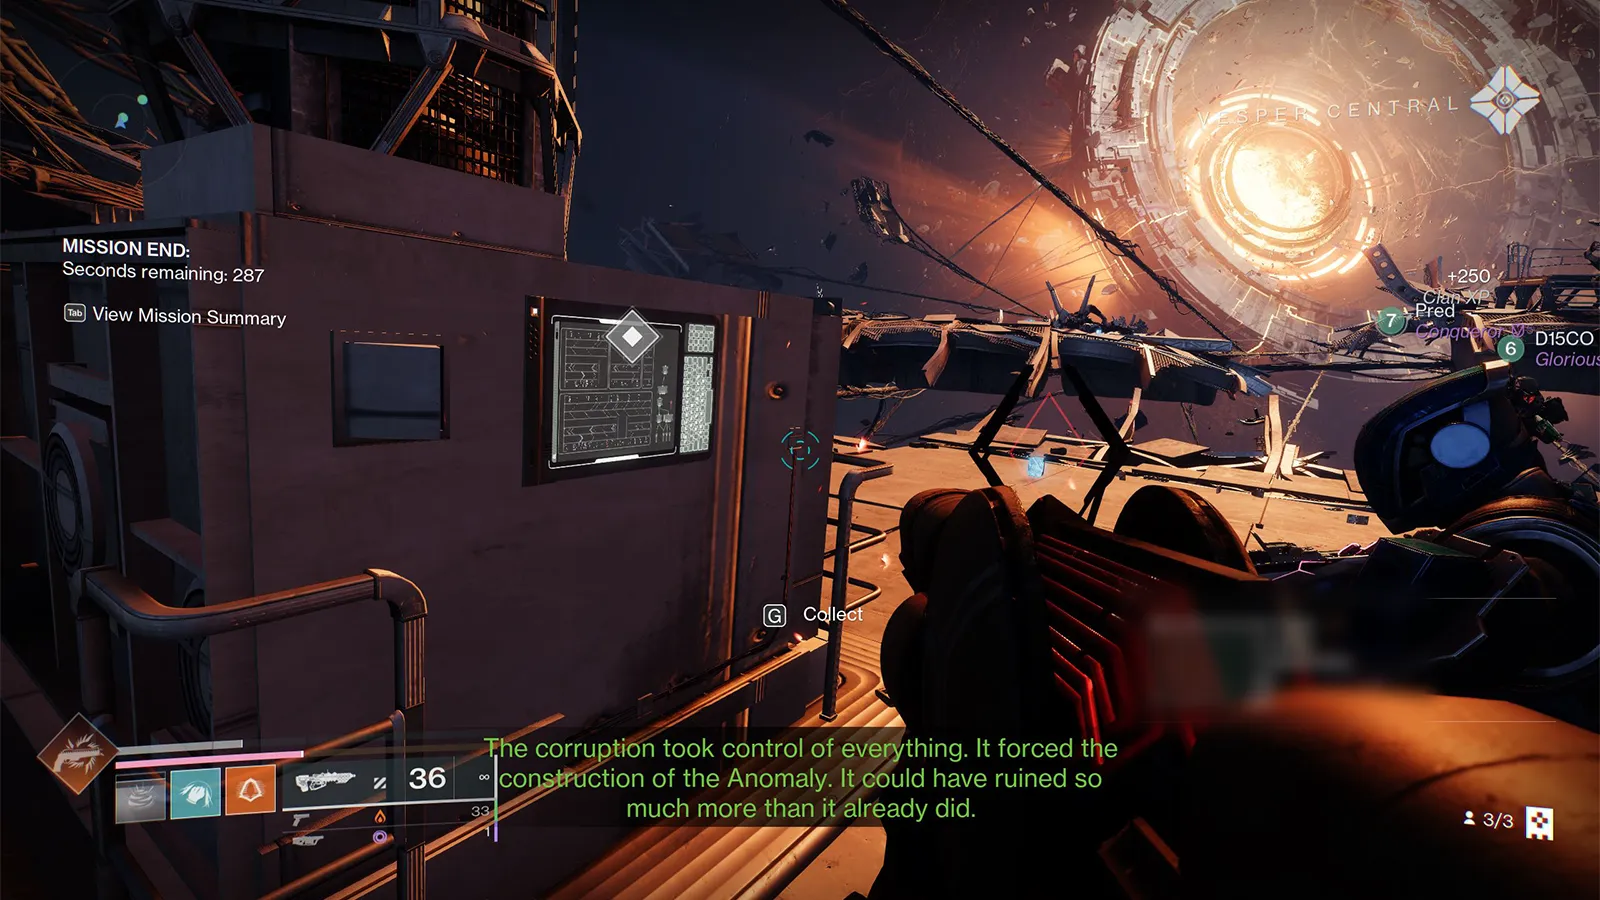
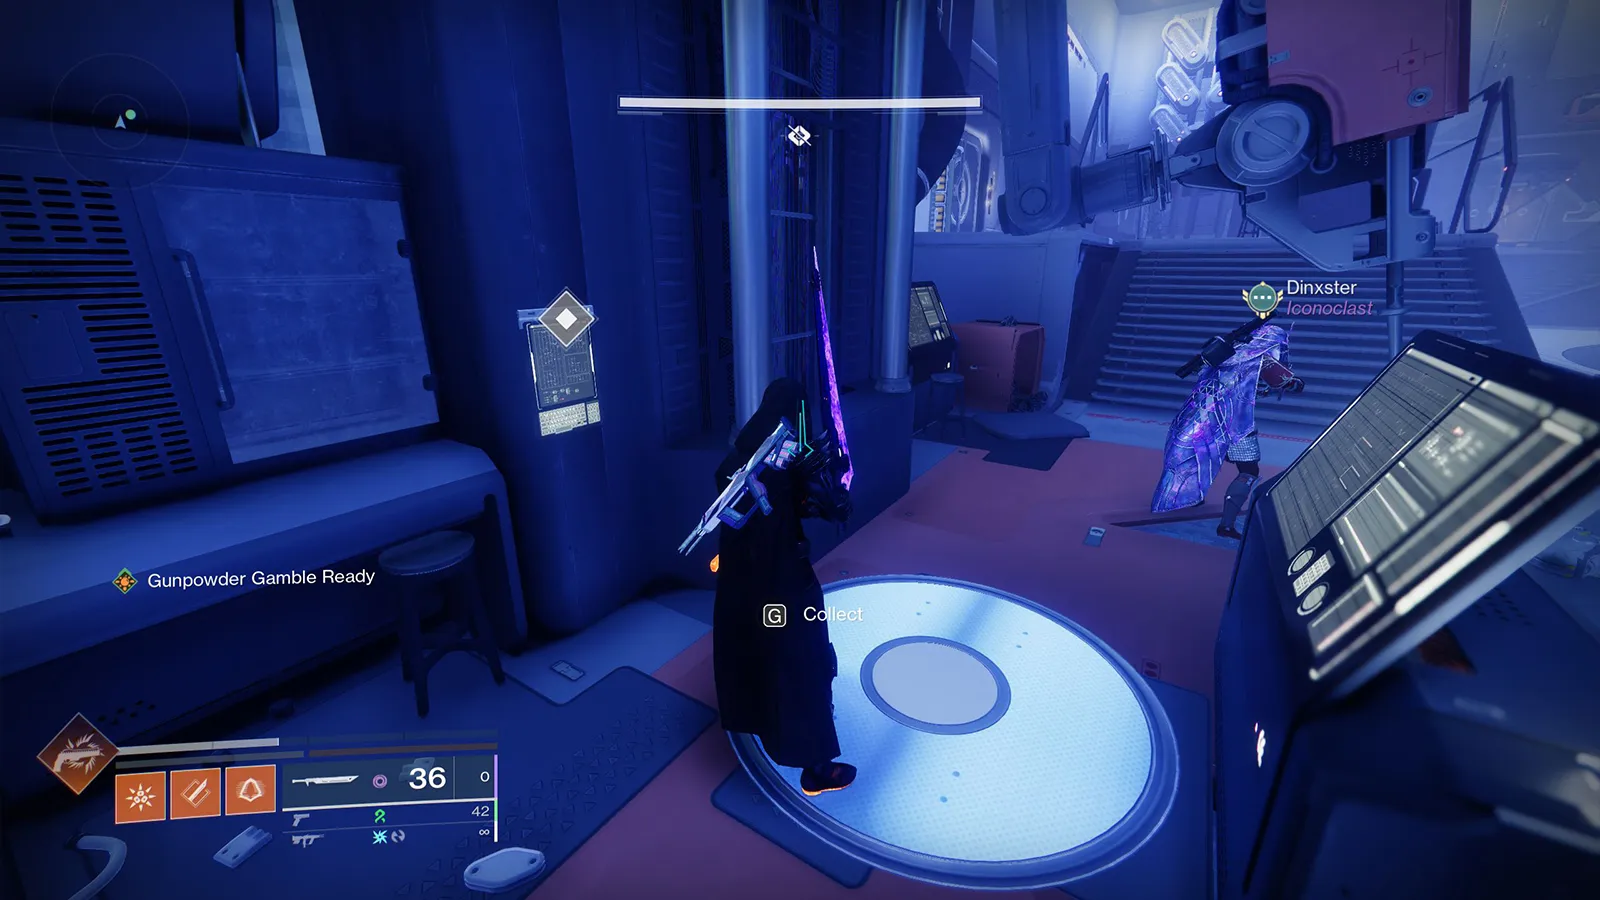
- Now, head to the far-right corner of the room from the entrance, where you’ll find a marker on the wall to collect the first hidden message.
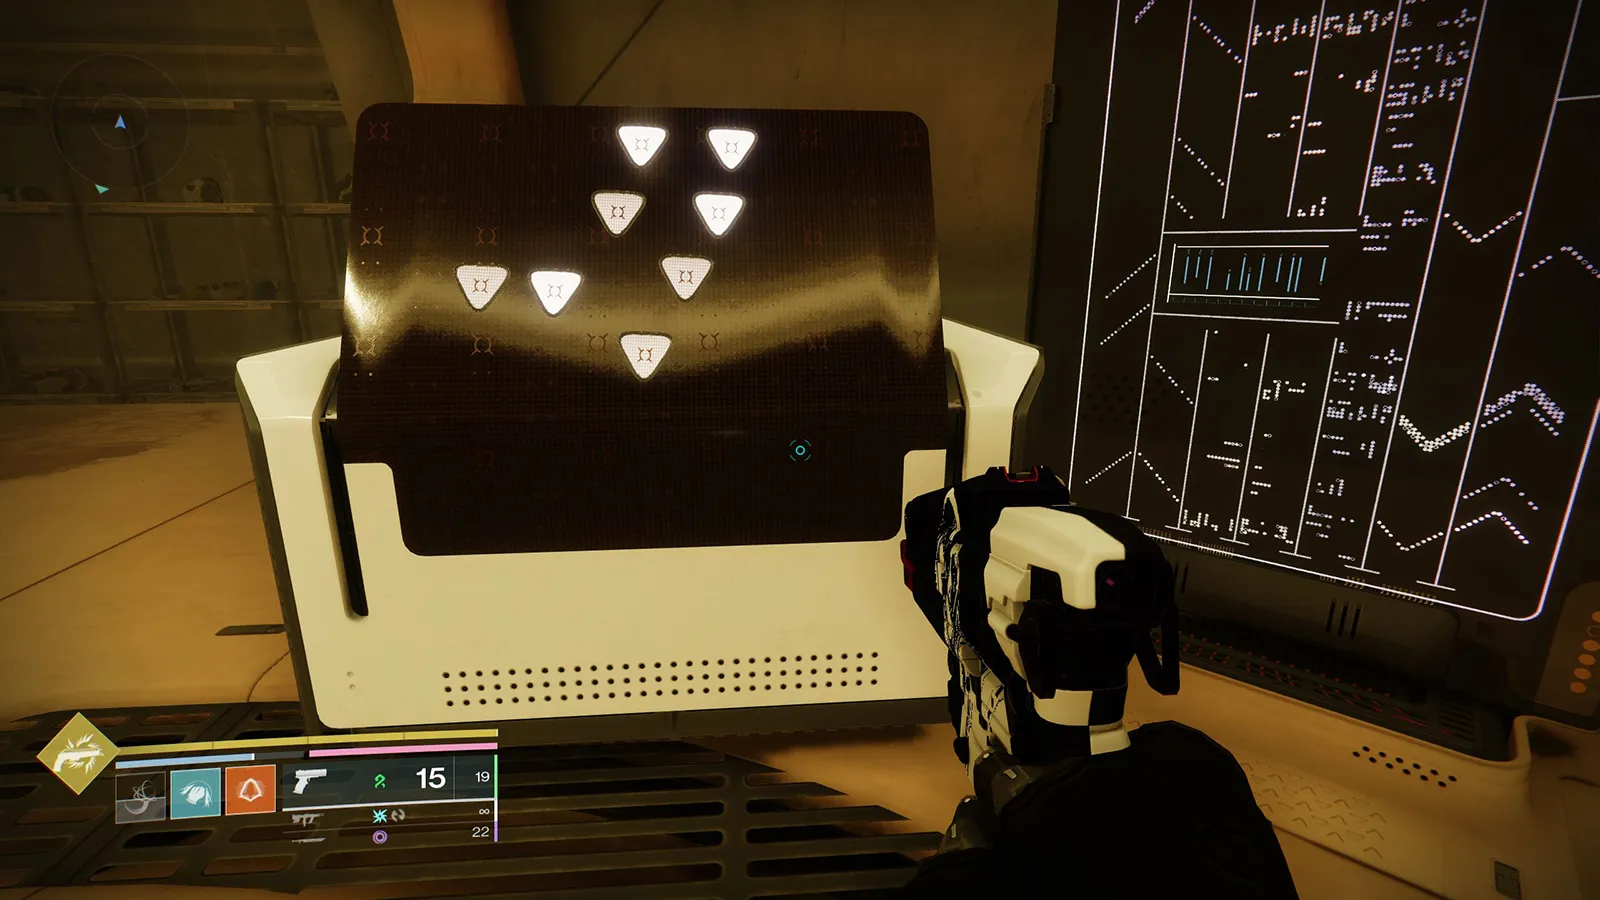
Second Message: Raneiks Unified Traversal
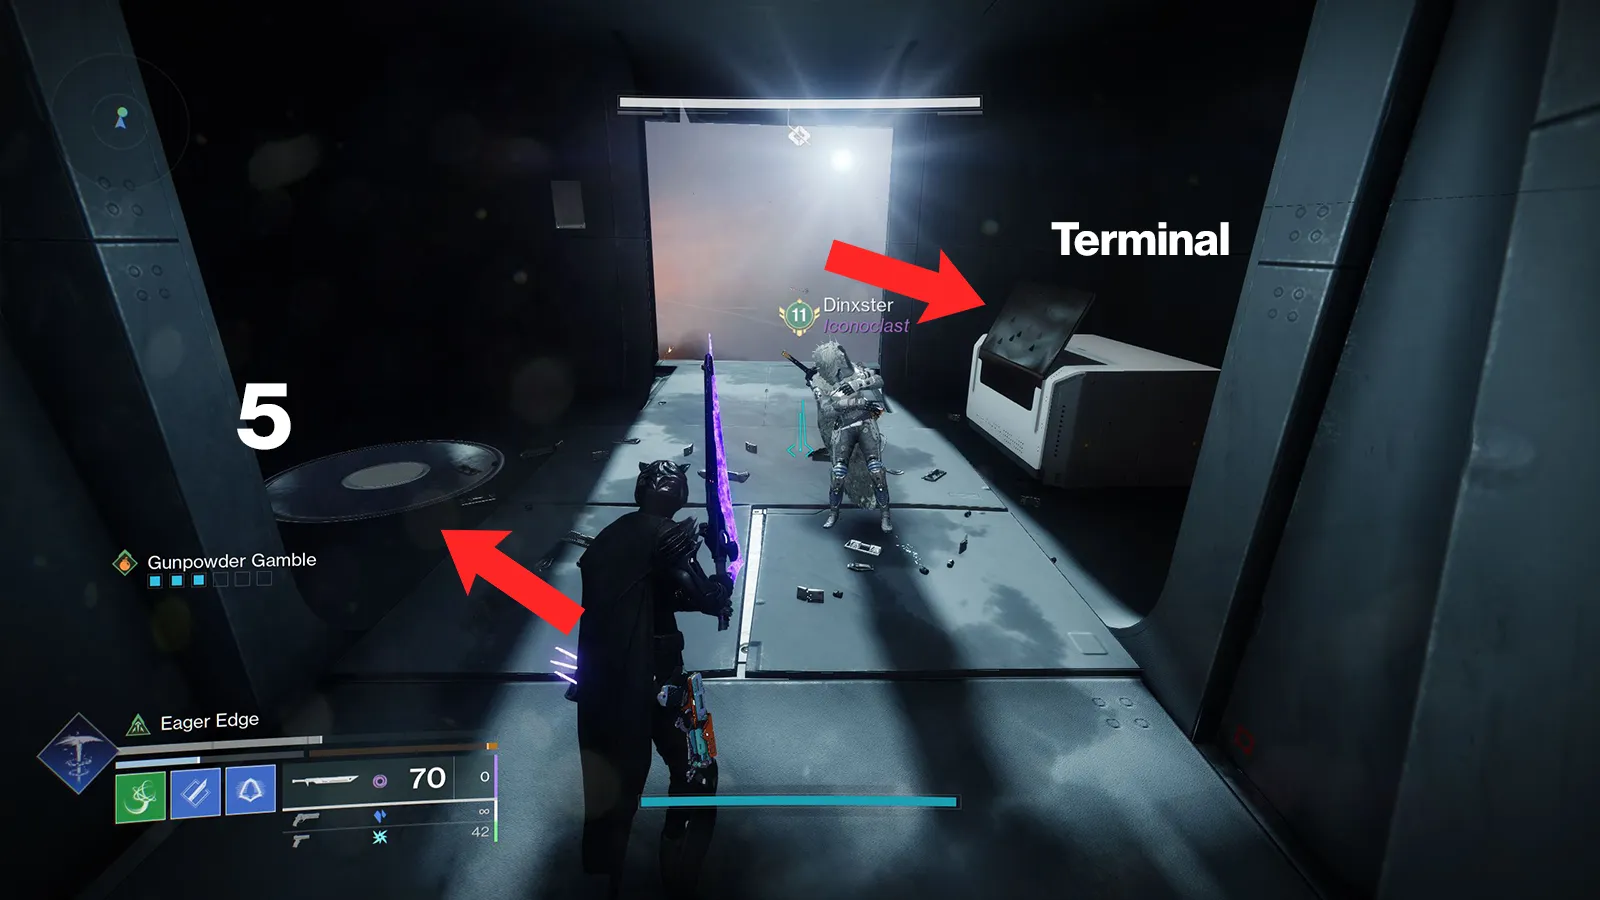
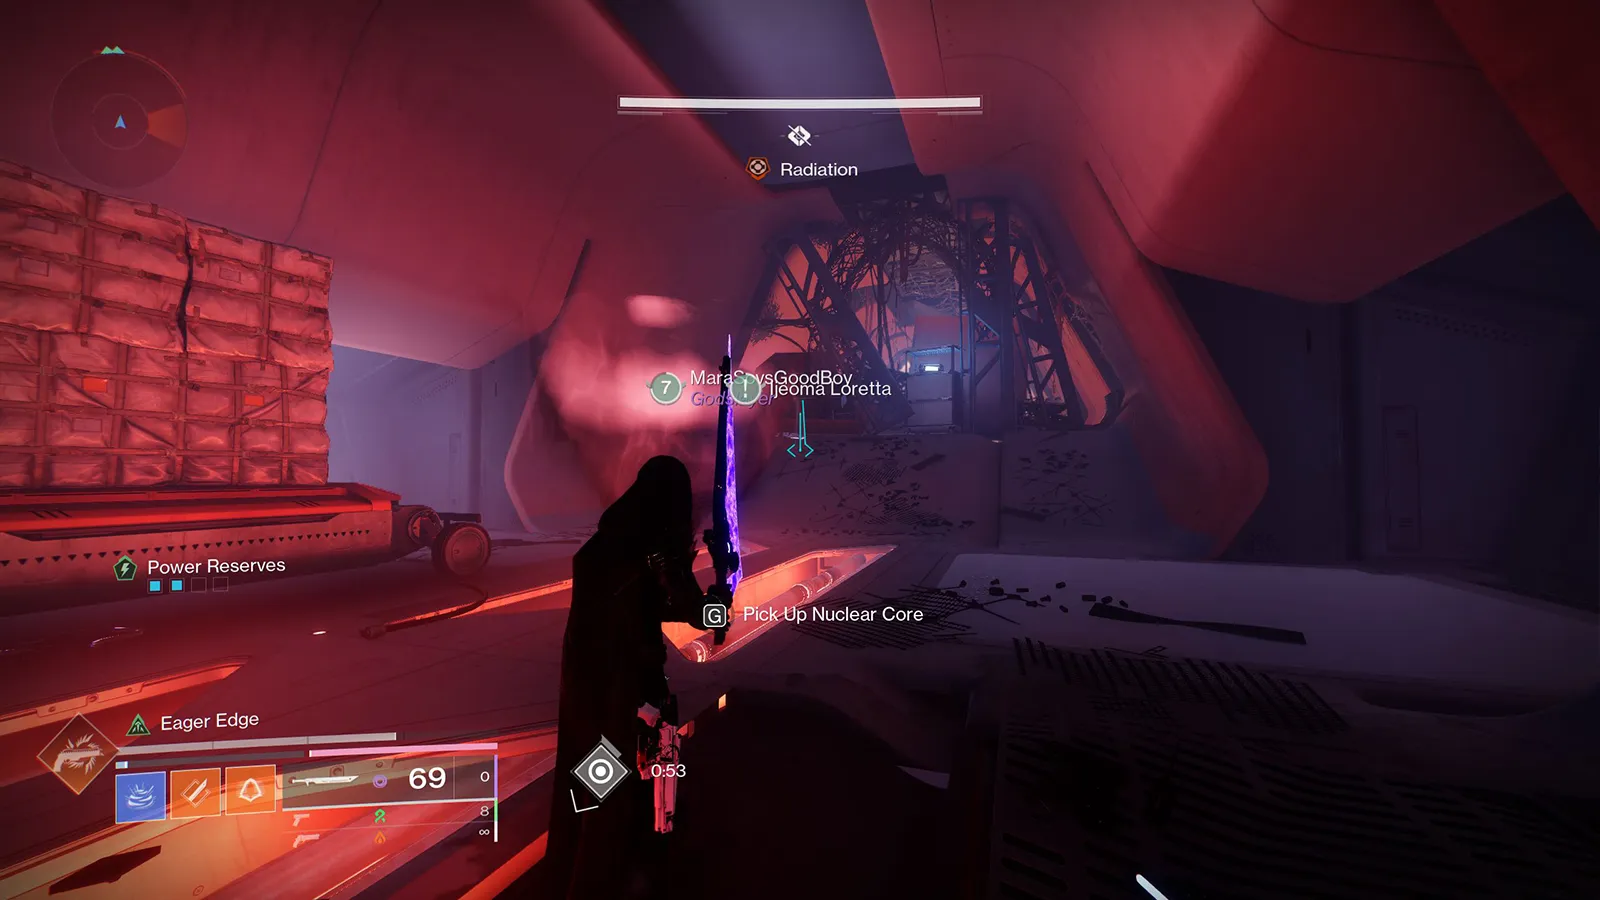
The second puzzle is found before the second boss encounter in the traversal area, where you’ll need to deposit the Nuclear Cores. In this puzzle, the objective is to activate the plates, but unlike the first puzzle, the plates are now displayed on a map via a terminal. This terminal features a total of eight nodes, each corresponding to a specific plate.
You can find the terminal in the room where you deposited the first Nuclear Core, located to the right.
Complete the entire traversal encounter first by depositing all Nuclear Cores. This will prevent enemies from spawning, allowing you to focus on solving the puzzle.
Here’s how to solve the second puzzle:
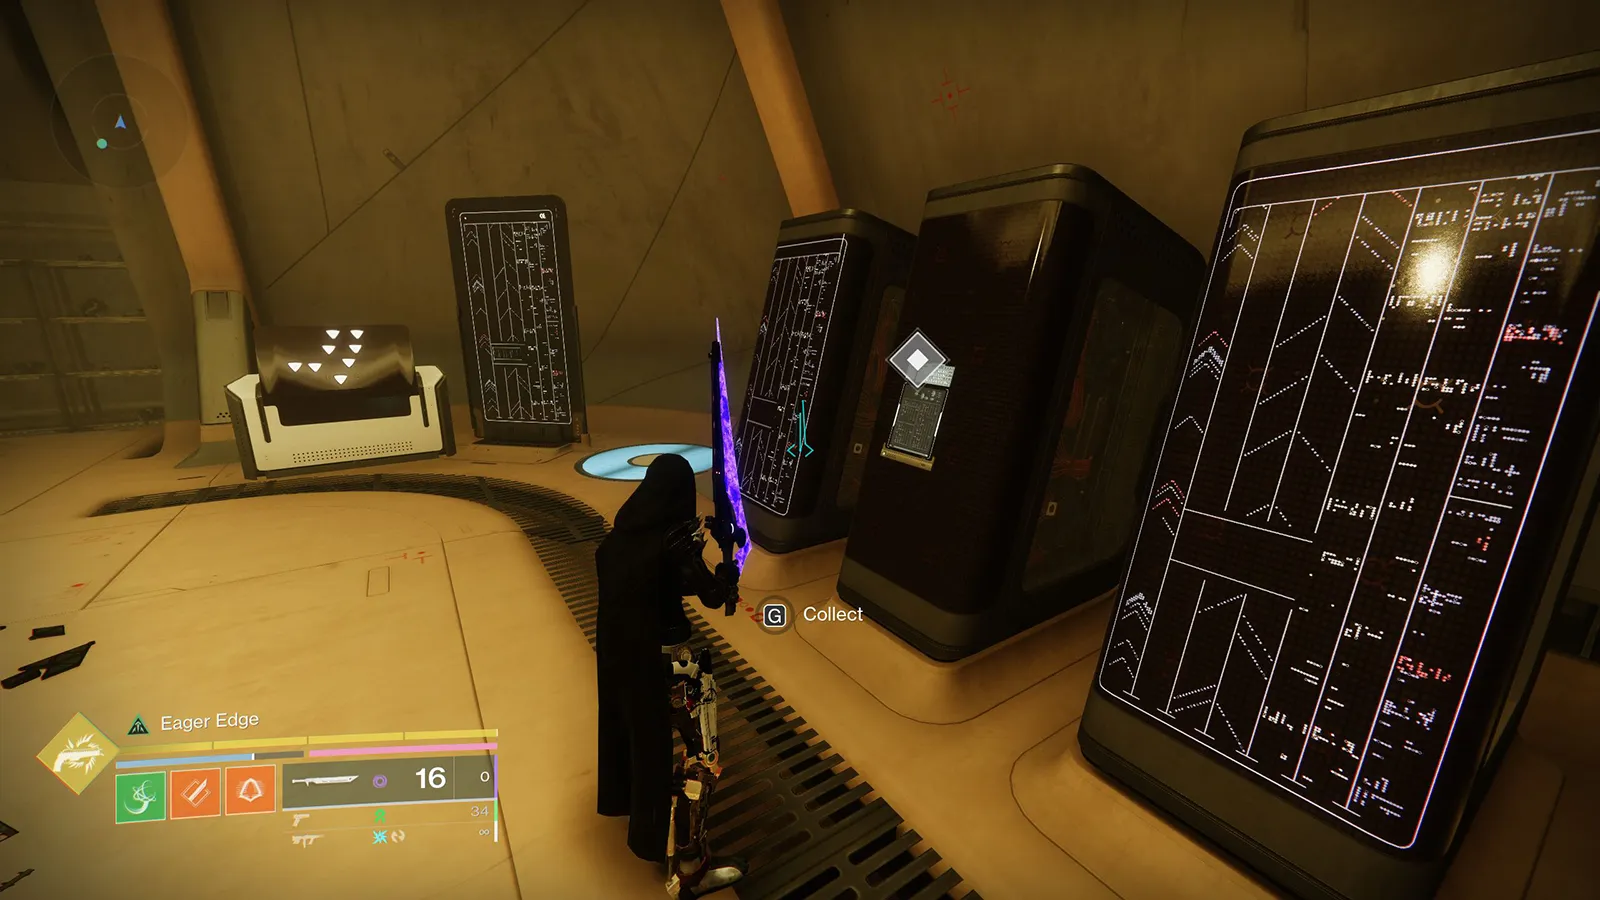
- Interact with the terminal, which will display the nodes (or plates) that need to be activated.
- Look for the blinking nodes on the terminal. This indicates the plate that you need to activate.
- Continue activating the plates in the order they blink until all are lit up.
- Collect the message on the wall right next to the map terminal.
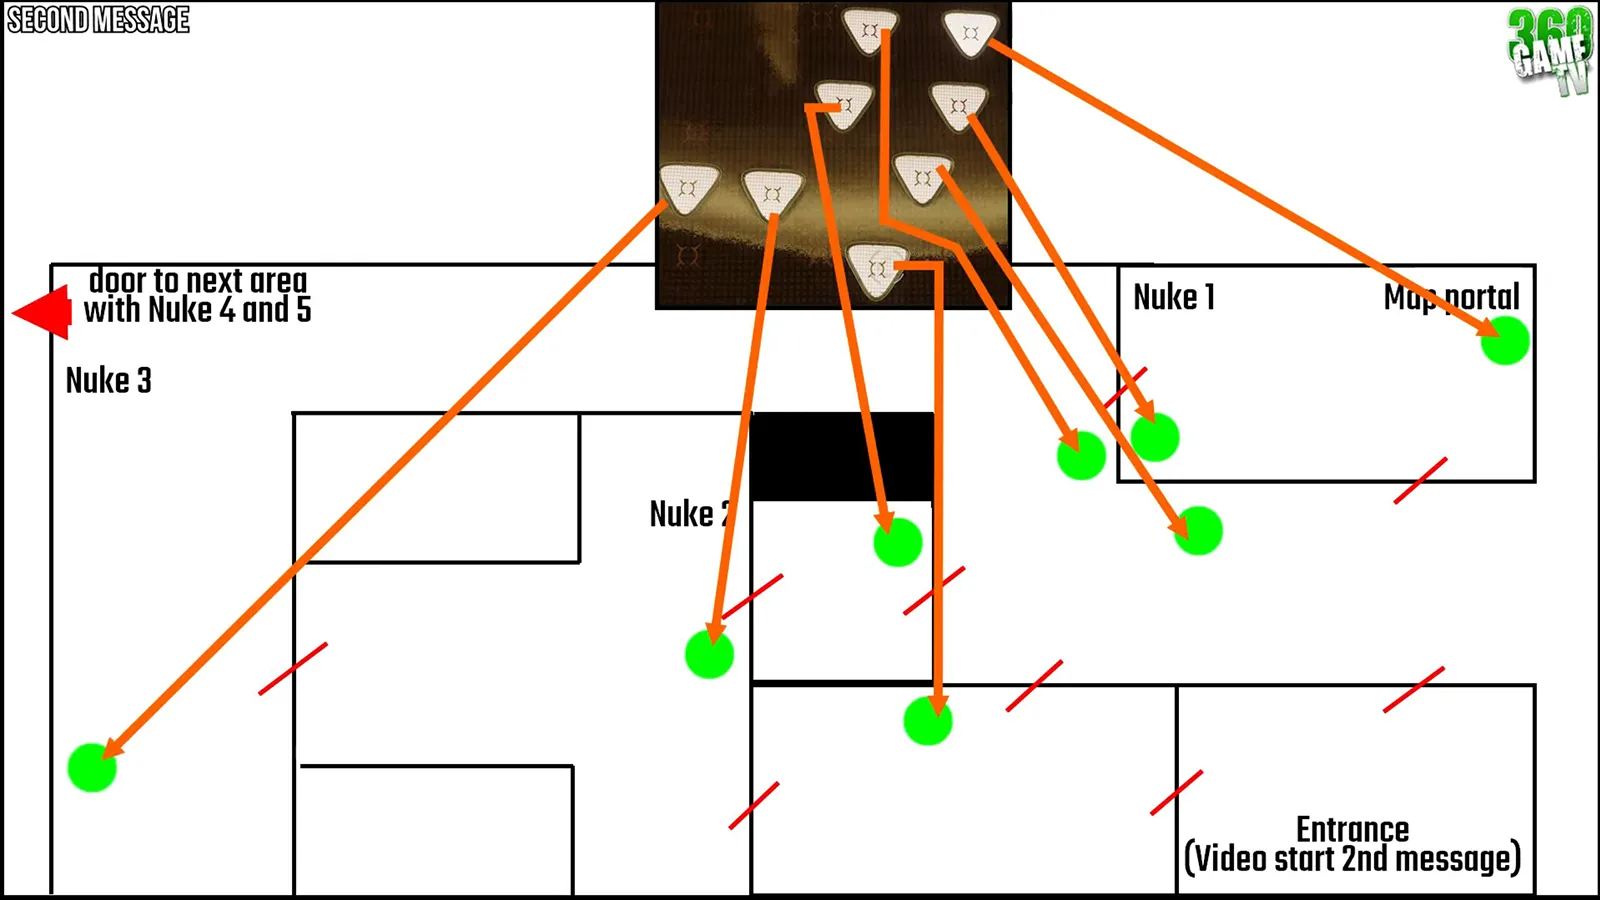
Use the map below to better understand which node corresponds to each plate during the encounter.
Third Message: Raneiks Unified Traversal
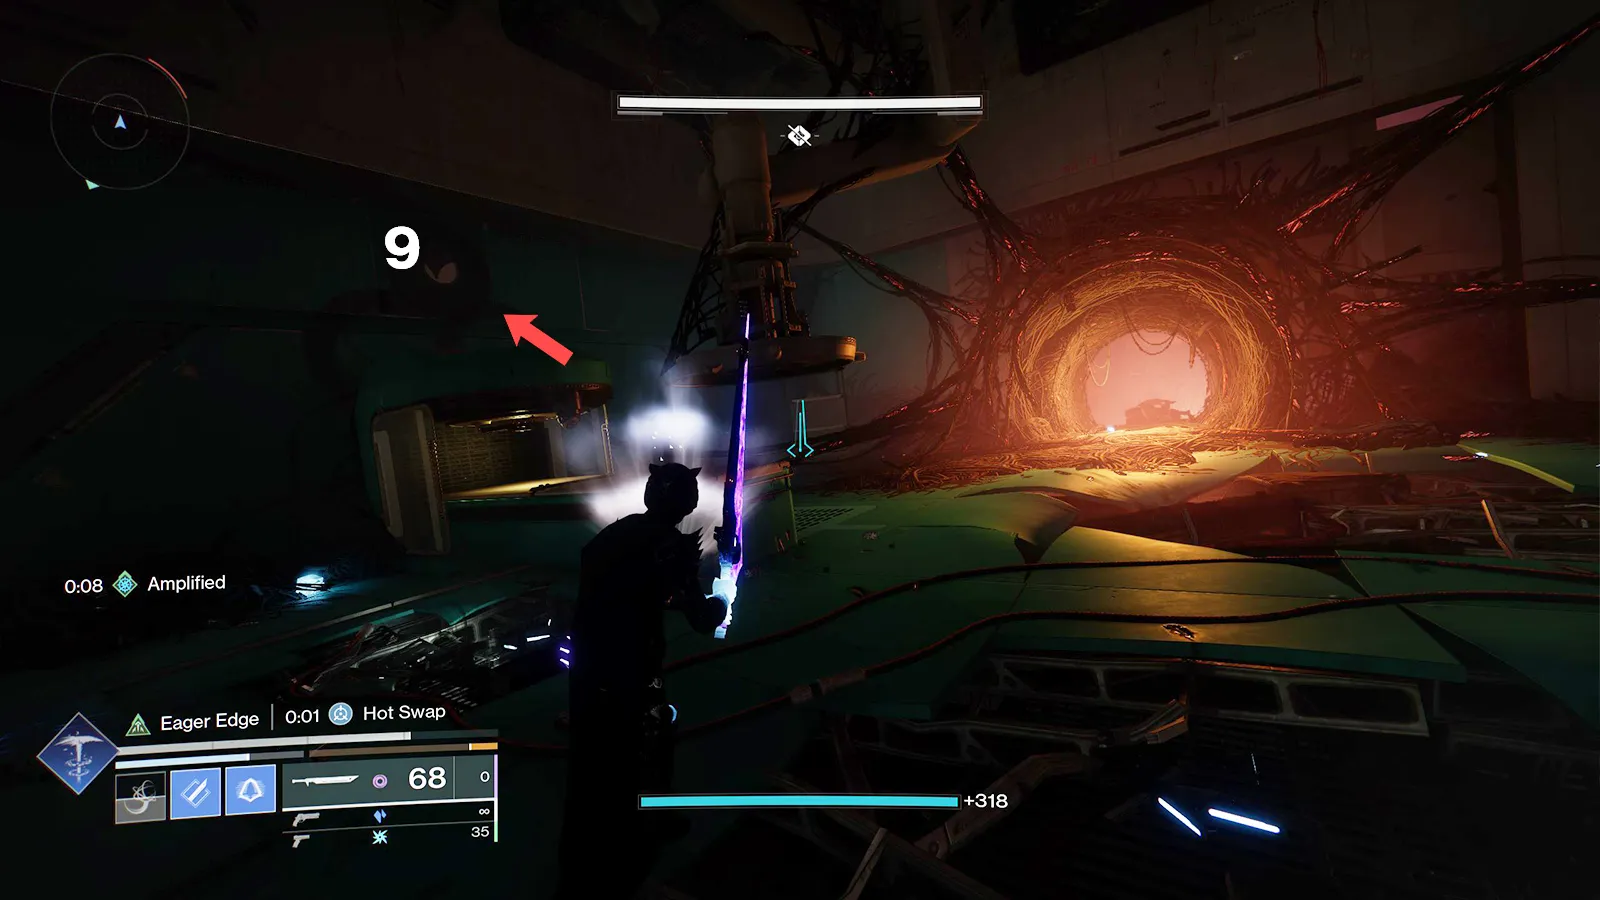
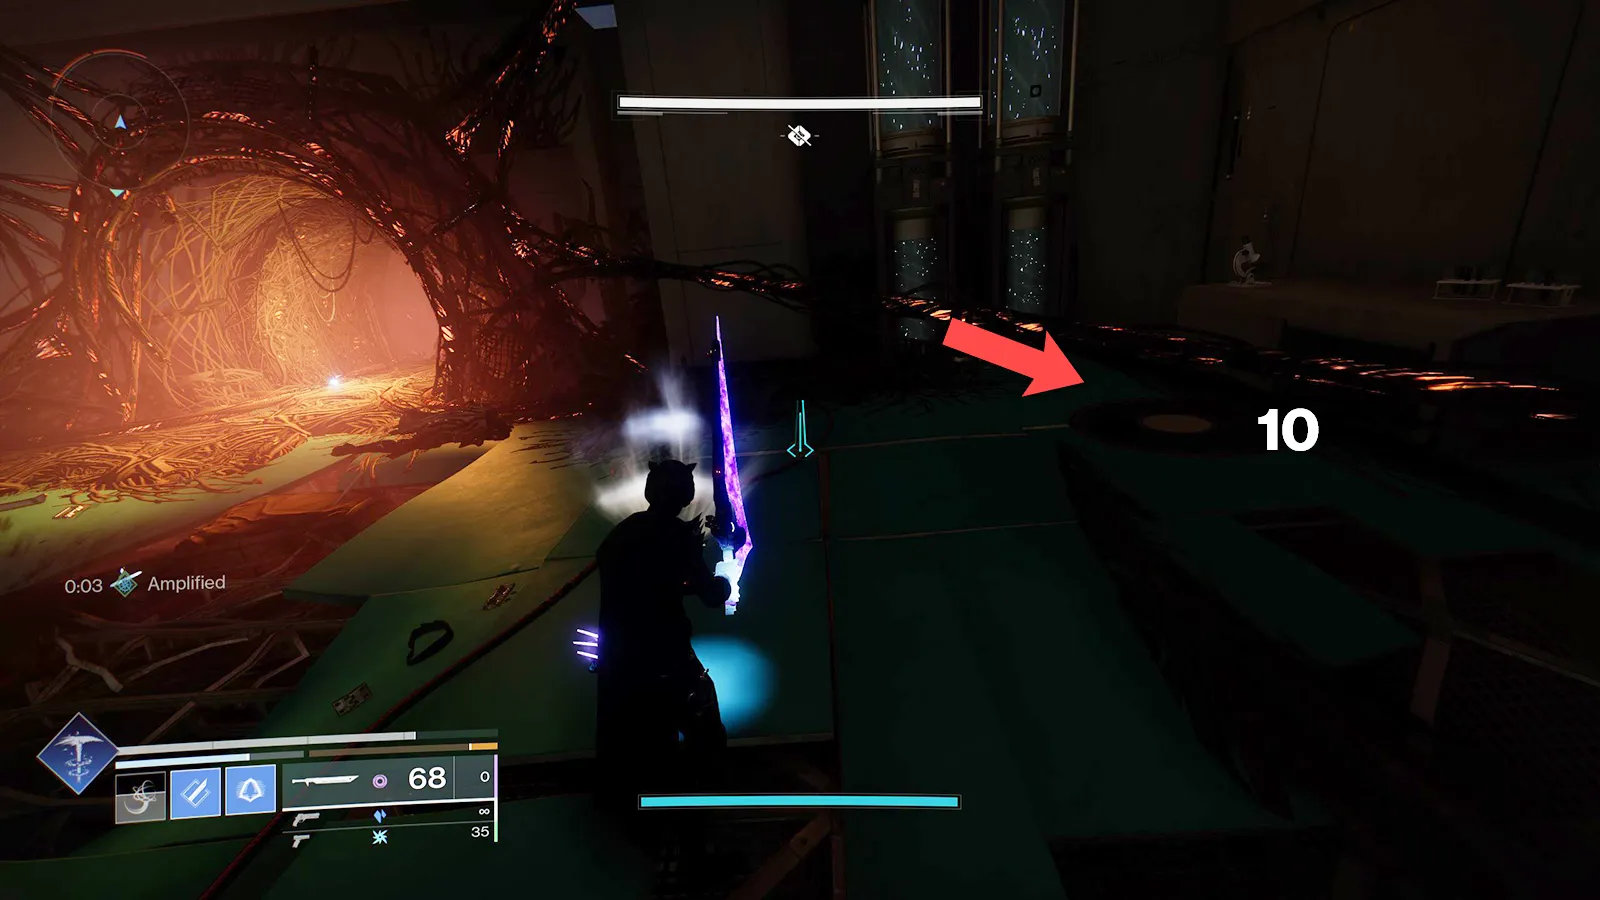
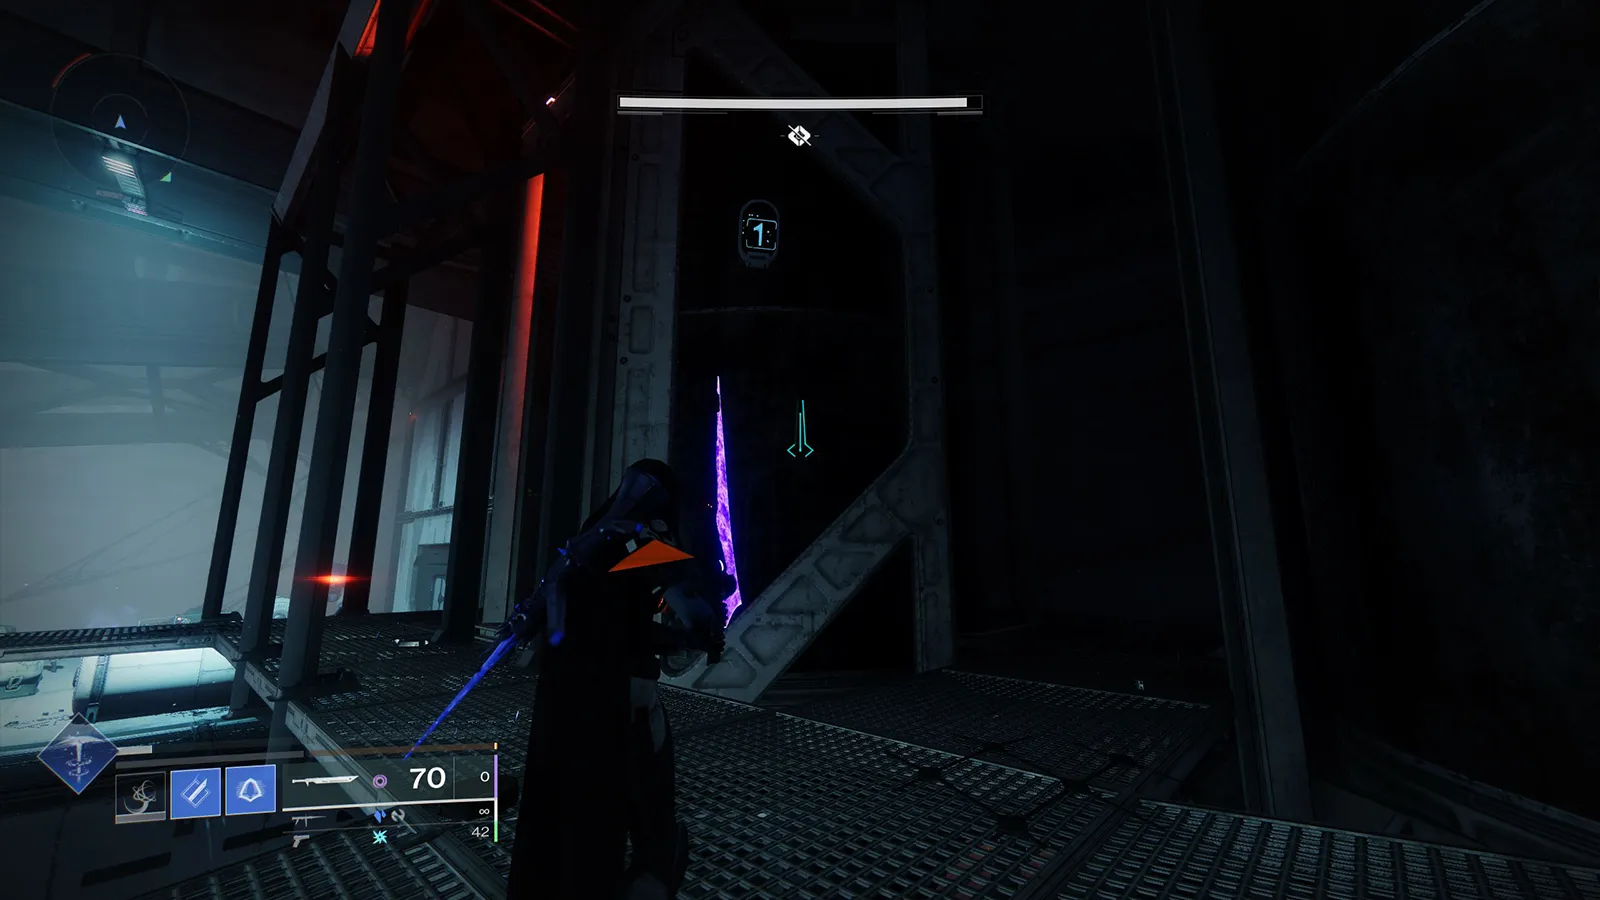
You’ll find this puzzle during the large jumping section after the second encounter (Raneiks Unified) where orange lightning first appears. Make your way forward in the jumping section until you enter a small room with a terminal on the right and a plate on the left.
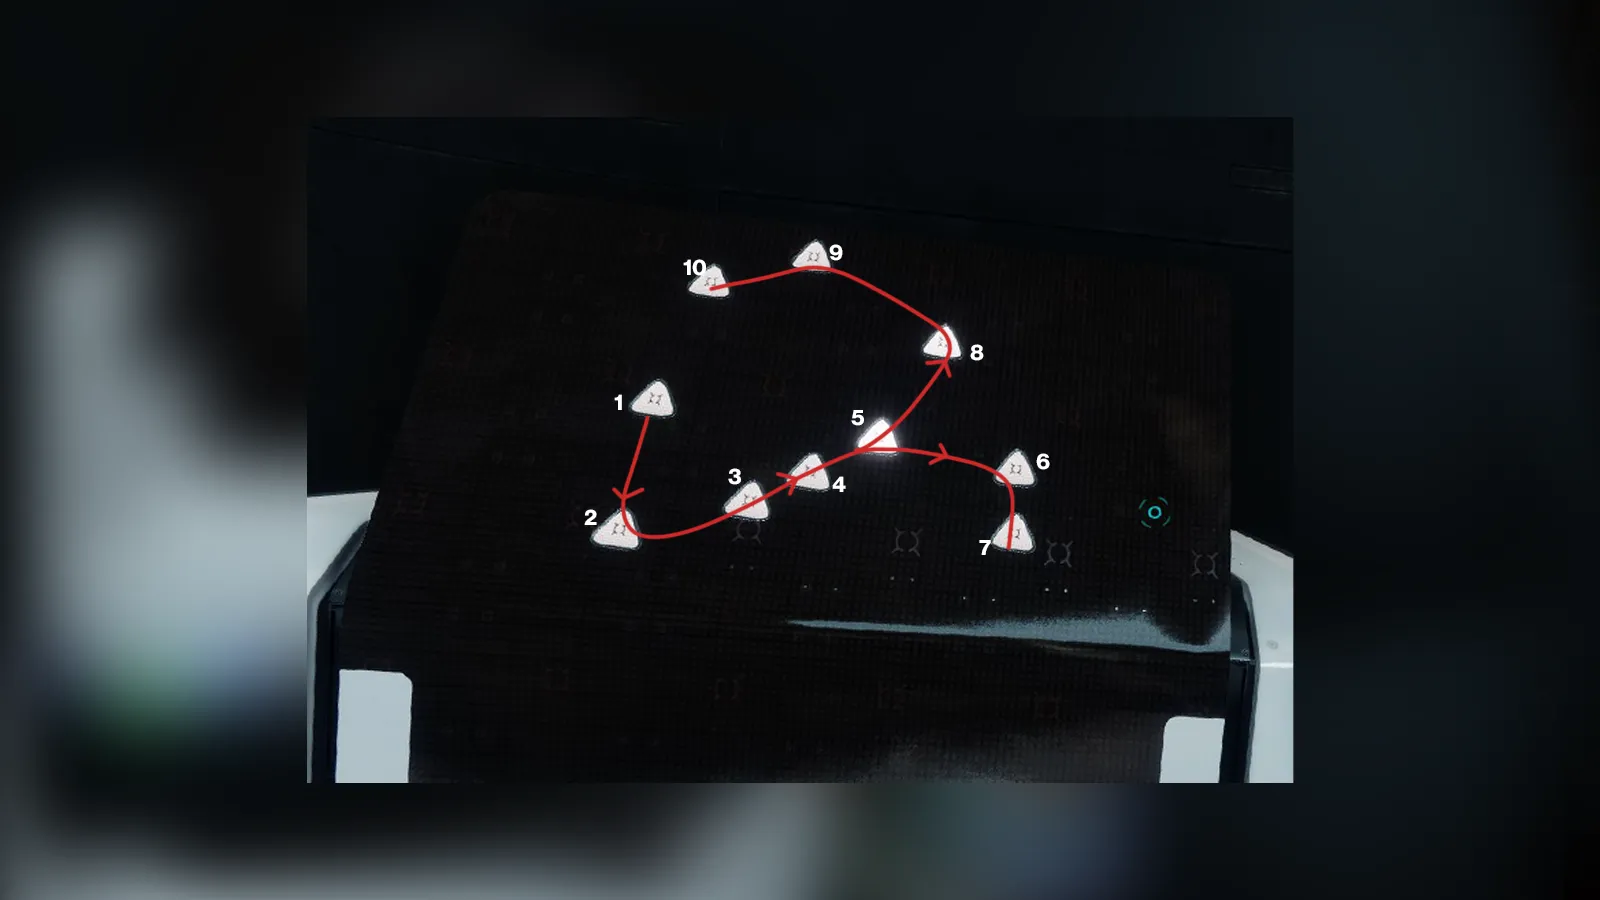
This puzzle works similarly to the previous one, but now involves ten nodes. Start by interacting with the terminal, then locate the blinking nodes and activate the corresponding plates.
Here’s how to solve the third puzzle:
- Activate the terminal to begin the puzzle.
- Locate the blinking nodes on the terminal display and activate the matching plates.
- Continue activating plates until all nodes are successfully activated.
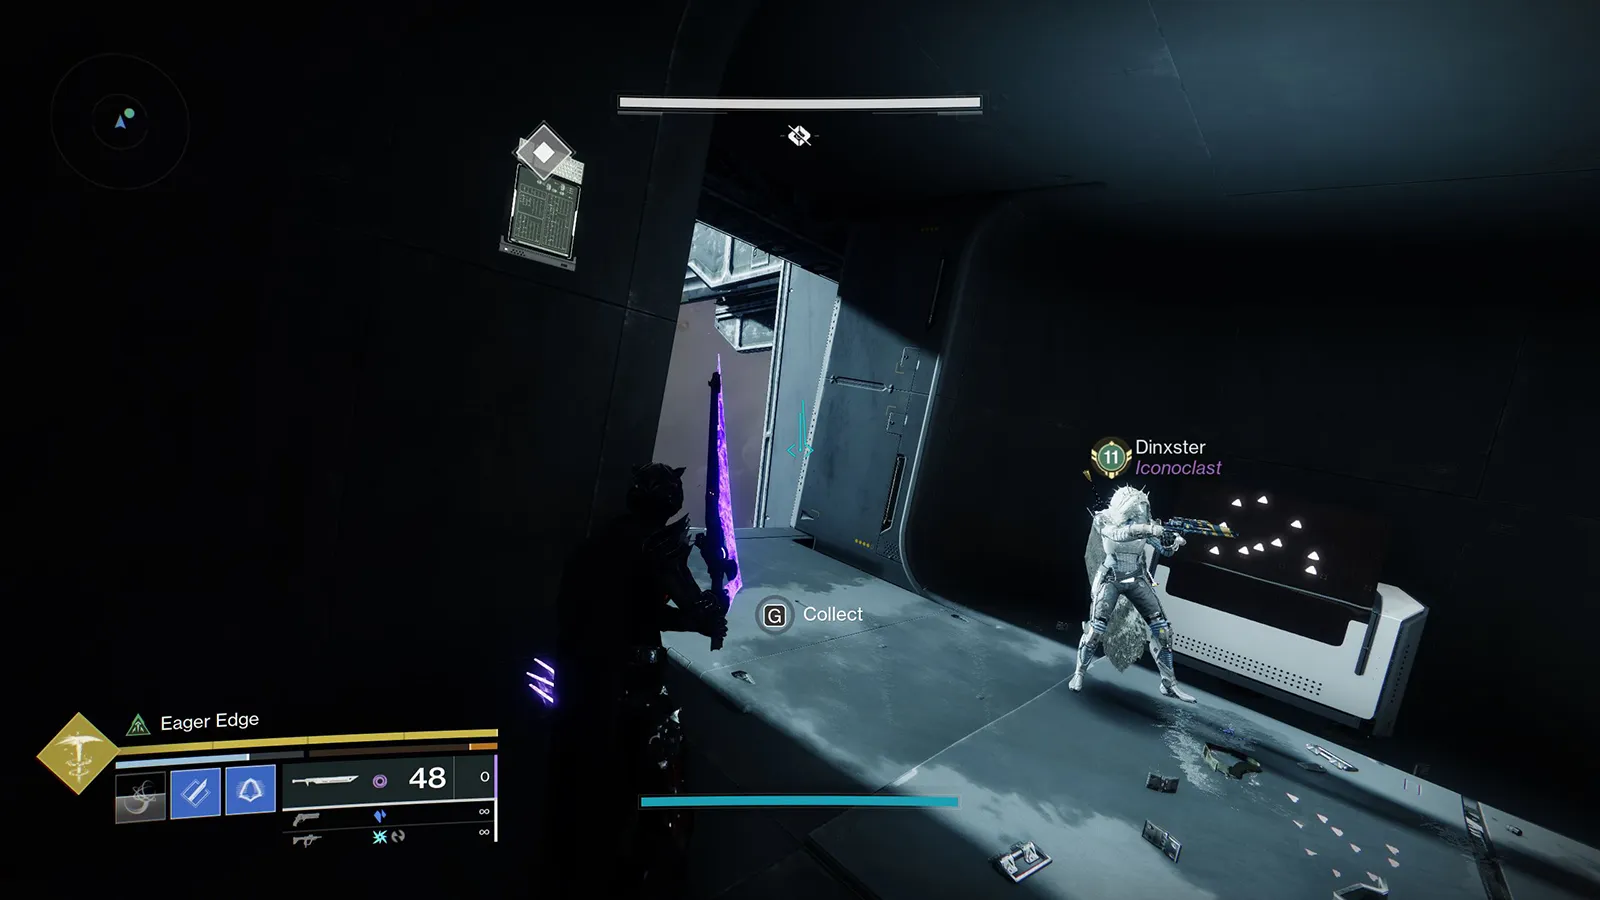
- Once all plates have been activated, a third message will appear on the wall to the left of the terminal. Collect the message to advance the quest.
Here are the locations for each plate, starting from the beginning of the jumping puzzle, as displayed on the terminal.
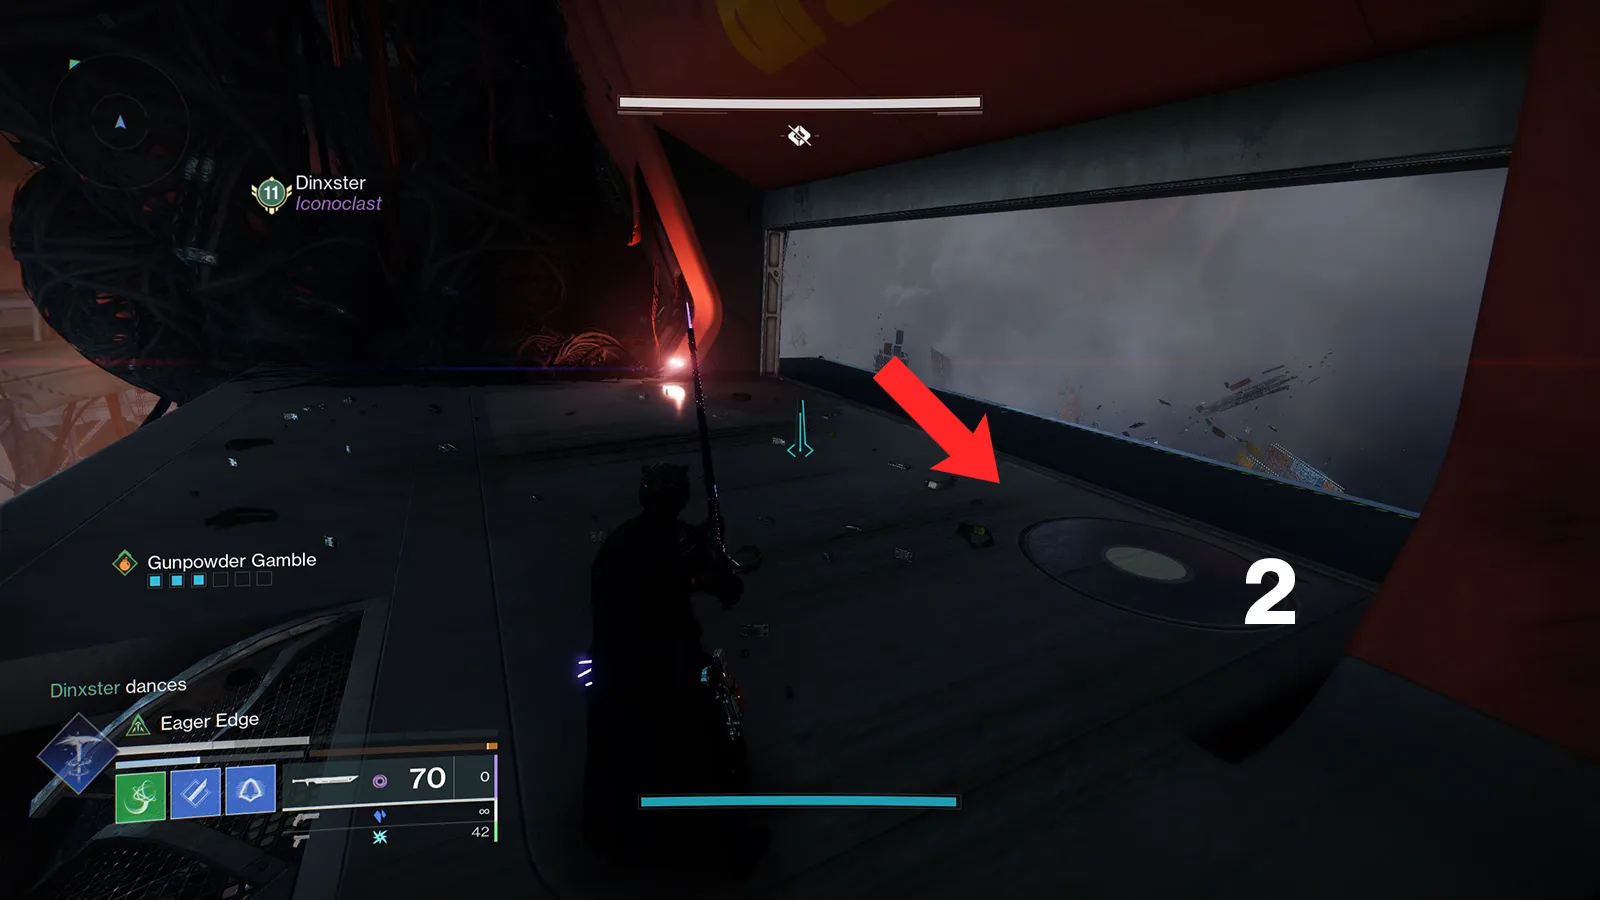

Step 4: Secret Chest
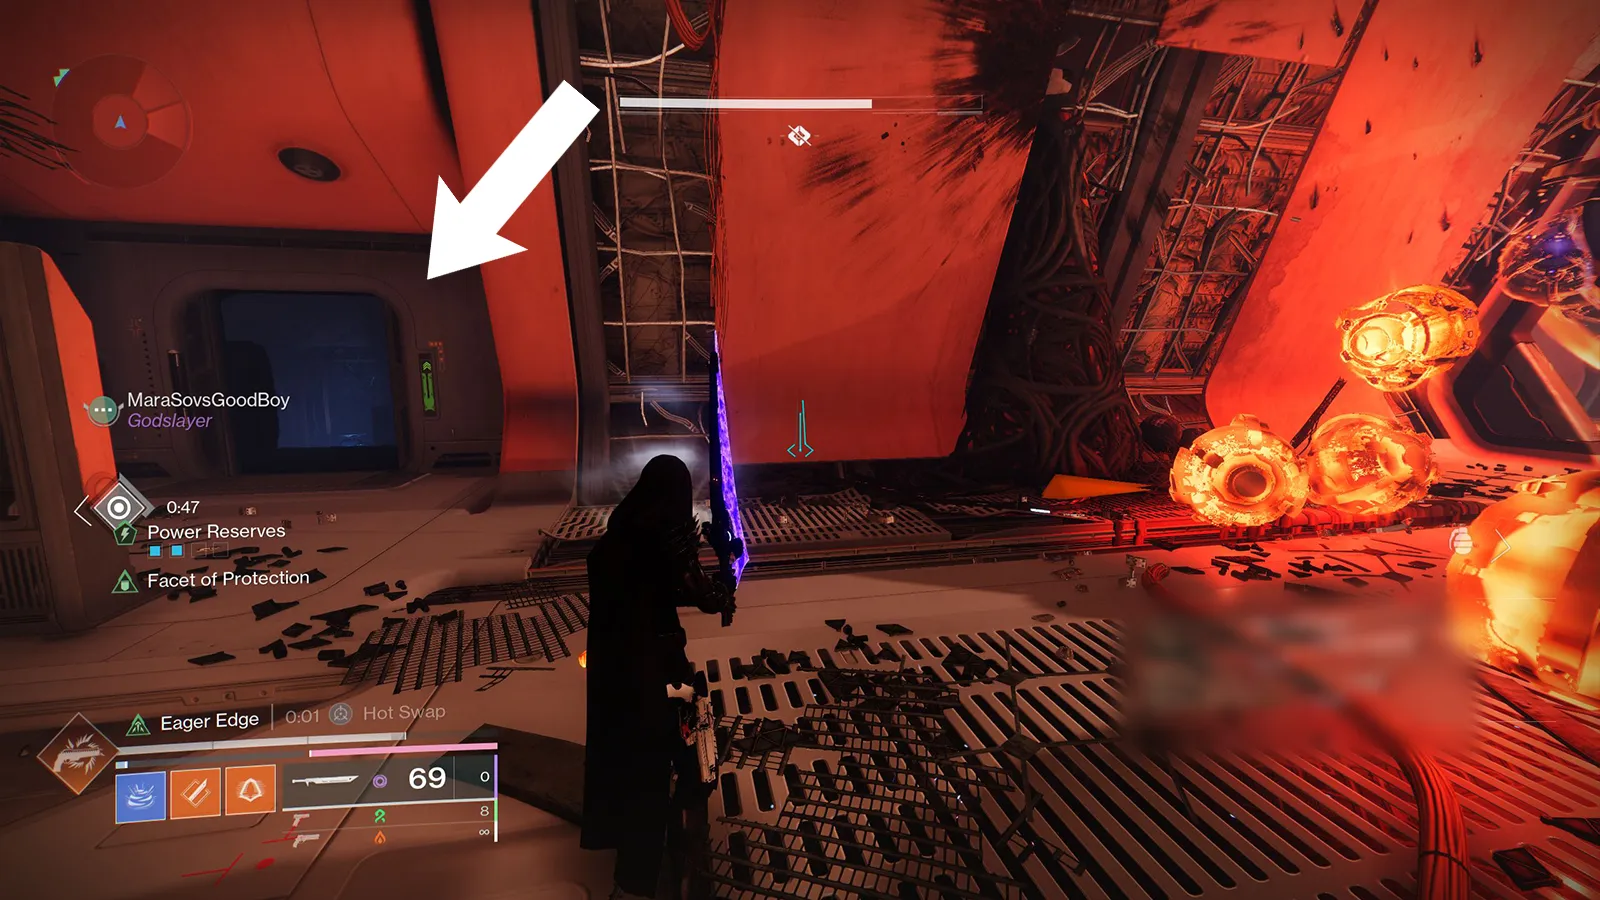
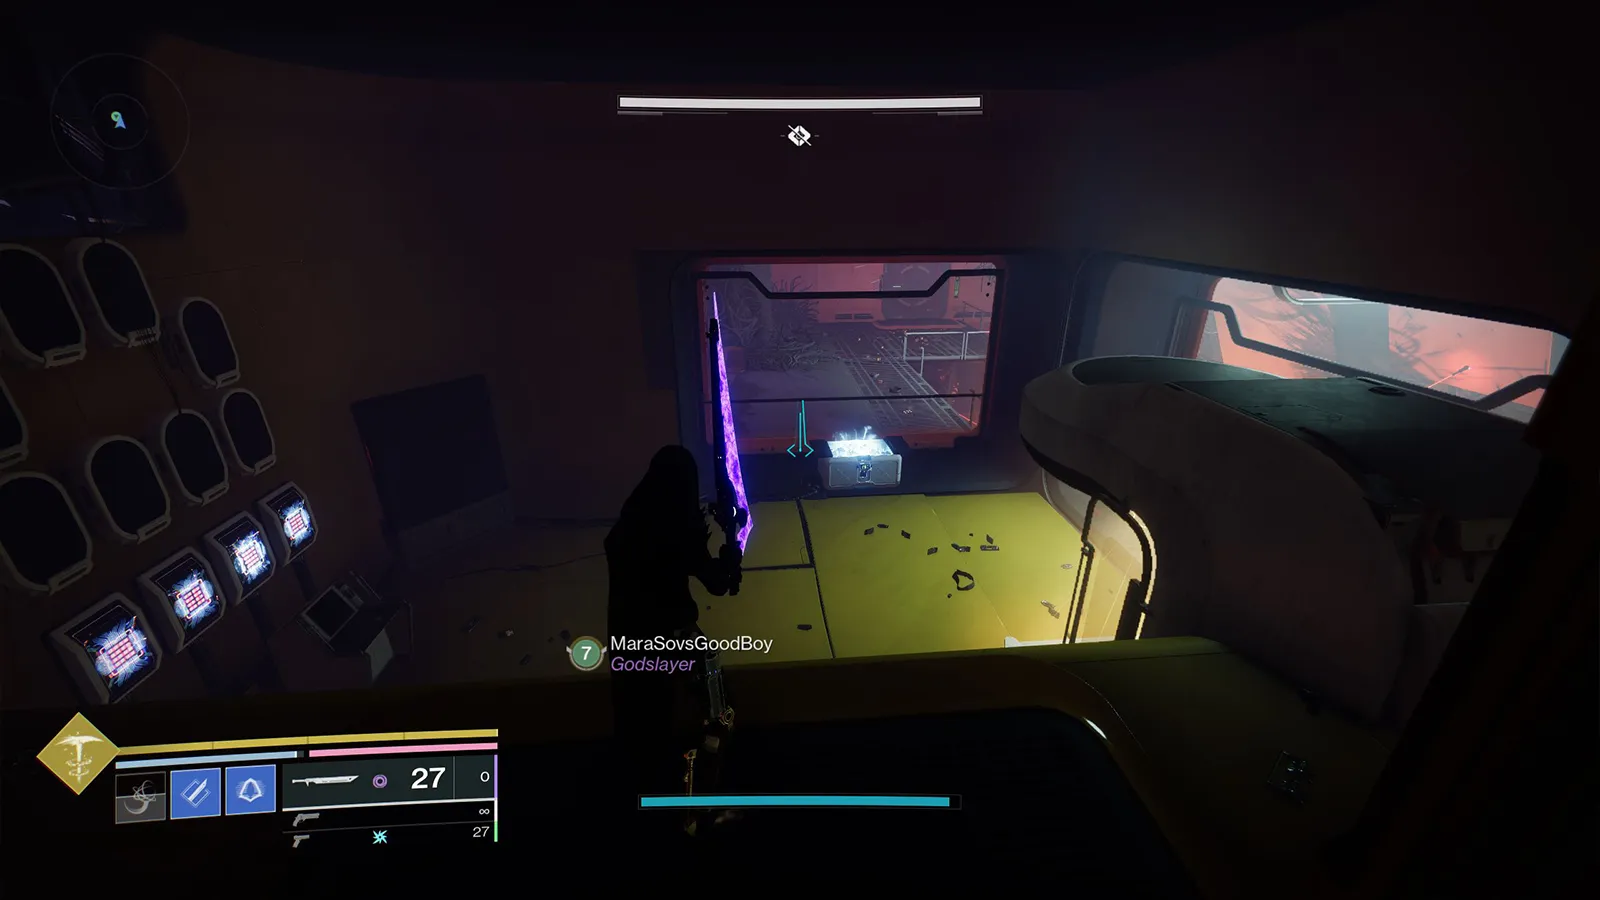
Once you’ve collected the first three messages, your next task is to find and open the first secret chest in the dungeon. This chest can be found shortly after the first encounter, during the Traversal section where you deposit Nuclear Cores.
After reaching the fourth Nuclear Core deposit box, continue moving forward until you come across a debris-filled area. Jump over the debris, and look for a door on your left. Open it, and inside, you’ll find the first secret chest. Opening this chest will progress the quest.

Step 5: Find 3 More Hidden Messages
Now, it’s time to locate the second set of three hidden messages, each tied to a separate puzzle. Just like the first set, completing each puzzle will reveal a new message. Here’s how to find and complete all three puzzles.
First Message: 1st Encounter – Heart Room
The first message is located in the Heart Room of the first encounter. Keep in mind that you need to complete the encounter first since the door will remain locked until then.
Here’s how to solve the first puzzle:
- Enter the Heart Room. Once inside, proceed to the blue room. You’ll notice panels that can be shot using the Operator augment, now displaying several red numbers.
- Unlike the main dungeon mechanic, where you typically shoot the panels that turn white, this puzzle requires shooting the panels that disappear from the Scanner’s map.
- One player should take the Scanner augment, while another grabs the Operator augment. The Scanner needs to call out the panels that vanish from the map, and the Operator should shoot those panels.
- Keep activating the panels until you get the Ascendant Alloy reward.
- Finally, the message can be found on the far-left table in the room. Pick it up to progress the quest.
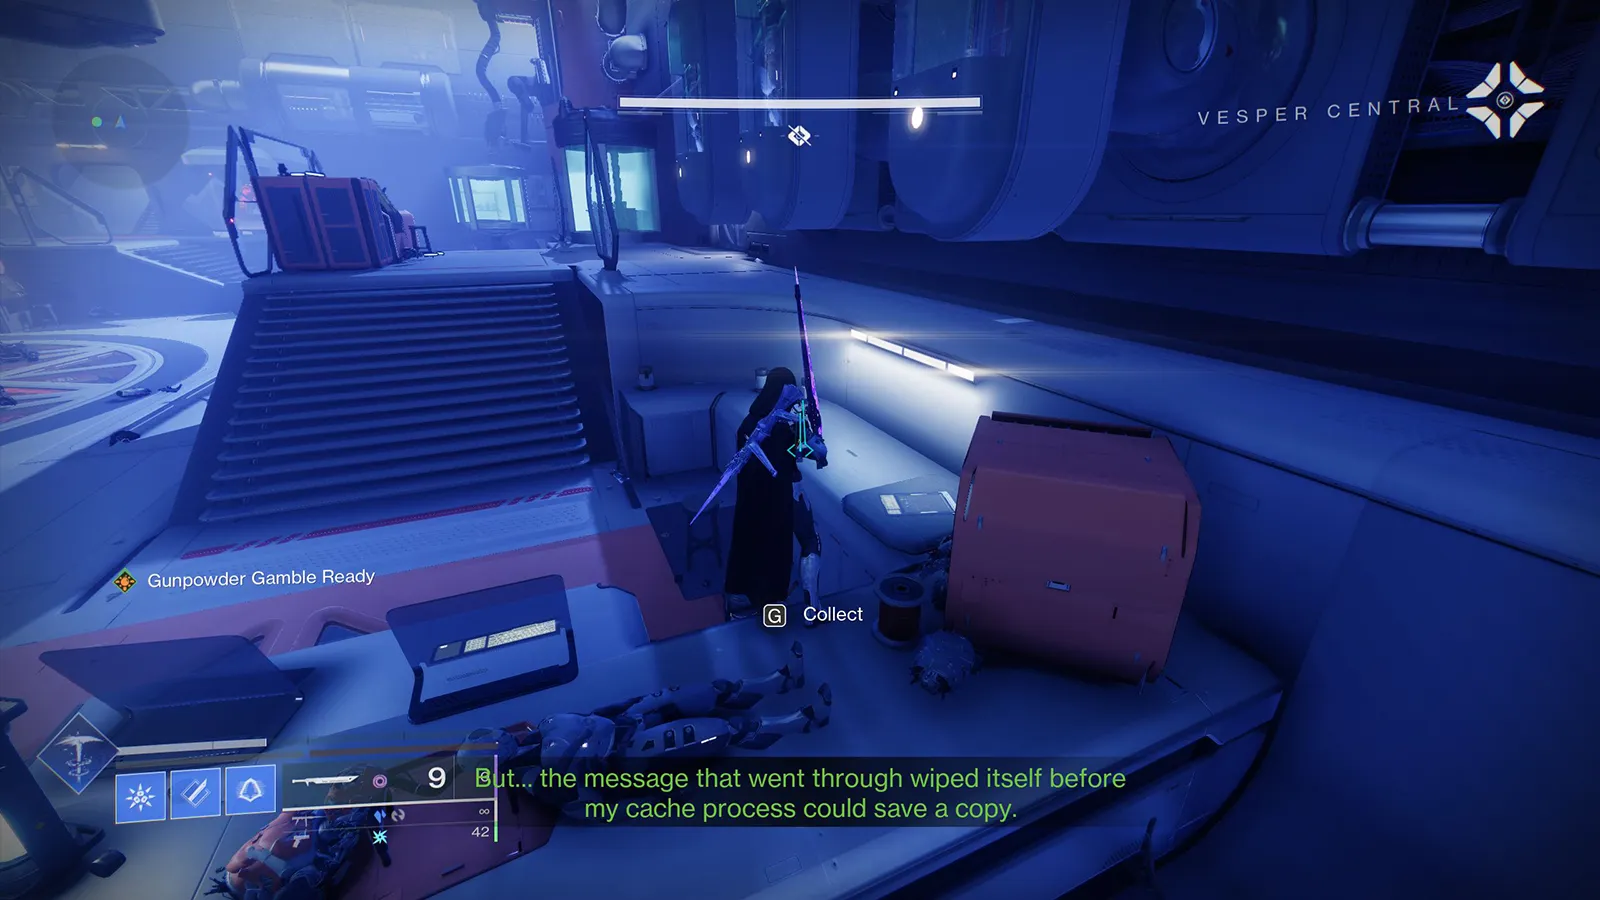
Second Message: Jumping Puzzle (Start)
The second message is located at the beginning of the jumping puzzle, just after you drop down. Head toward the platform where you’ll face a Fallen Brig along with some lower-tier redbar enemies. Clear the area, and you’ll notice there is now an Operator and a Scanner augment, along with several panels with numbers scattered throughout the area.
Like the previous step, the Operator must shoot the panels that disappear from the Scanner’s map. Continue activating the panels until you receive an Ascendant Alloy as a reward. Once you’ve completed this, return to the Augment area, where a datapad will have appeared on the wall.
Collect the datapad to advance the quest.
Third Message: Jumping Puzzle (End)
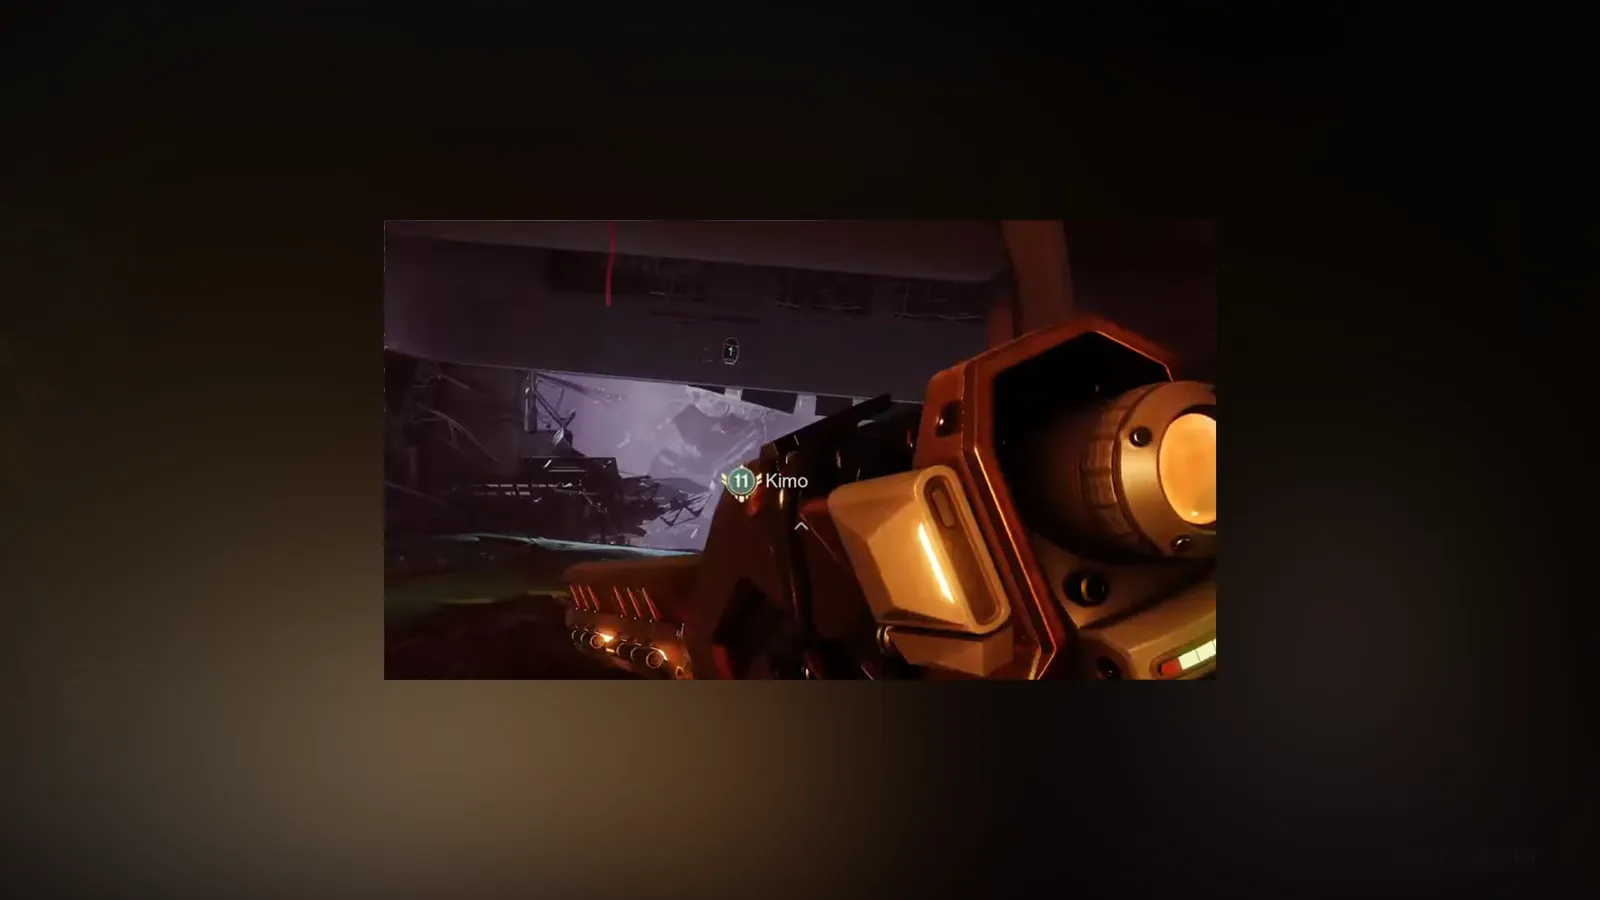
The third and final message is located at the end of the jumping puzzle right before the final boss encounter, and after you defeat a Machine Priest.
Once you’ve taken down the Machine Priest, move ahead and jump on the stationary platforms. Look for a Scanner and an Operator augment on one of the hollow platforms. Pick up the augments, and use the Operator augment to shoot the panels that disappear from the Scanner’s map. Keep doing it until you receive an Ascendant Alloy reward.
The third datapad message will spawn on top of the Augments platform on a pillar.
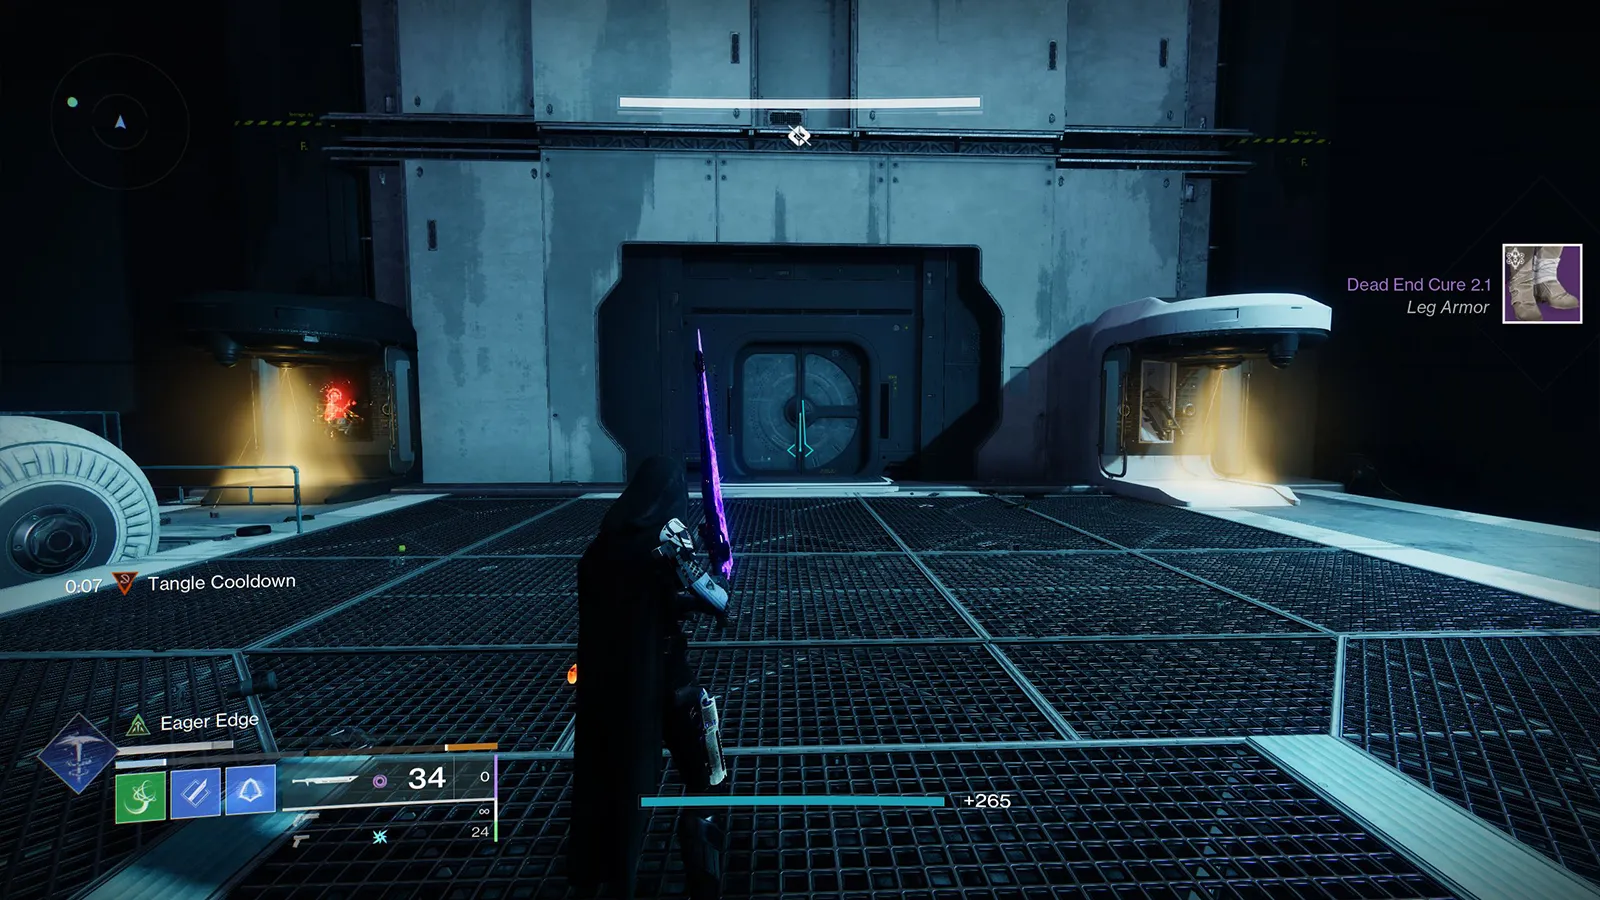
Step 6: Secret Chest
Return to the previous room where you defeated the Machine Preist boss, and head towards the room filled with Tripmine grenades. There’s a room that was previously locked.
Unlock the door and you’ll find the secret chest inside. Open the chest to advance the quest.
Step 7: Visit Spider
Once again, go visit Spider in the Last City seasonal hub area and he will give you the next quest step.
Step 8: Activate Blue Panels
To progress, you’ll need to activate two out of four blue panels with rotating numbers located throughout the dungeon. Here’s where to find each panel:
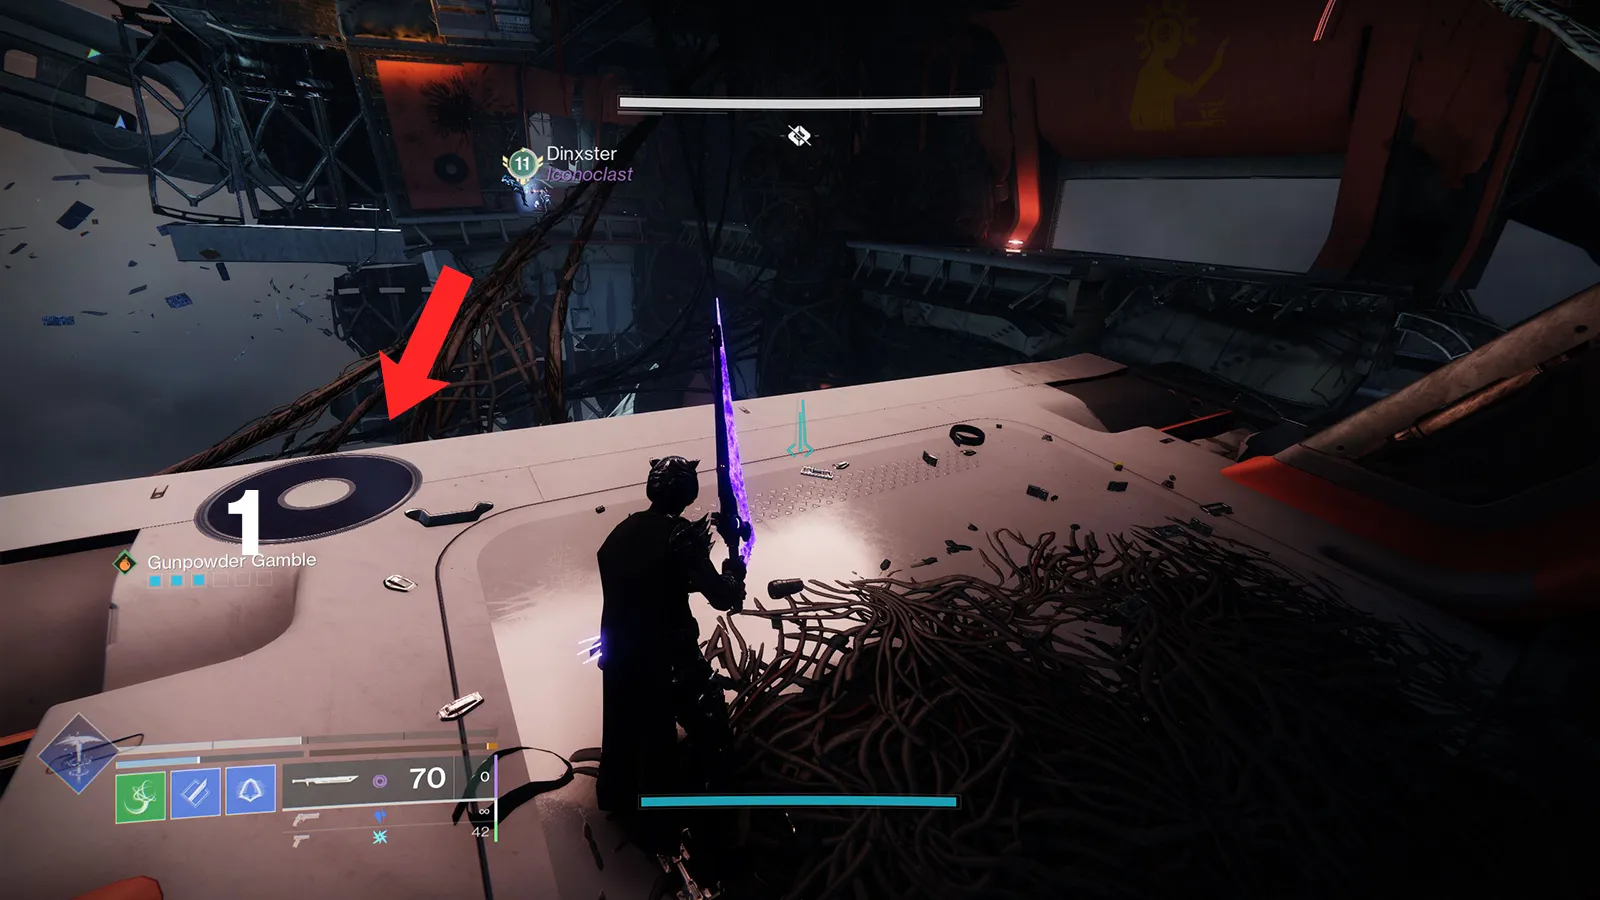
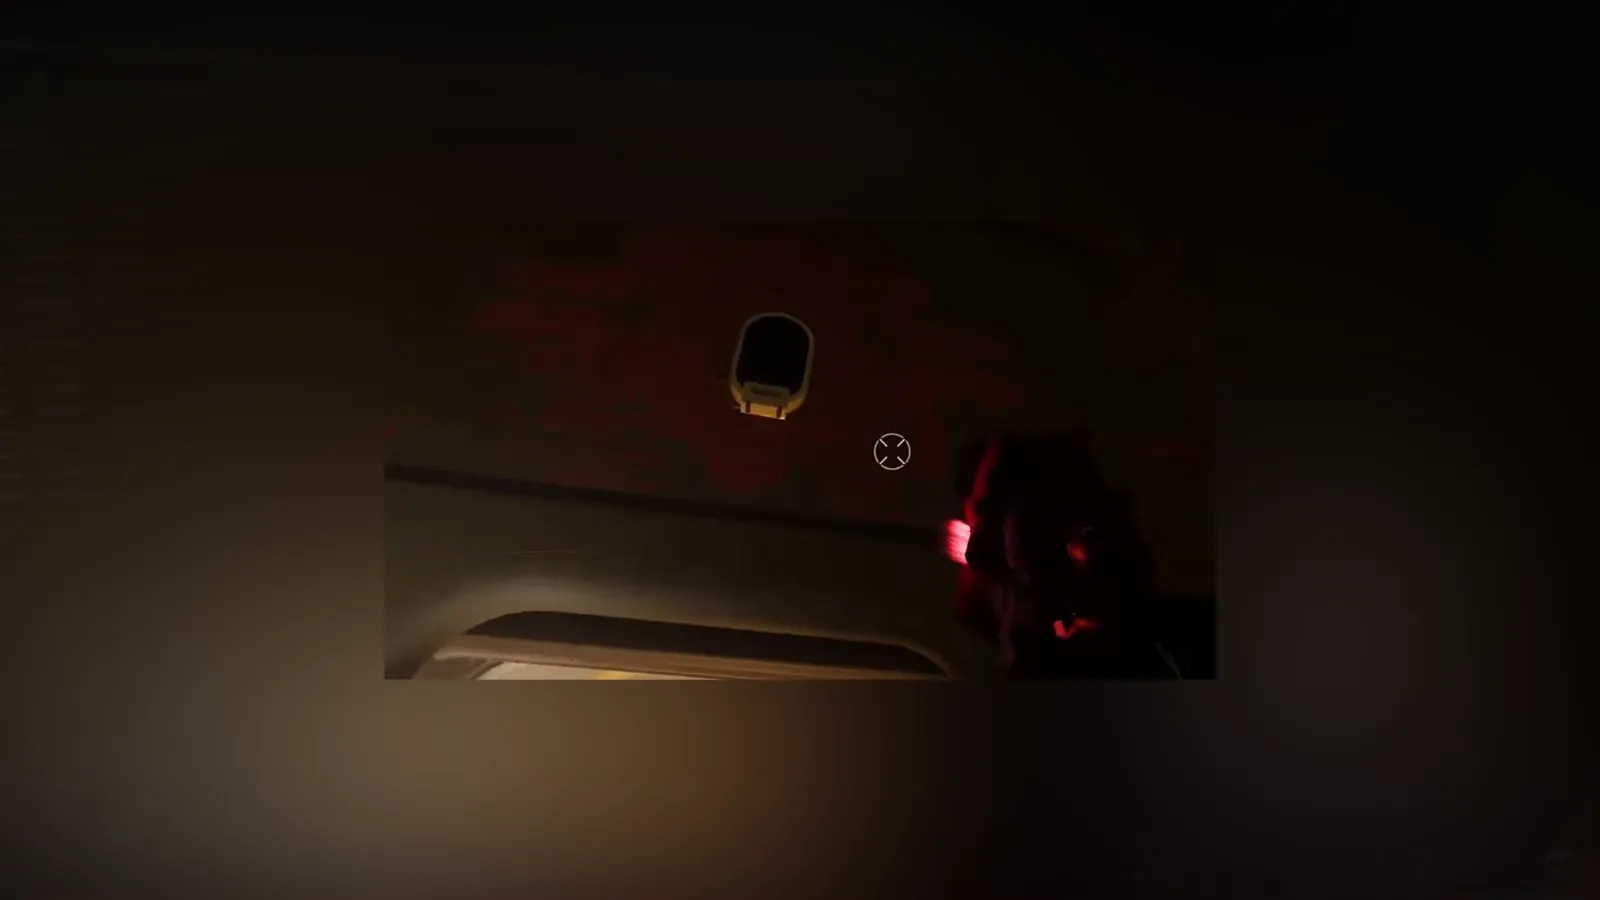
- First Panel: Before reaching the second encounter, look above the doorway you enter before a short jumping puzzle. Turn around and shoot the panel to activate it.
- Second Panel: Also before the second encounter, enter the room where you would typically turn right. Instead, go left to find the panel at the dead end. Shoot the panel to activate it.
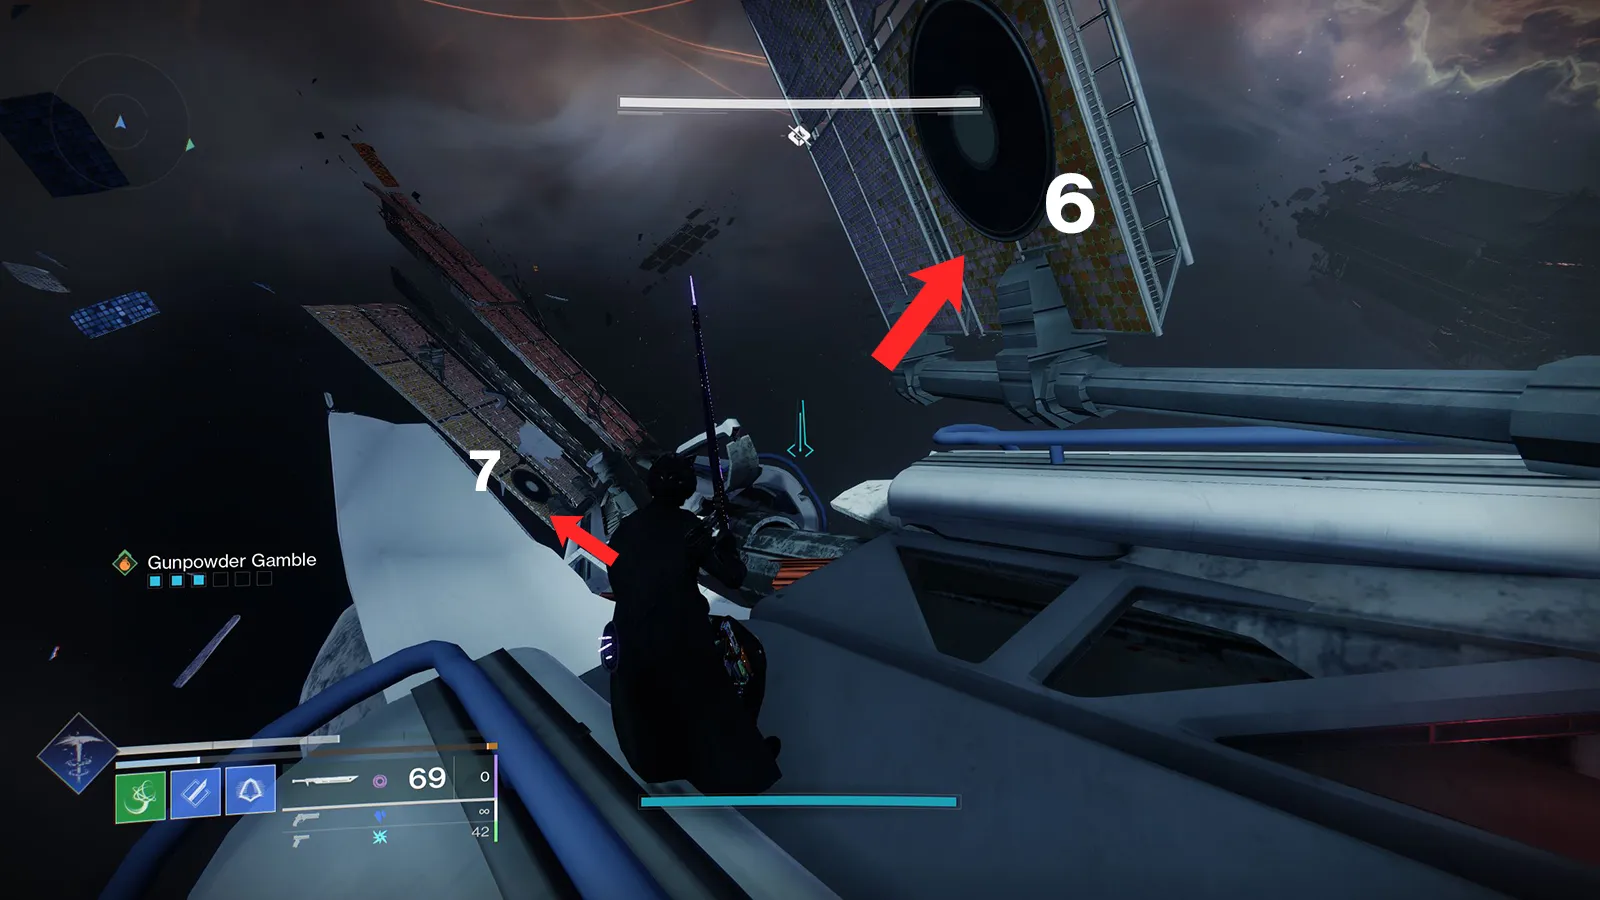
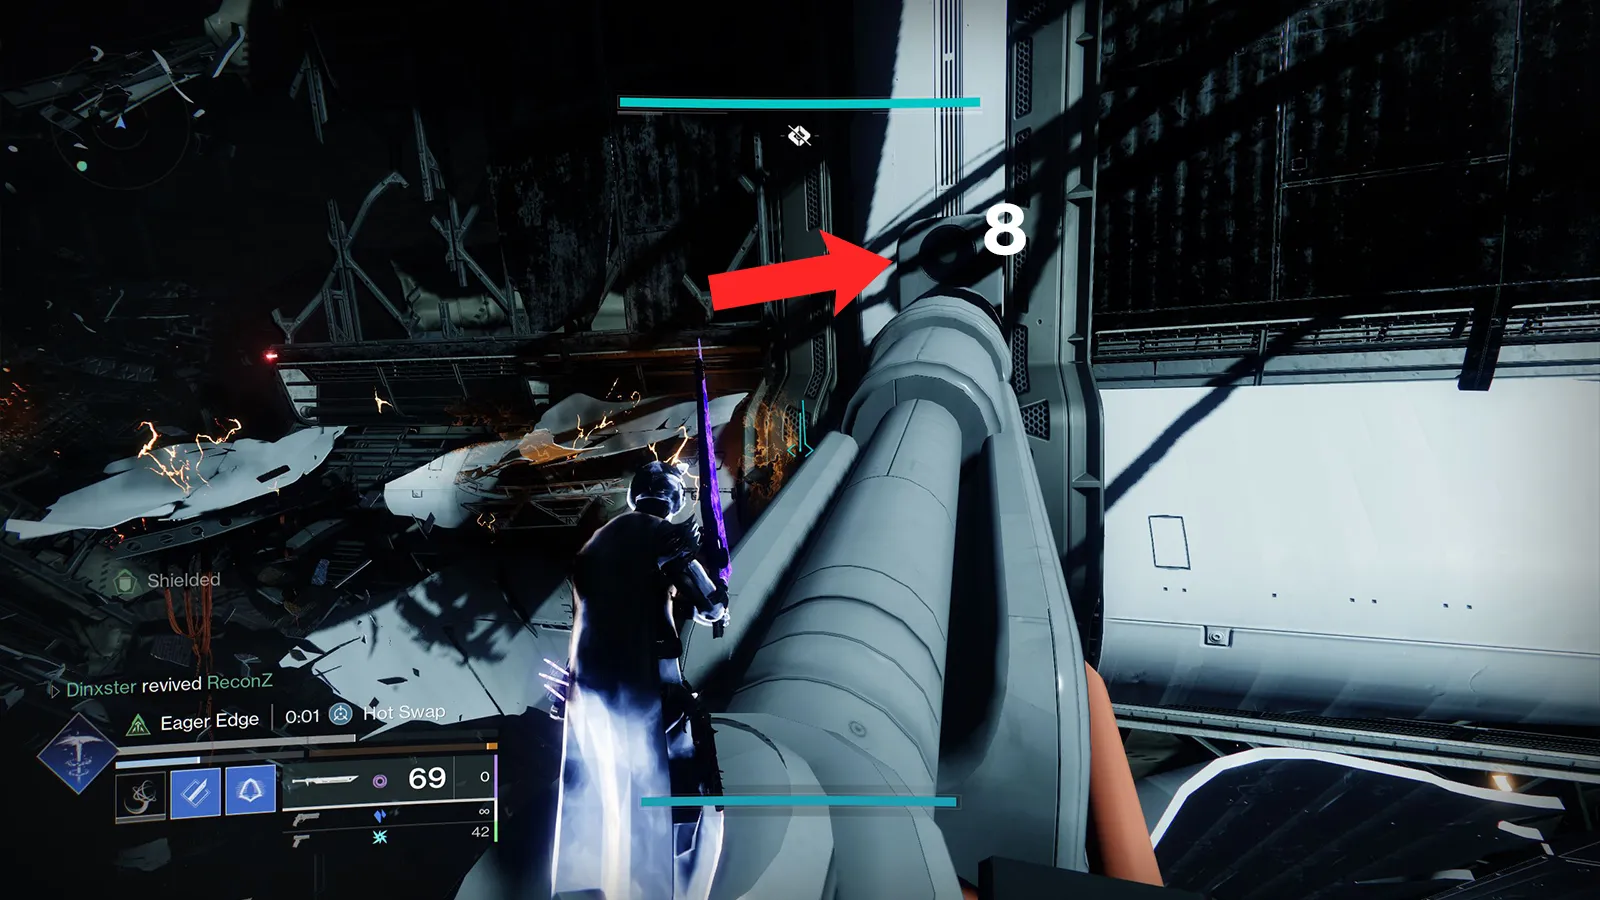
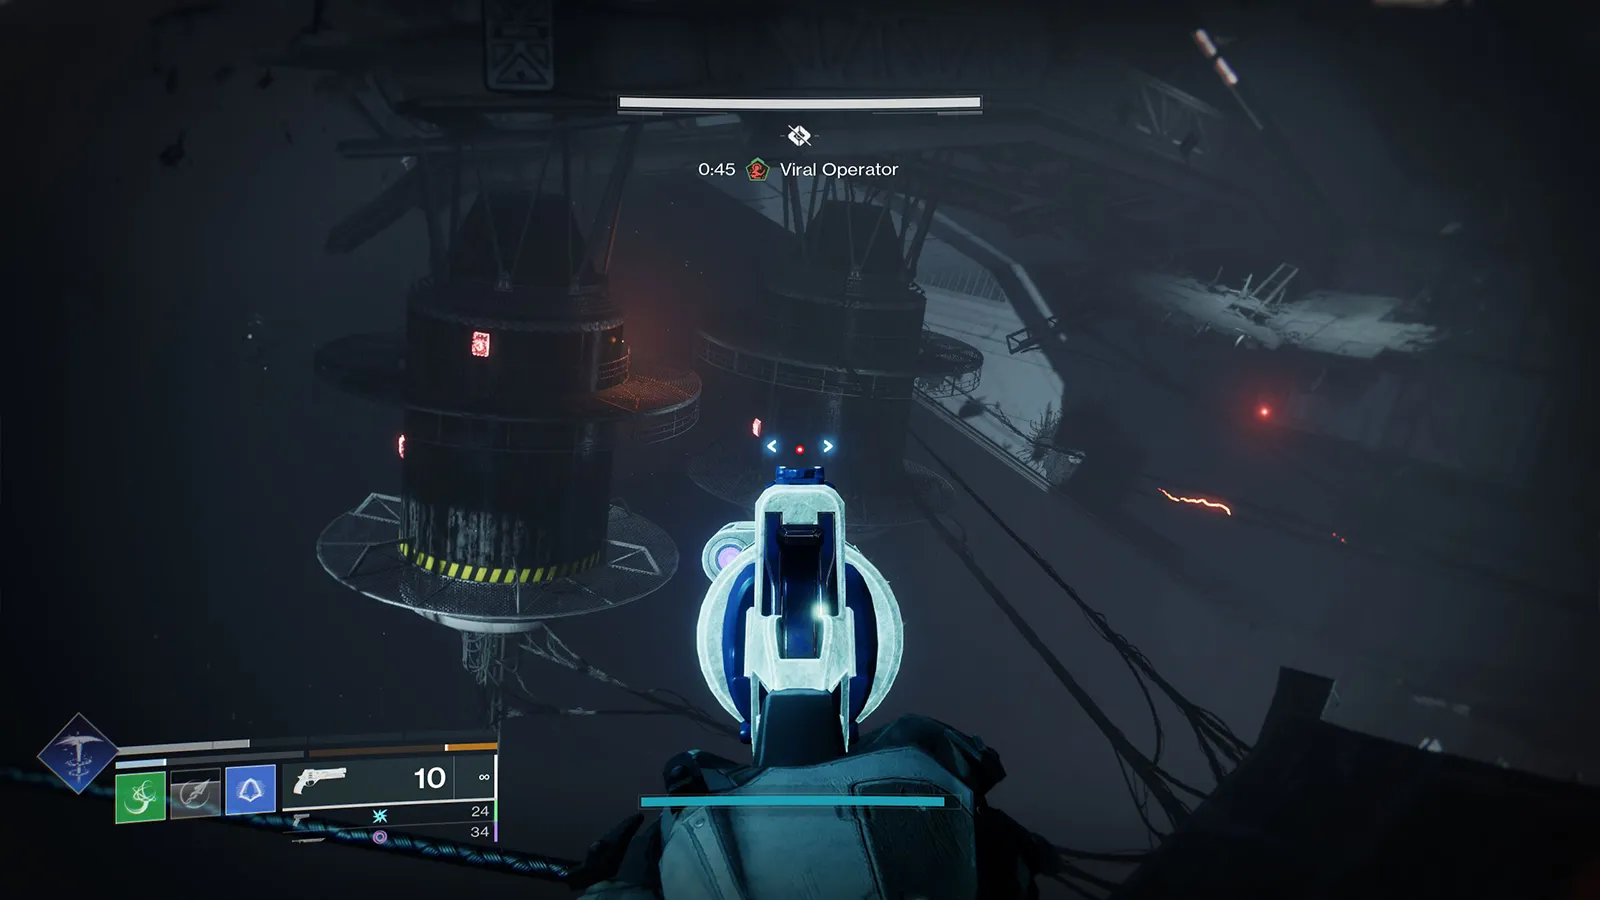
- Third Panel: After the second encounter, at the start of the main jumping puzzle, you’ll come across this panel. Defeat the Fallen Brig, jump onto the next platform, then turn around and you’ll see this panel on one of the large cylinders. Shoot the panel to activate it.
- Fourth Panel: At the end of the jumping puzzle, where you find the ninth and tenth plates, turn around to see the fourth blue panel. Shoot it once to activate it.
It’s unclear right now if you need to shoot two or all four panels to get the Operator augment to spawn. We got it to work by shooting only the last two panels.
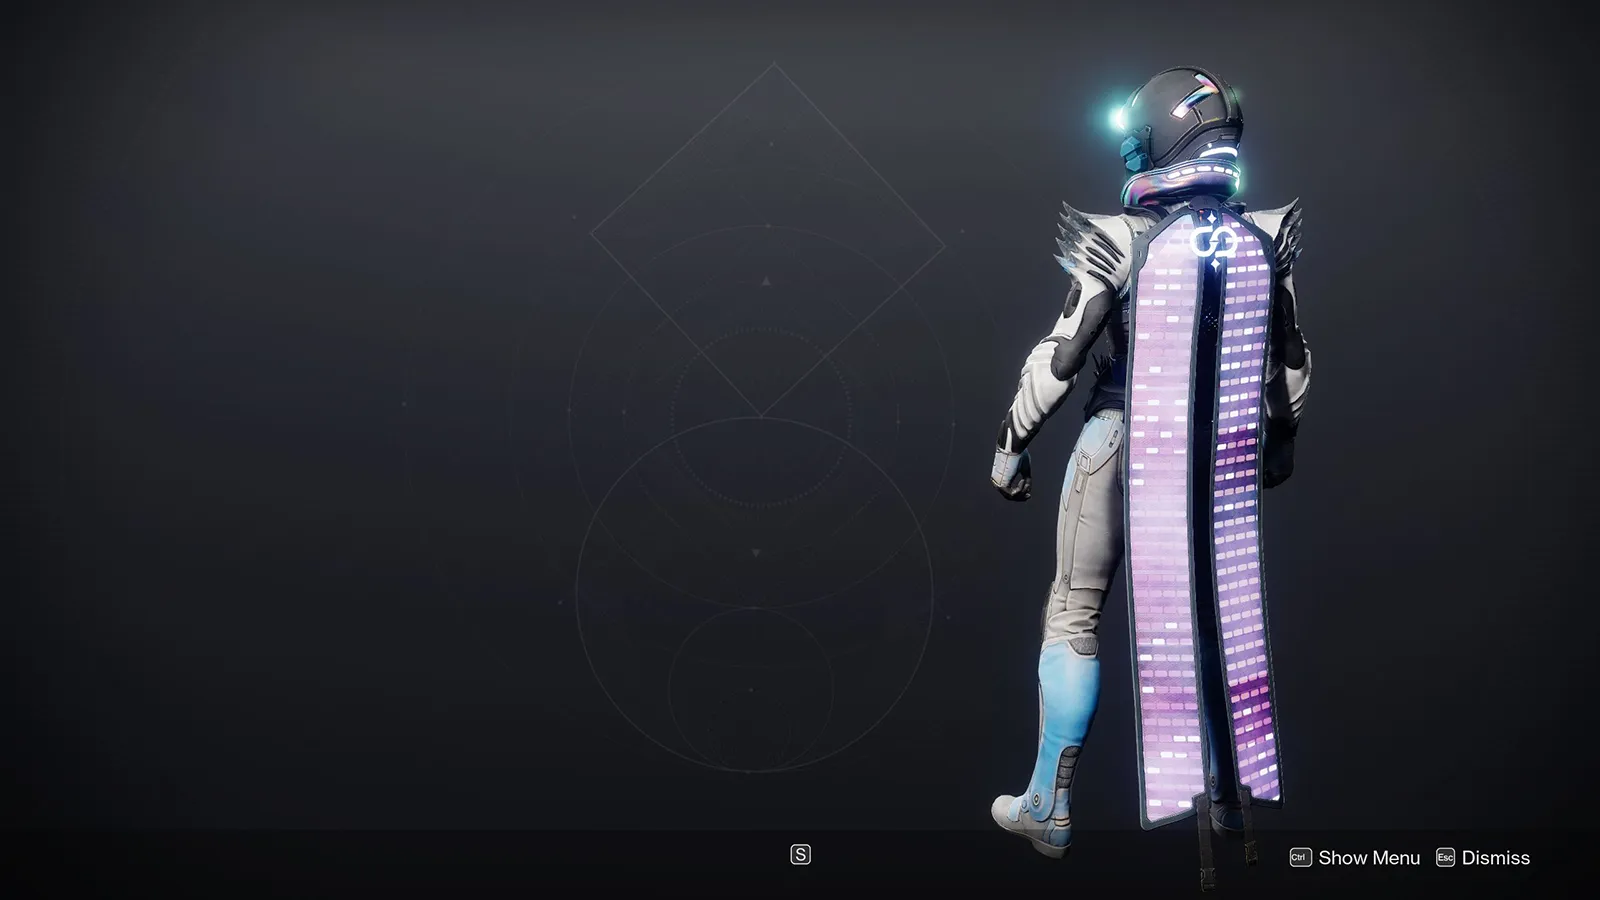
Step 9: Claim Your Class Items
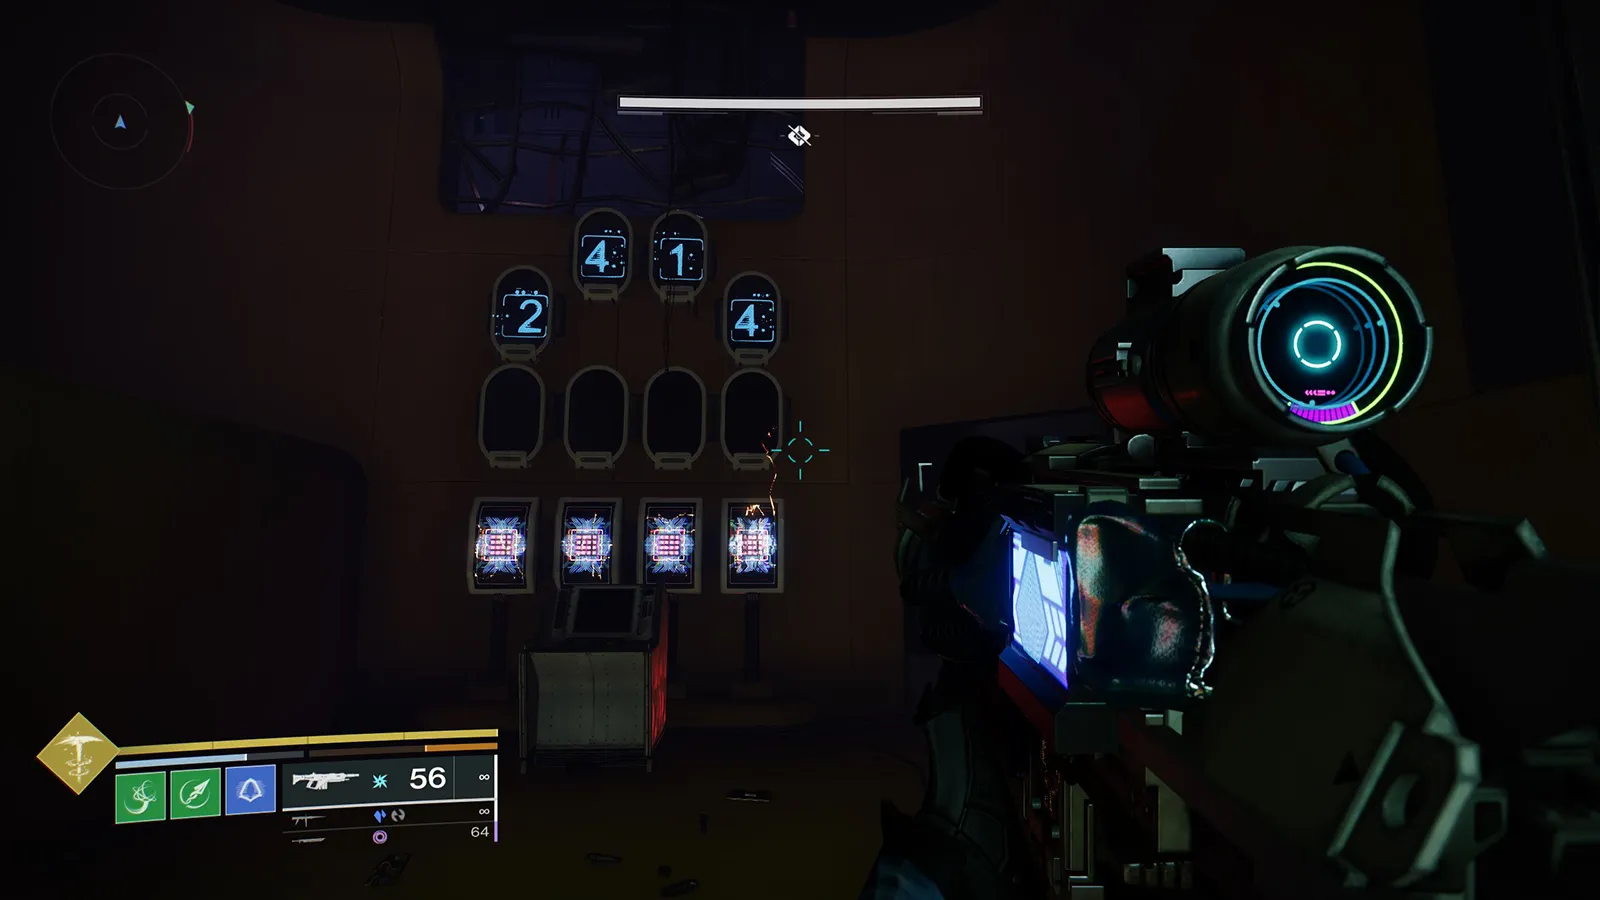
Once you’ve activated any two of the four blue panels, head back to the second secret chest room. You’ll notice an Operator augment has appeared, along with a mix of blue and white panels.
- Pick up the Operator augment, then shoot the far-right panel (fourth) and the second panel from the left. This sequence essentially enters the numbers “4” and “2.”
- Activate the terminal and a message will appear on your HUD saying, “Access granted.”
Now, loot the chest behind you to unlock the dungeon’s exclusive class items.
Step 10: Return to Spider
Finally, return to Spider at the Last City seasonal hub to complete the Rogue Network questline.
And there you have it—a comprehensive guide to unlocking Vesper’s Host dungeon class items in Destiny 2! If you’re looking to maximize your rewards, do check out our complete Vesper’s Host dungeon loot table.
What do you think about this dungeon? Share your thoughts in the comments below!

Brown states Kings fans ‘deserve better’ after loss to Pacers

‘Smooth sailing so far,’ holiday travel rush in full swing at PHL

High school sports scores, schedule for Dec. 22, 2024 | Trib HSSN

College basketball rankings: Auburn, Tennessee on top; Michigan State climbing

Katrina Kaif walks hand in hand with Vicky Kaushal in stylish winter outfit. Loved her trench coat? Here’s how to get it

Numerology Horoscope Today: Predictions for December 23, 2024

Valeri Nichushkin with a Goal vs. Seattle Kraken

US fitness influencer dies at 43, months after being shot during LA robbery

Curran: Patriots ‘finally showed a pulse’ in loss to Bills
