Travel
These iPhone apps and features are my go-to for stress-free travel
Key Takeaways
- Google Maps remains the best choice for navigation worldwide, offering offline caching for rural areas with poor cell coverage.
- Download videos on streaming apps for offline viewing, but be mindful of storage space and plan your downloads ahead of time.
- Keep Low Power Mode on during travel to conserve battery power, and disable cellular functions while flying to save battery life.
I may not be a jetsetter, but I’ve traveled a lot more in my life than I would’ve anticipated. I’ve been to every state in the mainland US, every province in Canada, and a select few places in Austria, Mexico, and Germany. If I hop on a plane, I’m not flying anywhere nearby — it’s usually the opposite side of the continent.
That’s a long way of saying that I know what tech makes a difference when traveling, particularly when it comes to iPhones and iPads. I always take both an iPhone and an iPad Pro with me on extended trips, so I’ve got plenty of suggestions for apps and features that smooth things out. Some of the items on this list might seem obvious, but I also want to share some specific advice on them, and basic instructions if you’re unfamiliar.
Best foldable chargers for Apple users: Traveler approved
Don’t be left with a dead iPhone or dead AirPods this new year. These foldable chargers easily slip into your bag and are ready to power your devices.
1 Google Maps
Get around anywhere — even offline
Apple Maps has made a lot of progress in the past decade, but if you want a bulletproof navigation app, the best choice remains Google Maps. It continues to have the best coverage worldwide, the most comprehensive info about things like business hours and EV charging, and of course it’s multi-platform. That’s helpful not just for switching between devices, but ensuring simple sharing of routes and destinations. Yes, you can view an Apple Maps link on the web if you don’t have an Apple device, but that experience is a pale shadow of what Google offers.
1:00
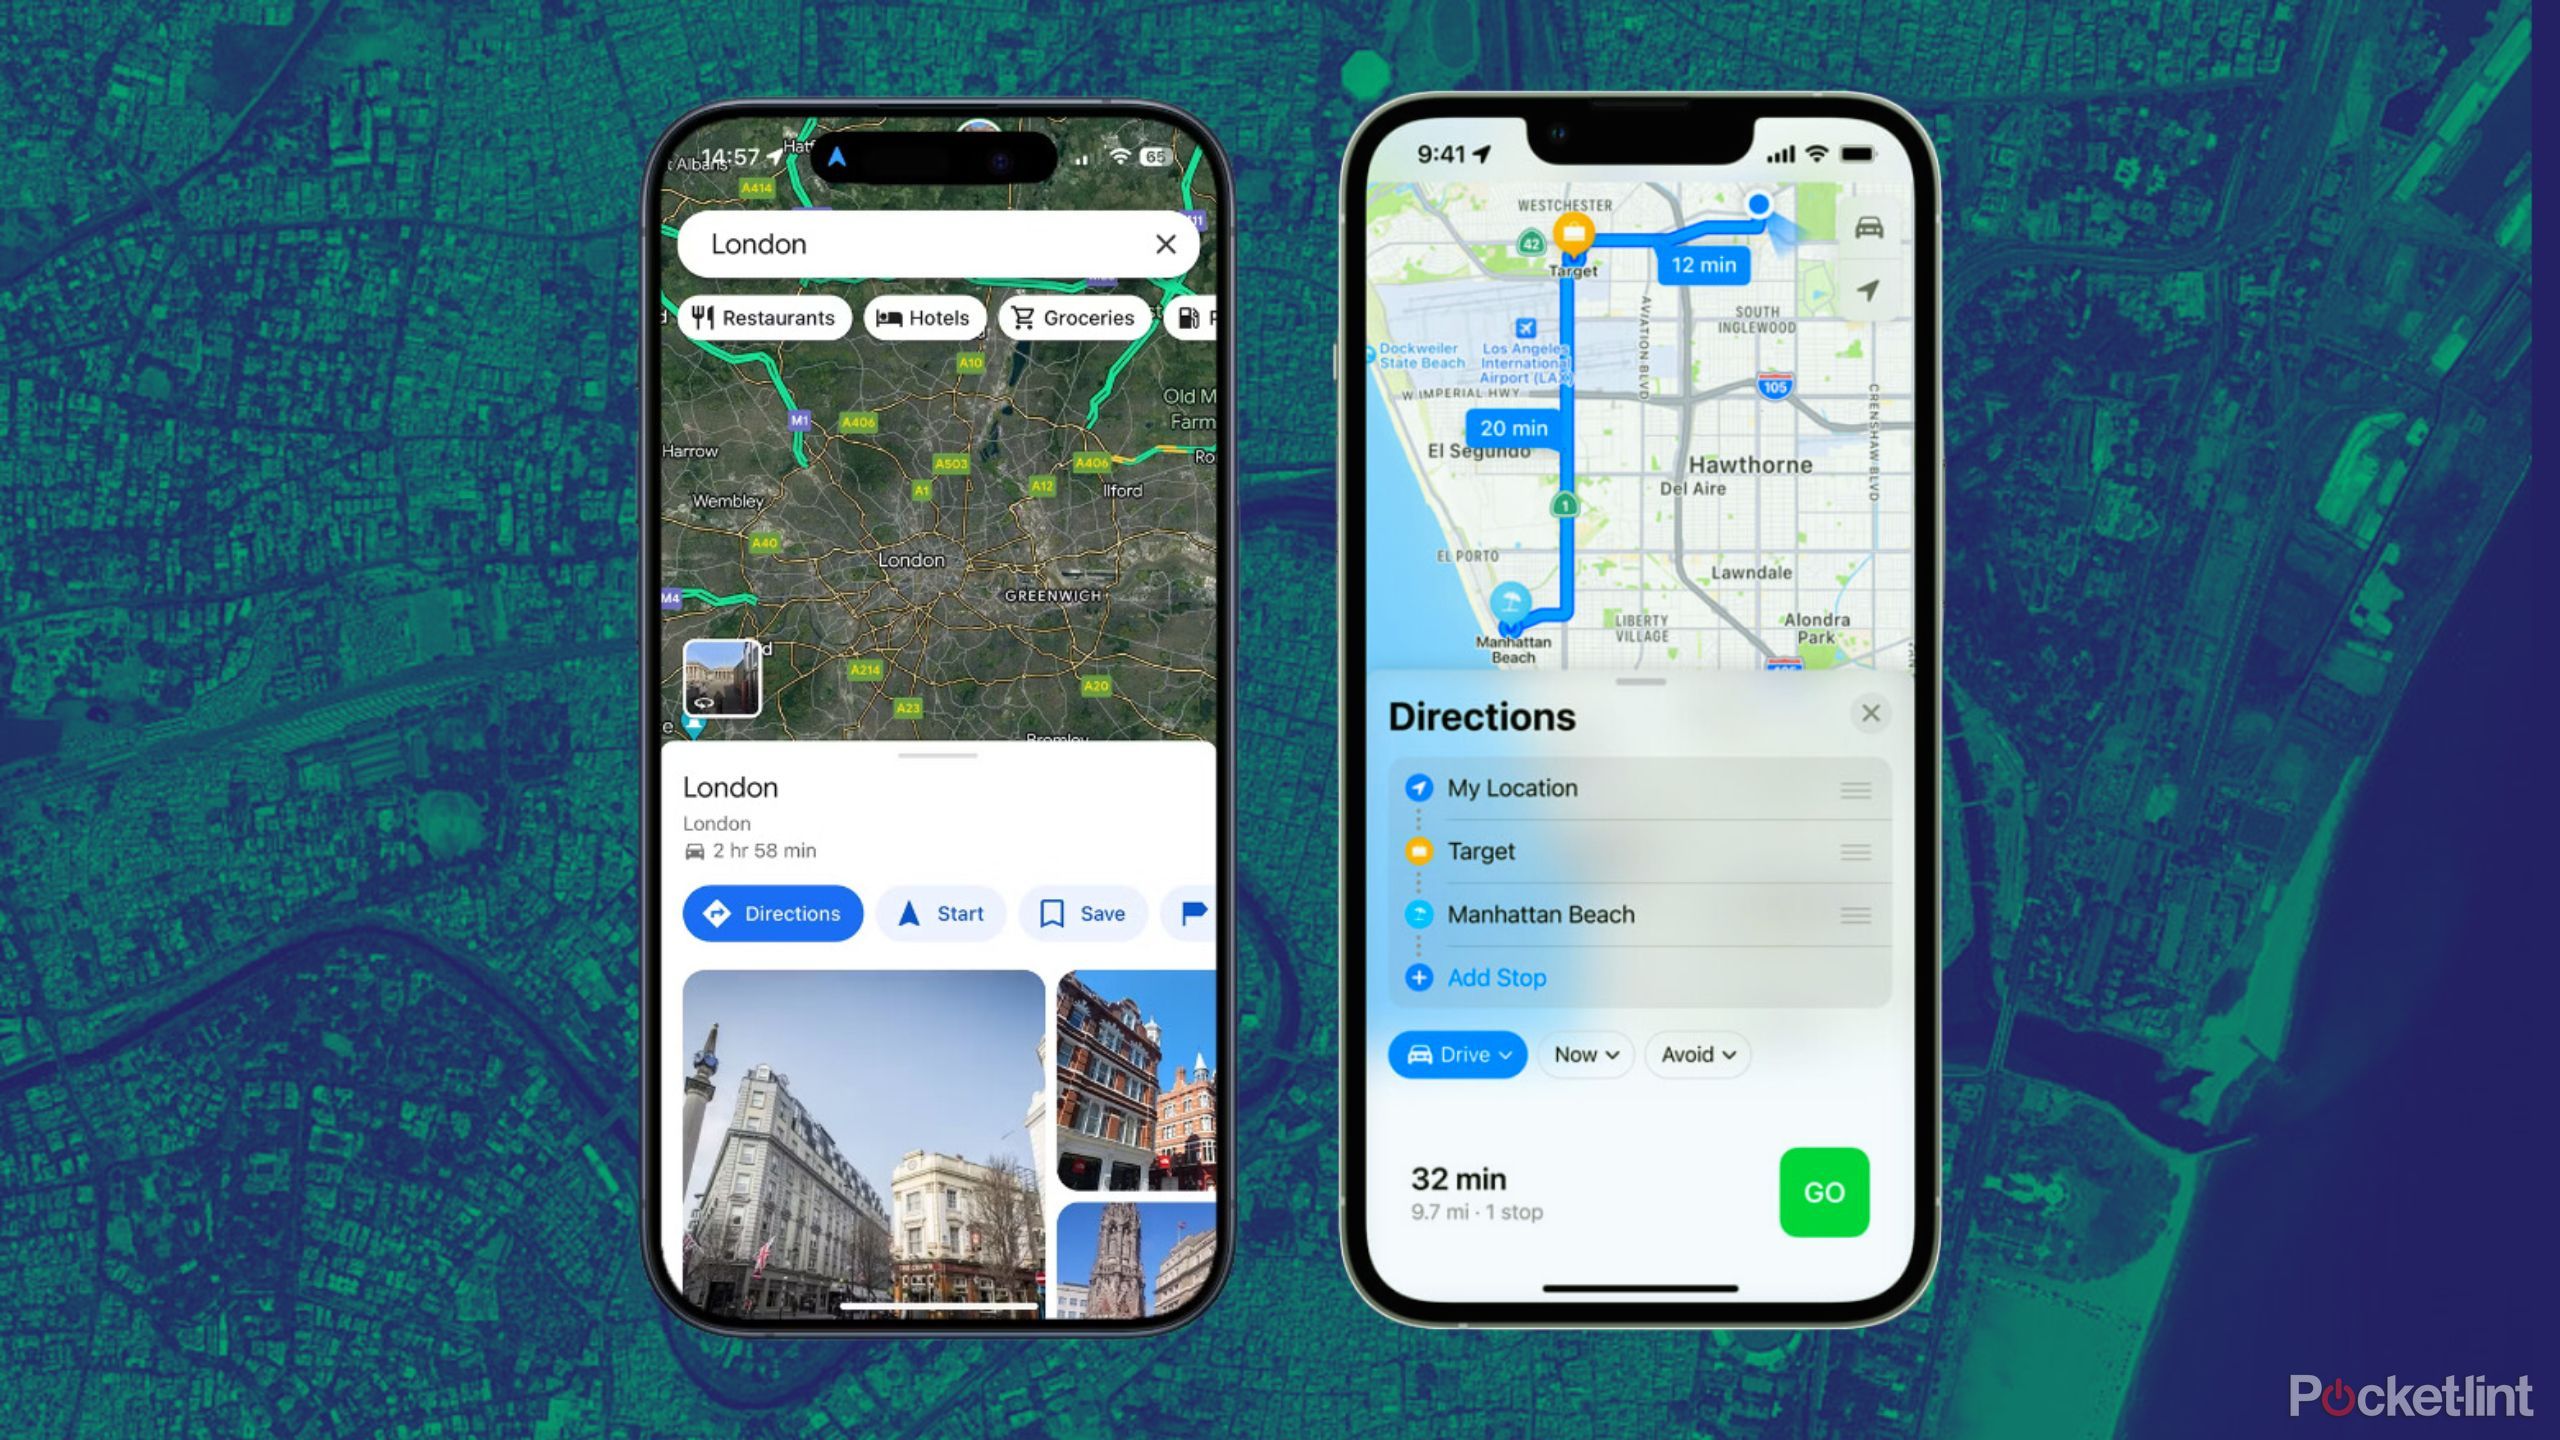
I tested Google Maps against Apple Maps to see which is actually better
Both Google Maps and Apple Maps have their ups and downs, but there are some things each does better than the other. We break it down.
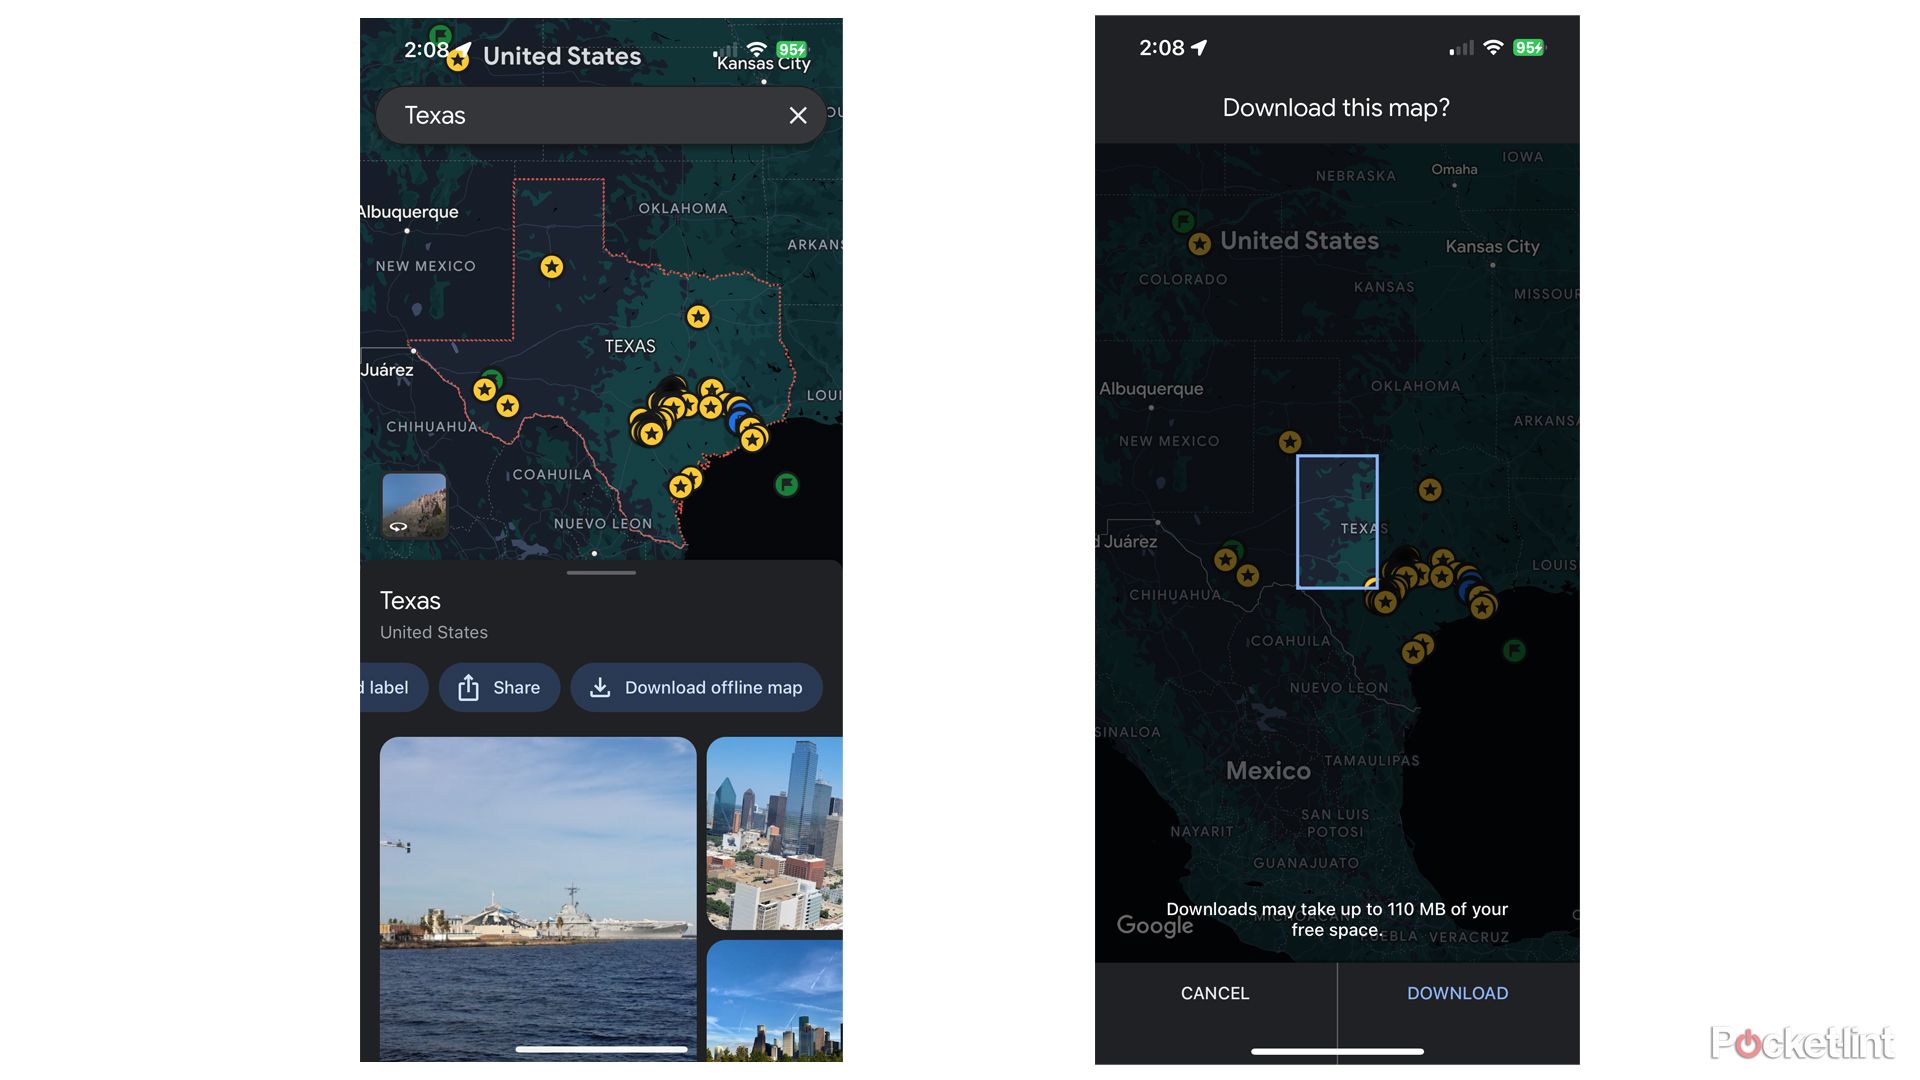
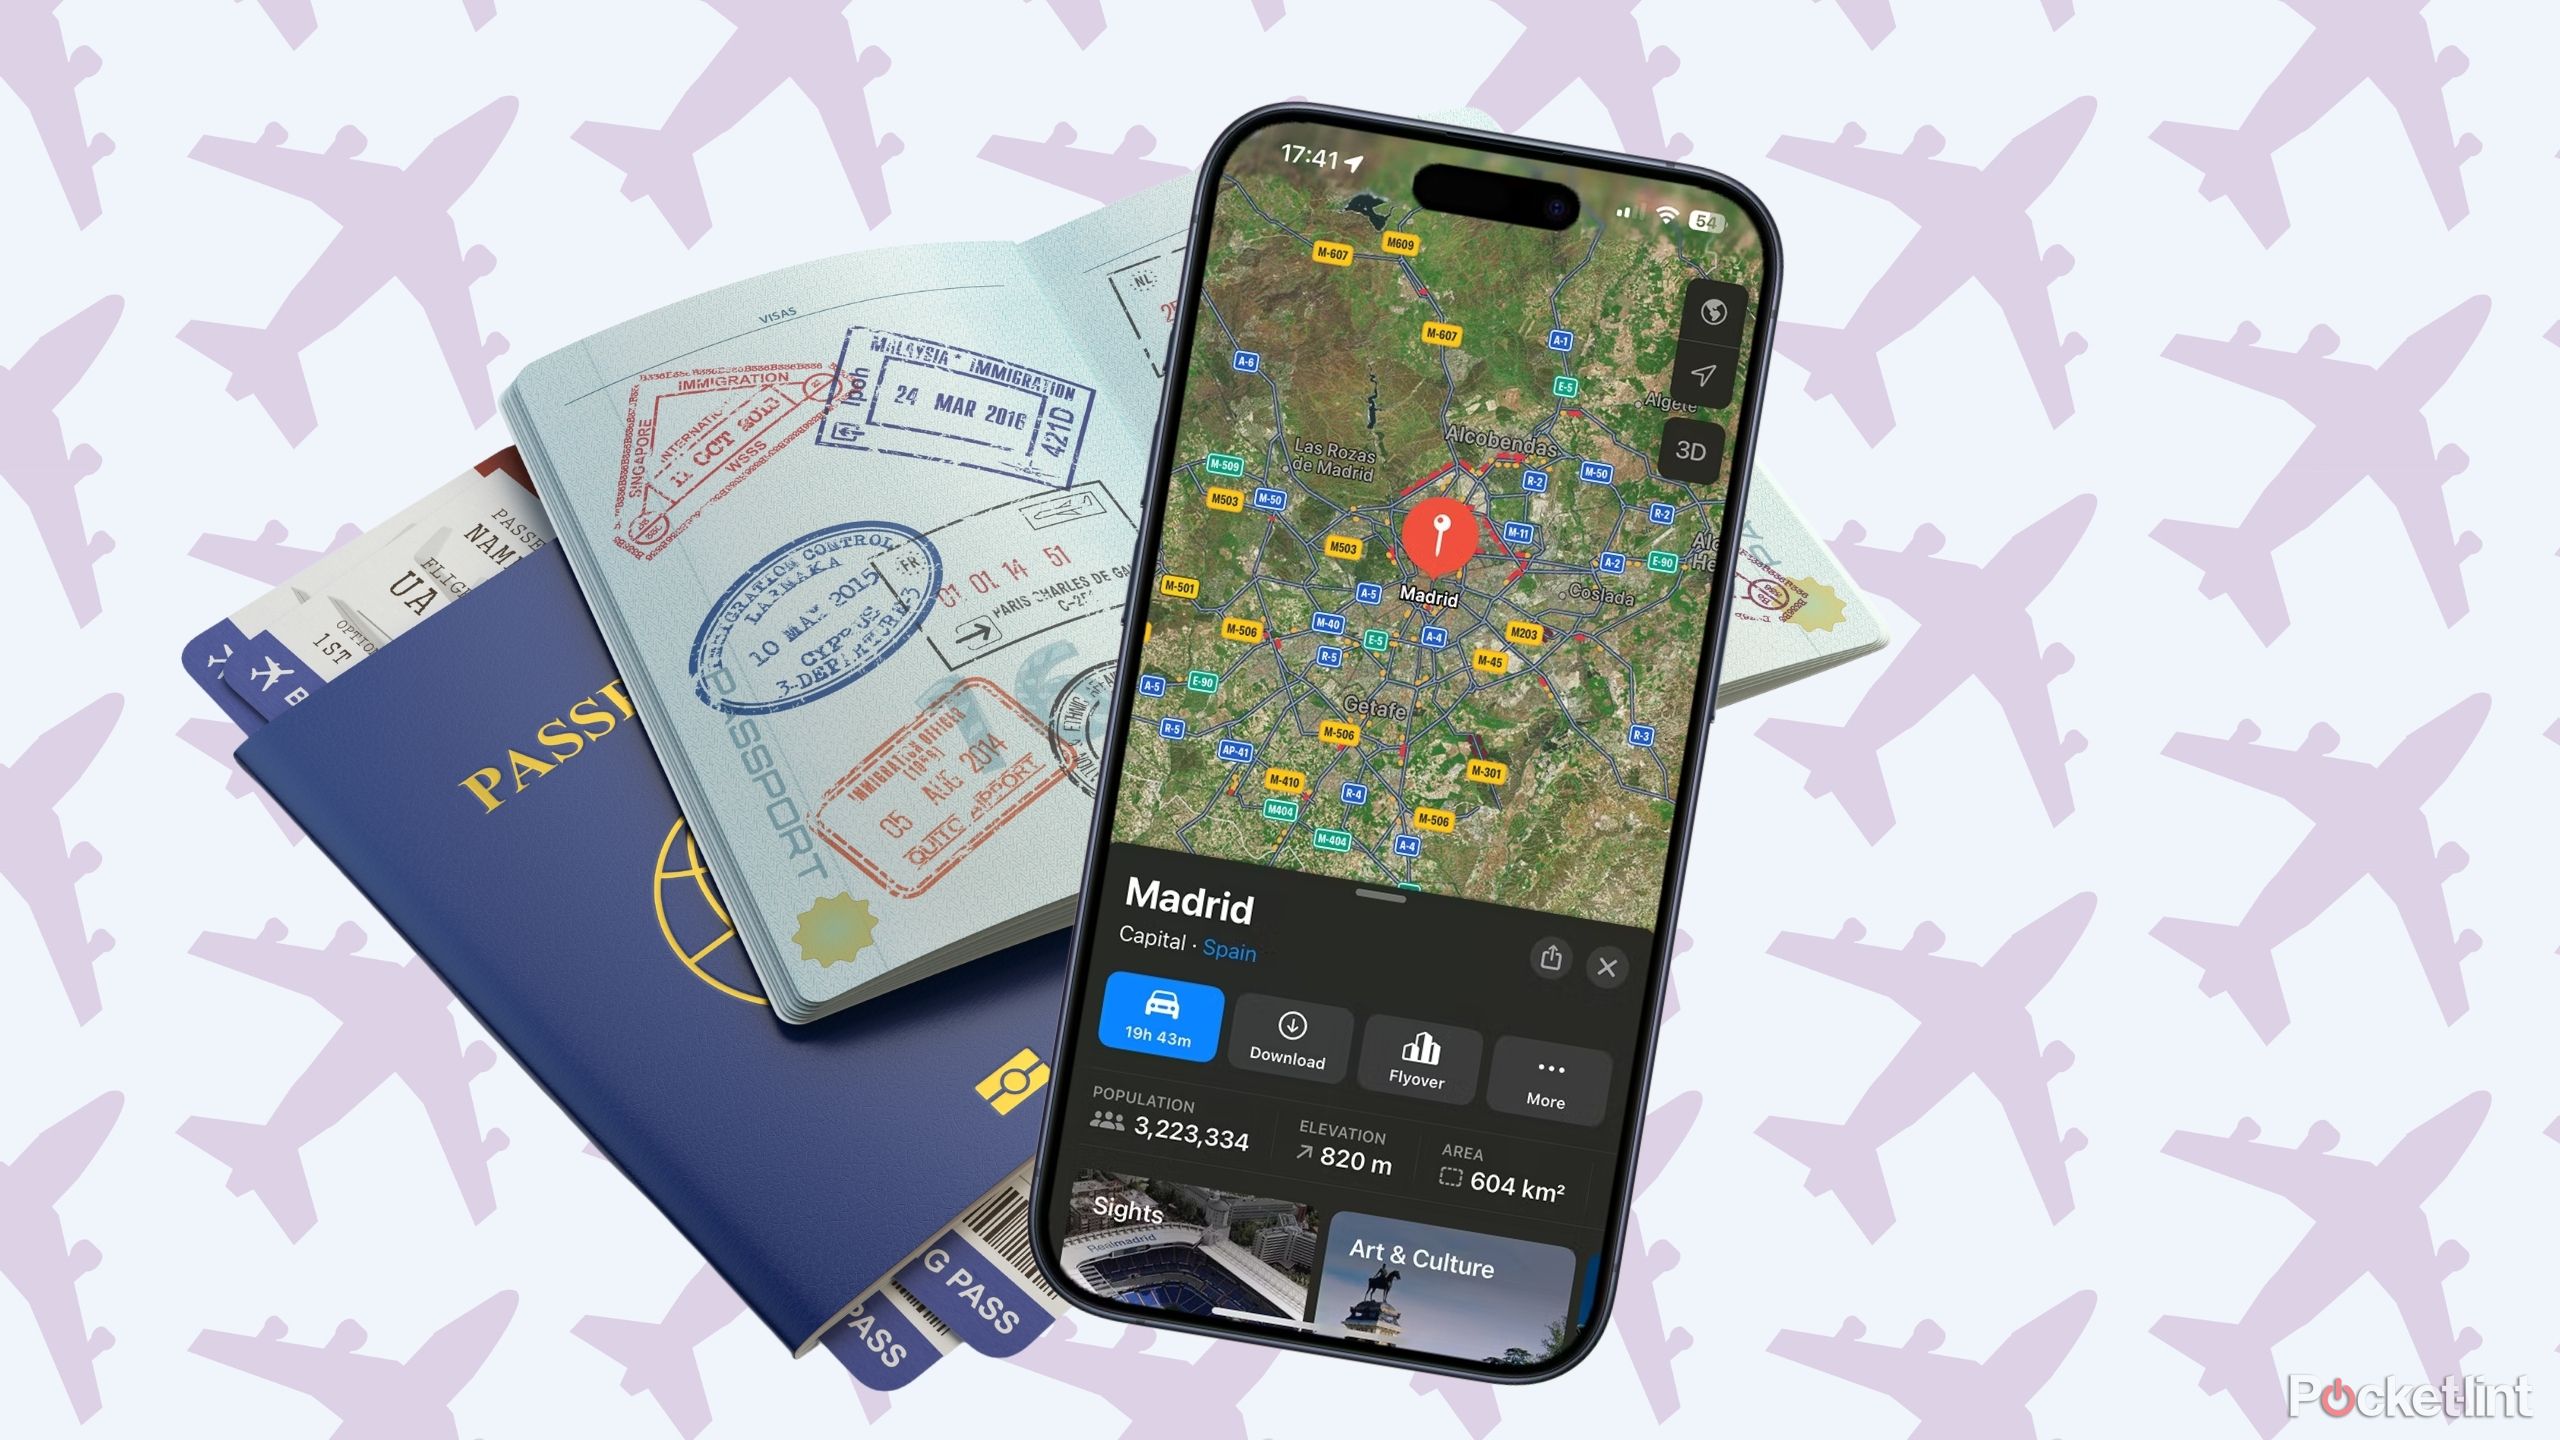
Beyond the basics, there are a few key Google Maps features travelers should know about. Leading the pack is offline caching, which can save your hide in regions with little to no cellular coverage, like rural Texas. It can also reduce the need for cellular if you’re worried about the cost of roaming or a travel SIM (more on that later), but it’s always wise to have some cellular access in case your plans change or you need to make an urgent phone call. Regardless, on an iPhone or iPad, you can download an area for offline access by searching for a place and tapping Download offline map in its card options. You’ll want to customize the cached area, but be warned that the larger it is, the more storage it’s going to occupy on your device. After every trip, be sure to open the profile menu, tap Offline maps, and delete anything you don’t expect to use anytime soon.
I won’t go into specifics, but Maps also supports CarPlay, multi-stop routes, and non-auto navigation options like bikes, ridesharing, and public transit. Moreover, it tends to have plenty of user-submitted photos for locations even when Street View isn’t available. These can be immensely useful not just for figuring out where things are, but deciding whether you should go in the first place — my wife and I have bailed out of more than one travel idea because of what a location looked like.
2 Offline video caching
Make the most of your downtime
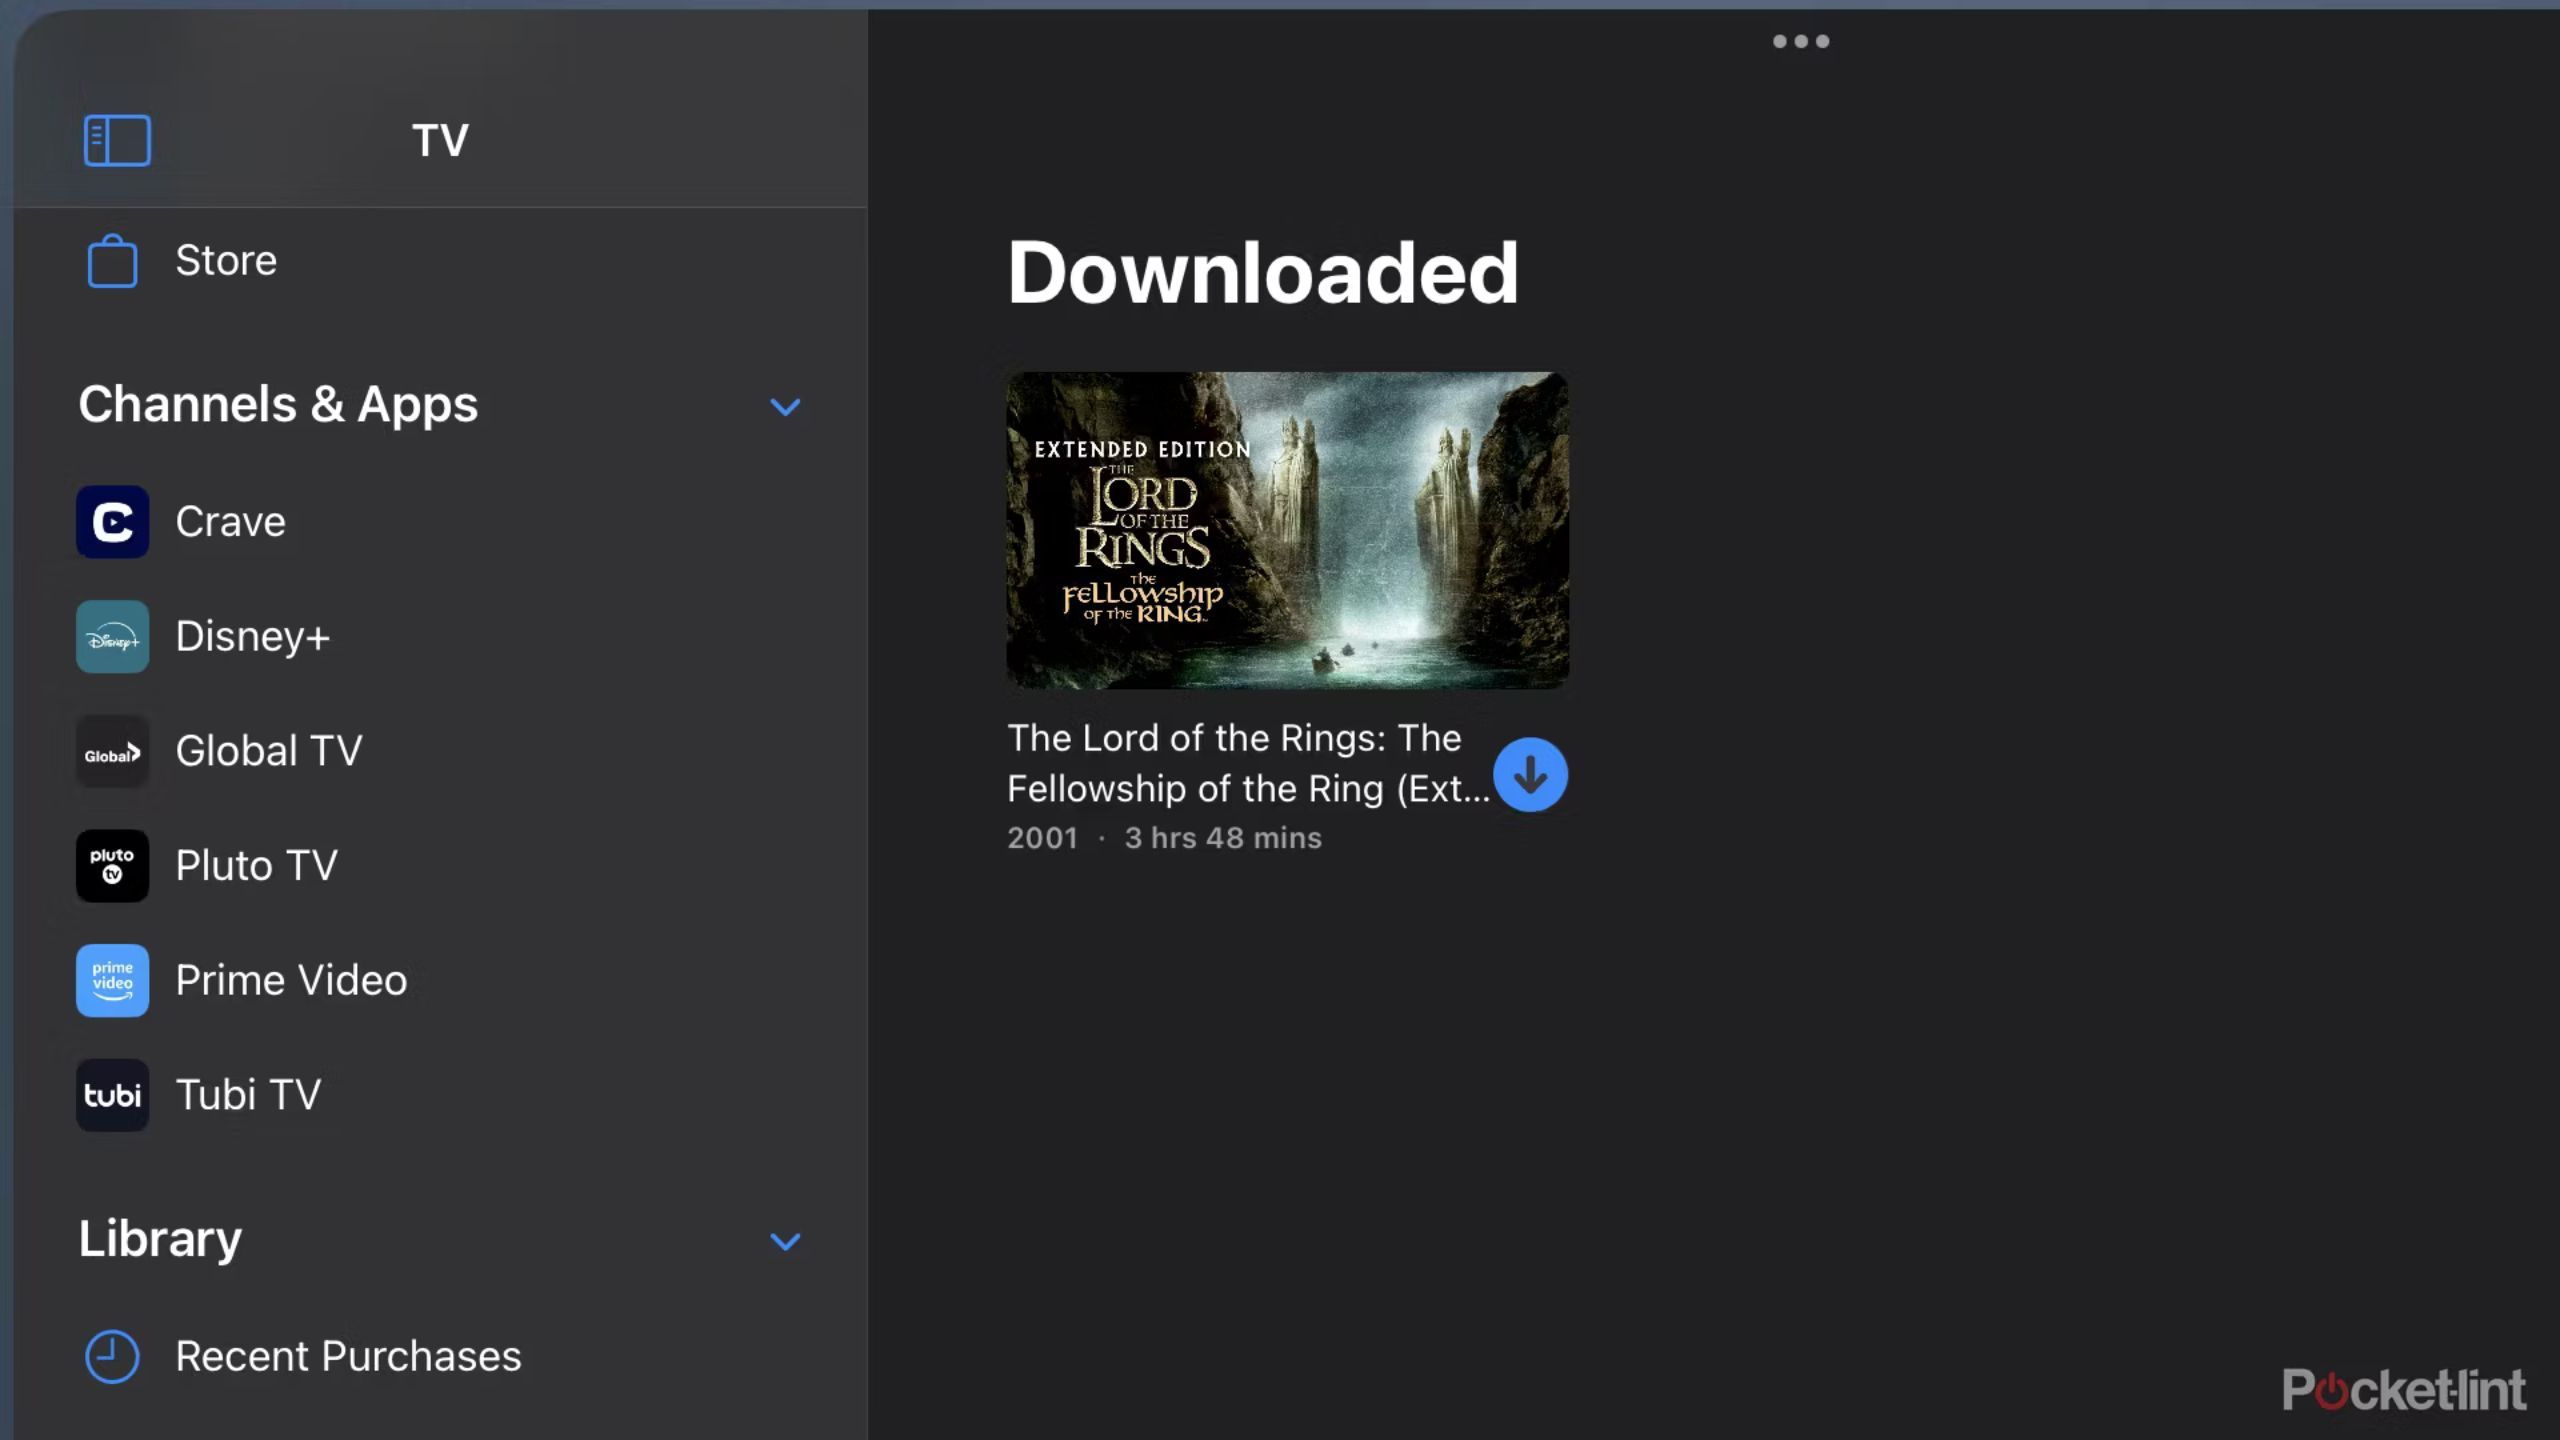
Some people are content reading a book while they’re waiting somewhere without internet access. If that’s more likely to put you to sleep, most video streaming services now support downloads for movies and TV shows. In the Disney+ app, for example, you can search for a title (while you’re still online, of course) and tap Download. Most apps have the equivalent of a Downloads tab where all cached videos are saved and managed. As you can see above, you can sometimes coalesce videos from several services into a single app, though usually only if you subscribed to them through that app.
The feature is mostly self-explanatory, but there are several important points if you’ve never used it before. The first is that high-quality downloads can consume a lot of storage — it might be tempting to grab every video that looks remotely interesting, but even a single two-hour movie can consume about 1GB, never mind downloading an entire series like Twin Peaks or Masters of the Air. Check Settings > General > iPhone/iPad Storage first, and purge any files you don’t need if you’re low on space.
That said, if you do have an ample amount of room, be sure to cover all of your expected downtime and give yourself some alternate viewing options. Moods change, so you might decide to watch something like Blazing Saddles or The Witch during your flight home instead of Barbie. You might even get bored of a TV series mid-trip, no matter if it’s normally one of your favorites.
Lastly, remember to plan download sprees ahead of time. You’ll want to be connected to Wi-Fi for reliable speeds, and since we’re talking about many gigabytes of data, caching isn’t something you should do 15 minutes before your taxi arrives. Once your trip is over, open apps again to sync your progress and delete everything you’ve watched.
3 Low Power Mode
Be prepared for charging droughts
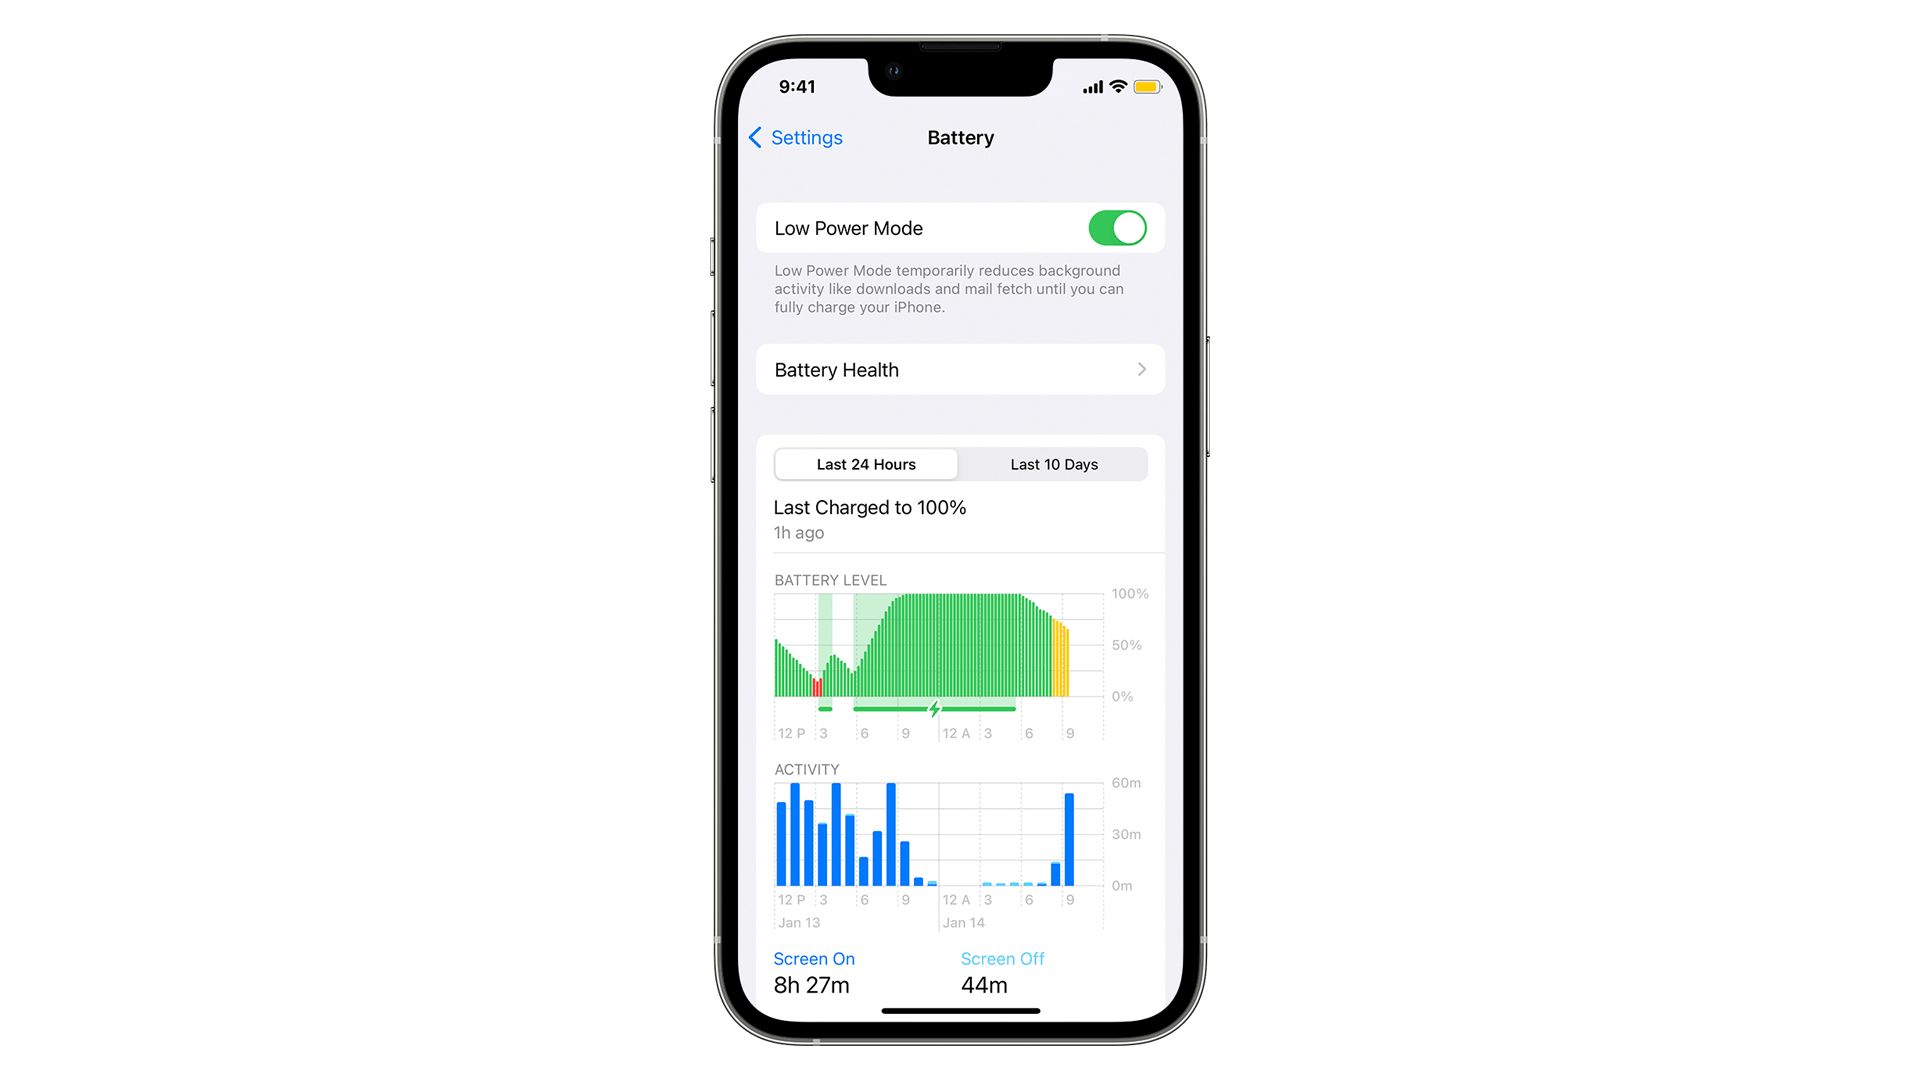
Most iPhone and iPad owners probably know how to turn on Low Power Mode — it’s the battery icon in Control Center — but a mistake some of them make is waiting until their device is down to 50% or less before turning it on. When you’re traveling, it’s wise to keep as much power in reserve as possible, since you can’t always guarantee when you’ll be able to charge. In many situations you won’t even sacrifice much — it’s not like you need the maximum power of an iPhone 15 when running Google Maps or listening to a podcast.
Those sacrifices do matter sometimes, naturally. They include things like paused or reduced sync for services such as email and iCloud Photos, and limits on hardware functions, primarily brightness, refresh rate, and 5G. That means you shouldn’t keep Low Power Mode on permanently, but during a trip, I like to switch it on until charging is convenient.
4 Disabling cellular
Don’t use Airplane Mode
Some travelers flip Airplane Mode on by reflex whenever they hop on a plane, but there’s no need for this, and the mode can actually be counterproductive depending on how it’s configured. Many flights now offer onboard Wi-Fi, and you’ll usually need Bluetooth for any headphones or smartwatches you have.
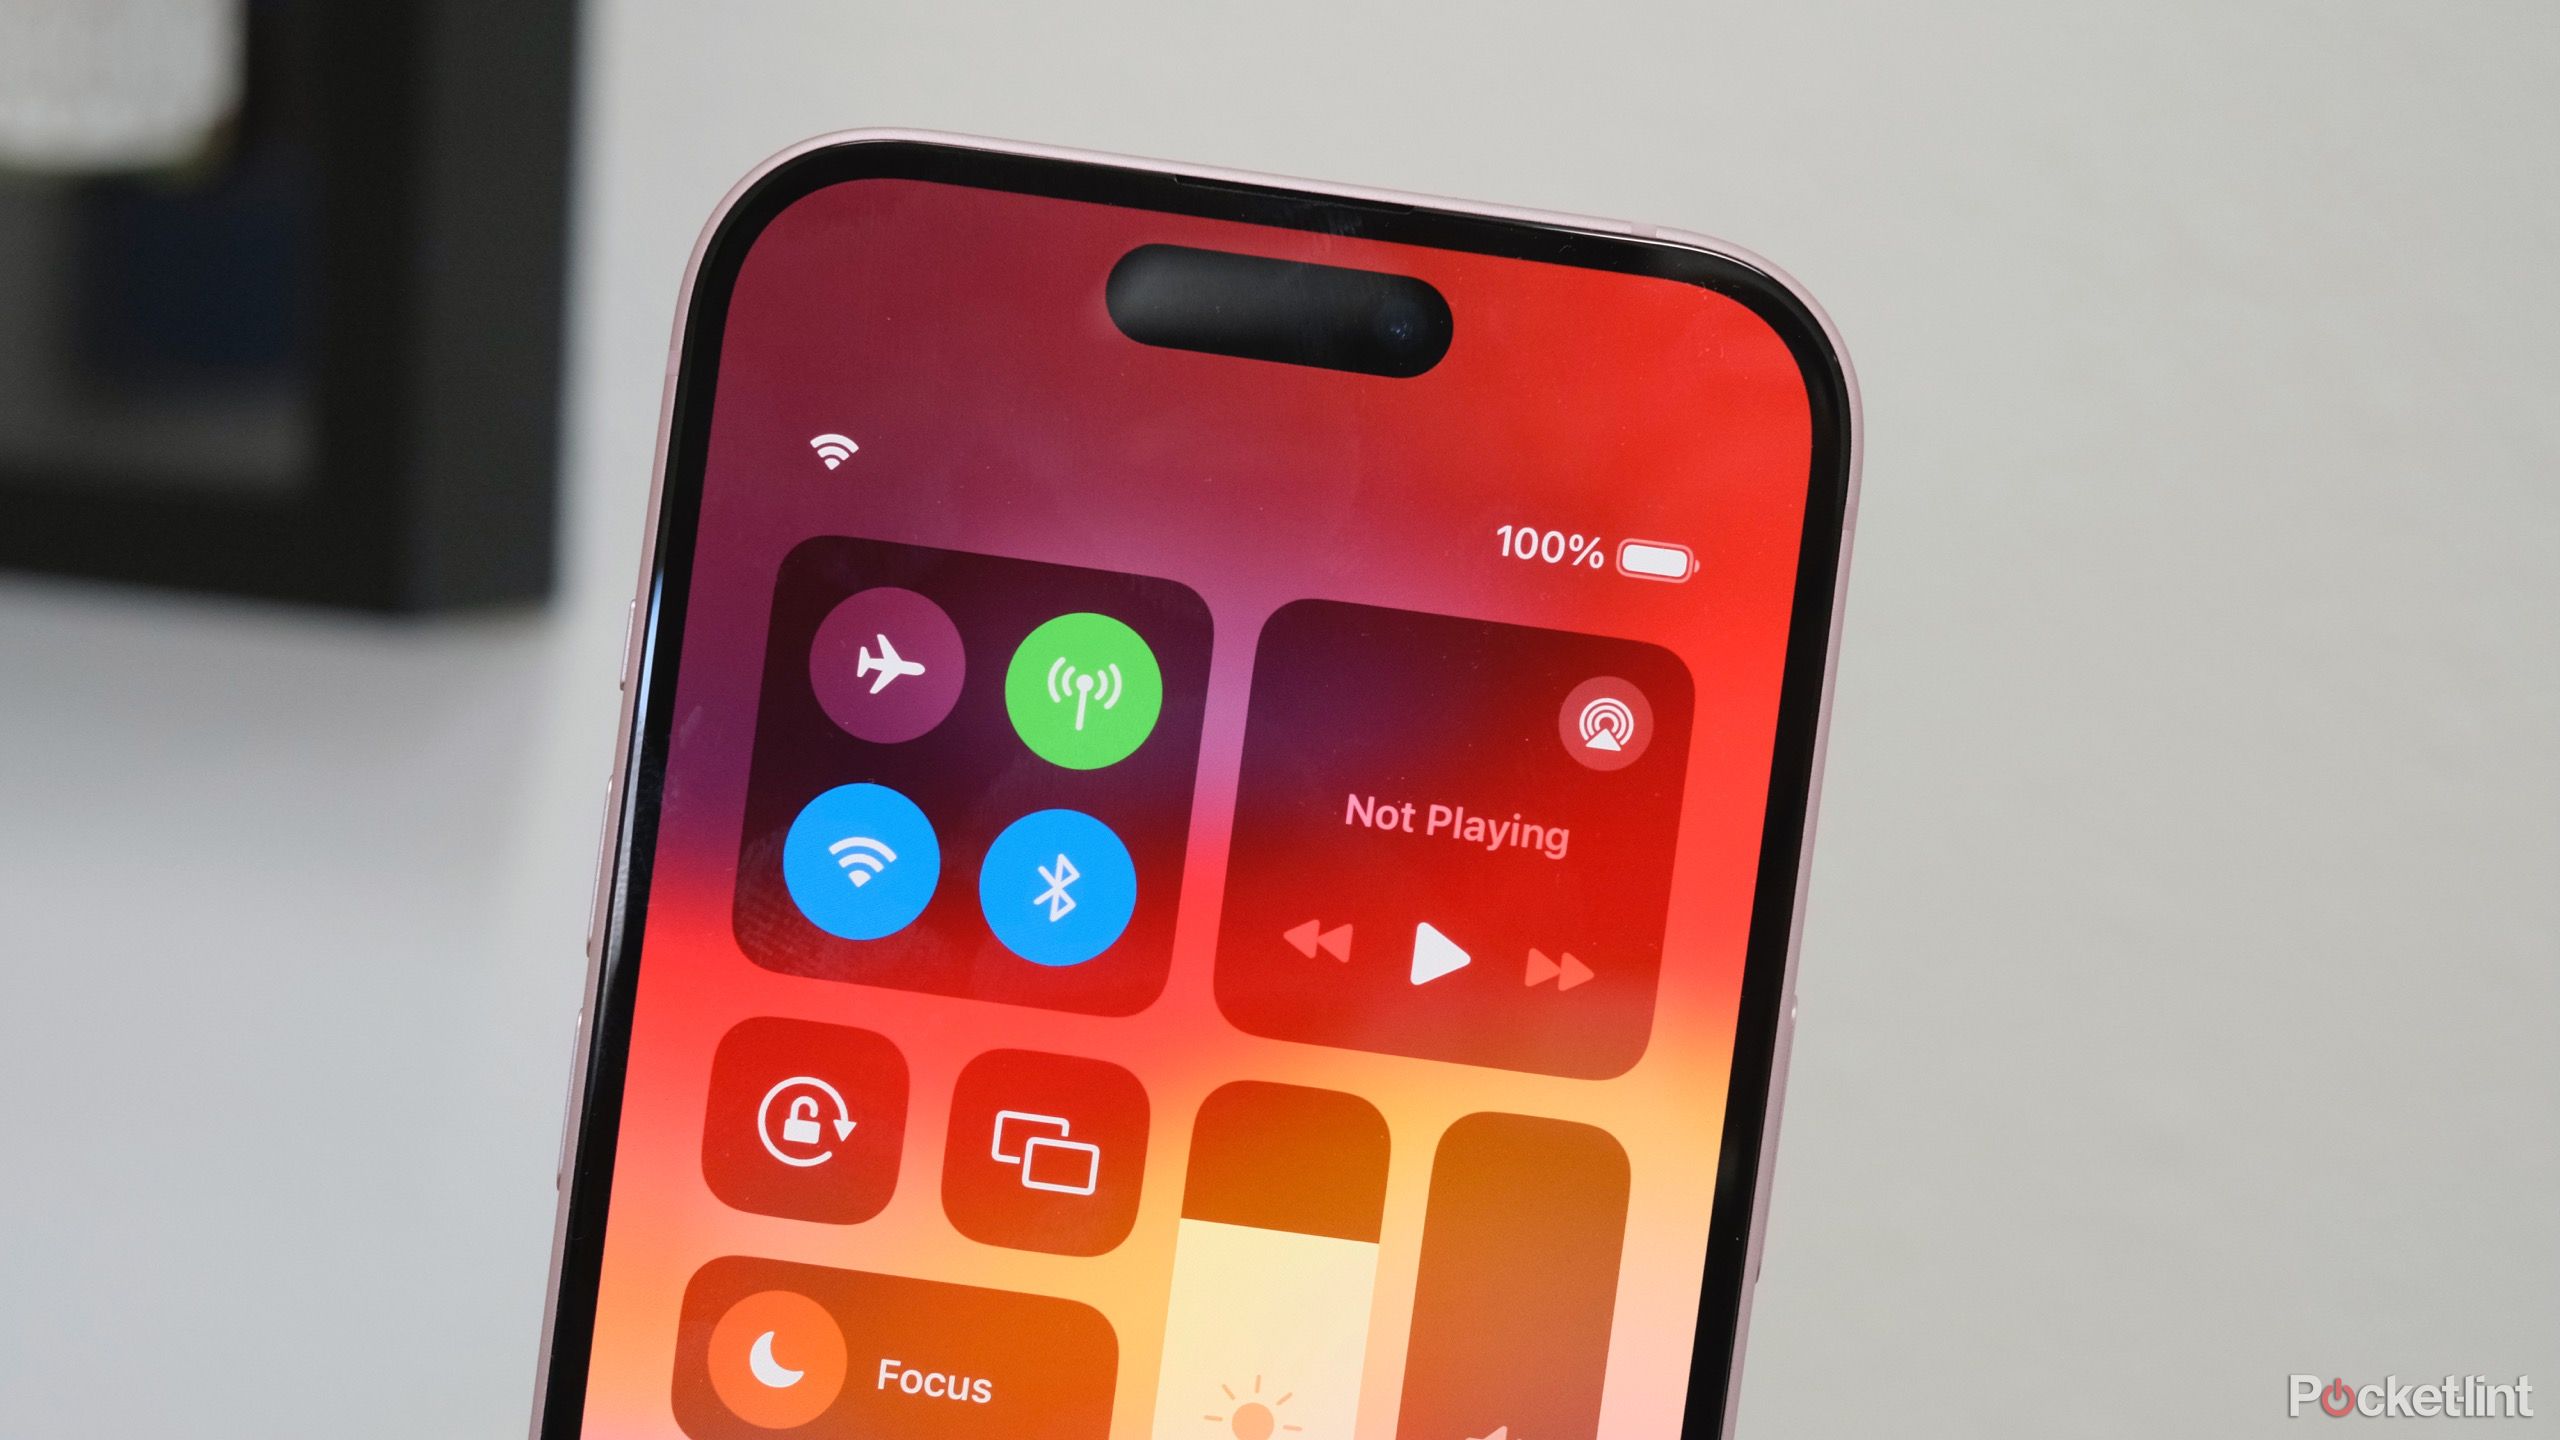
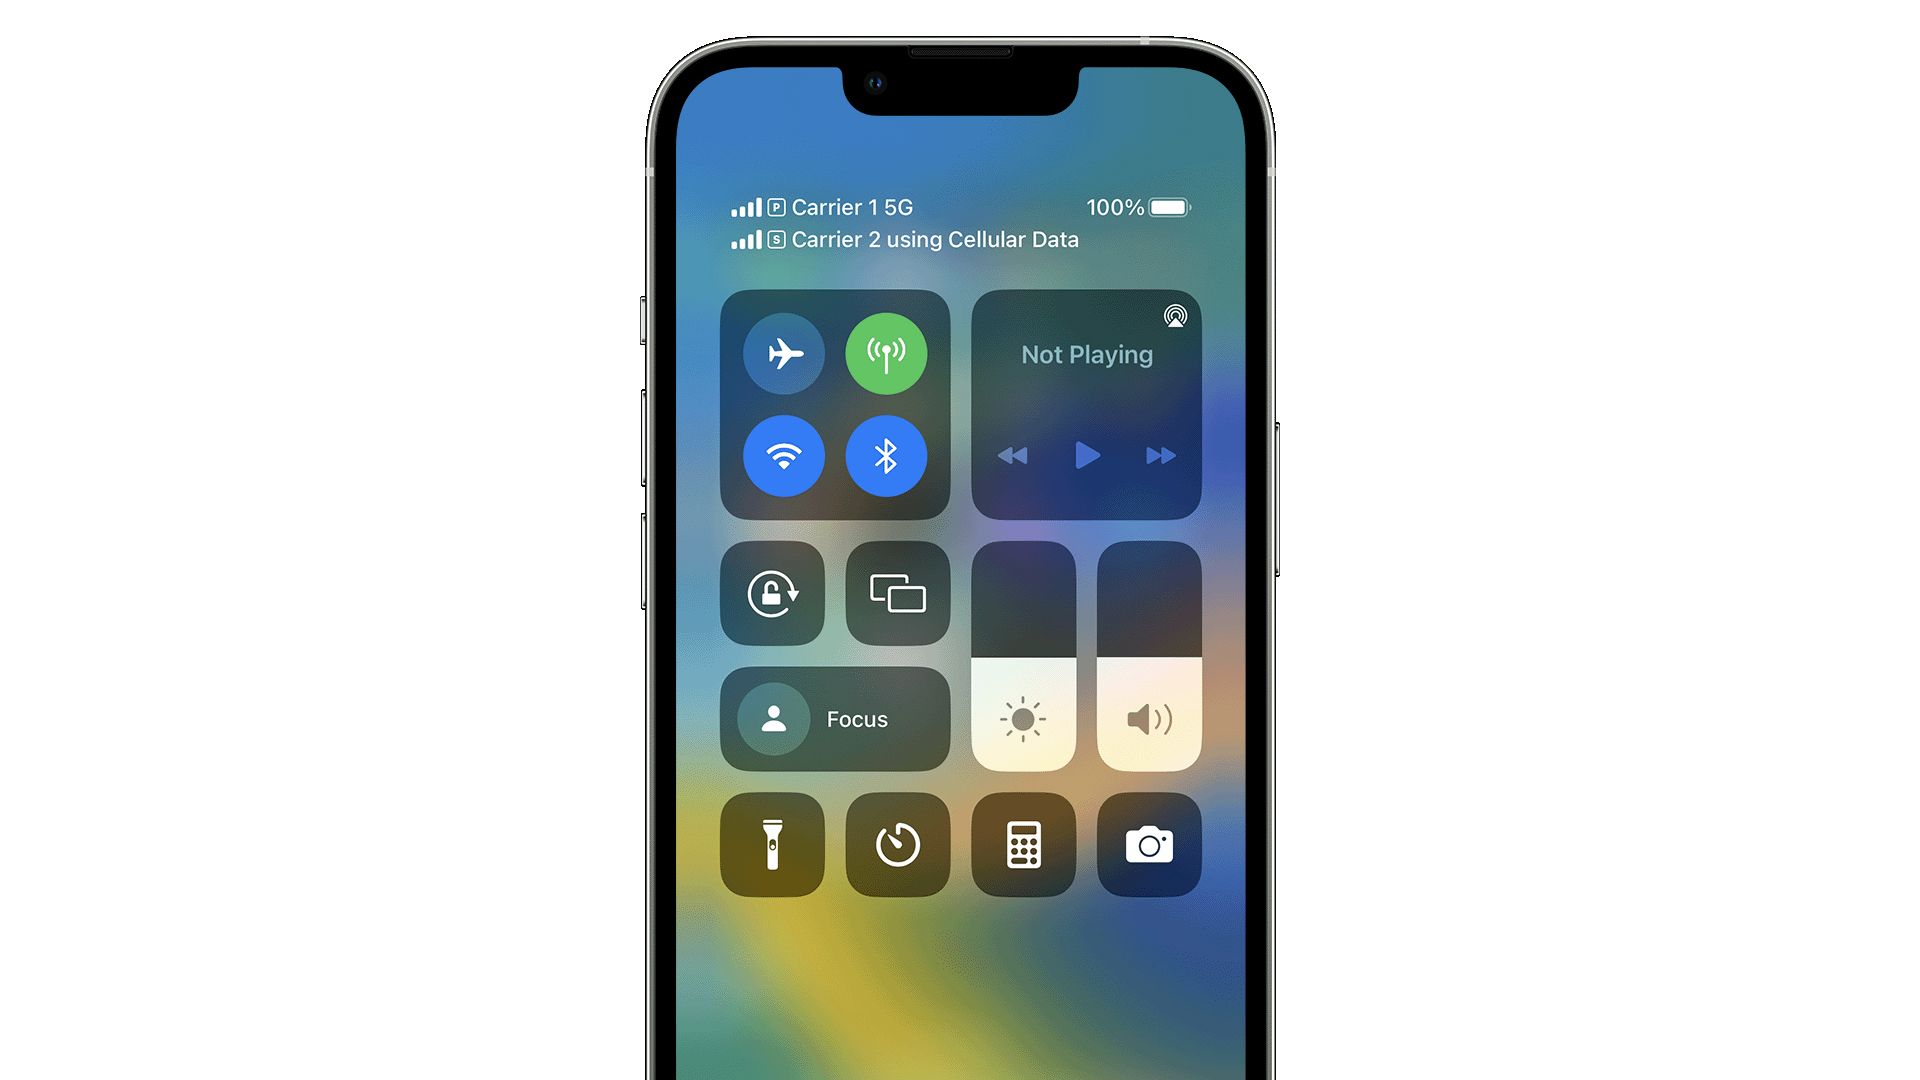
You should still disable your iPhone or iPad’s cellular functions (tap on the celltower icon in Control Center), but only because they’re a waste of battery life when you’re 30,000 feet in the air. Airlines claim to be worried about cellular tech interfering with their systems — but the dirty secret is that I (and likely many, many others) have accidentally left it on without any consequences. Always remember to re-enable cellular when your plane touches down.
5 Apple Translate or Google Translate
Ask questions, get answers
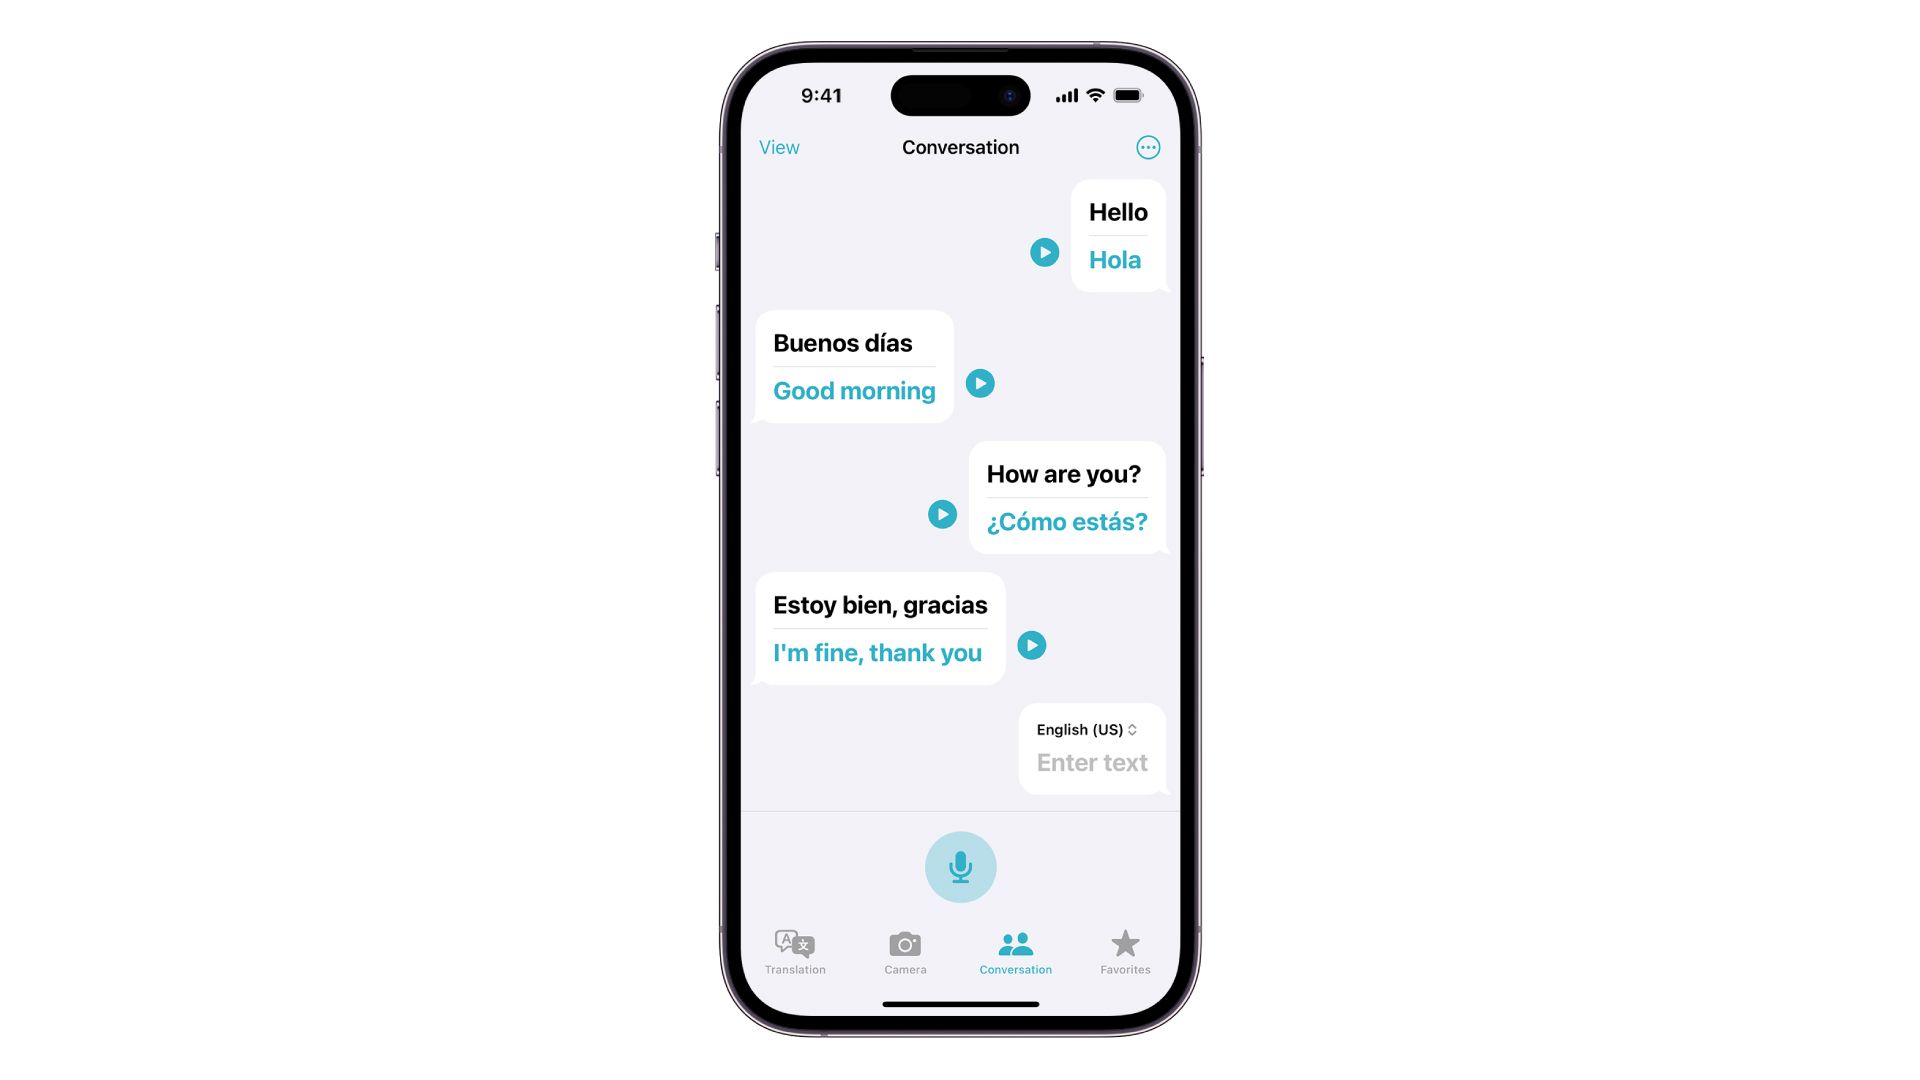
Whenever you head to a region where you don’t speak the language, you’re going to need a translator. Apple’s native Translate app should do the trick in most situations. It’s integrated into various parts of iOS, and it has its own Conversation feature that supports live translation. If you point the Camera app at a sign, you can translate it by tapping its round Live Text icon and then Translate.
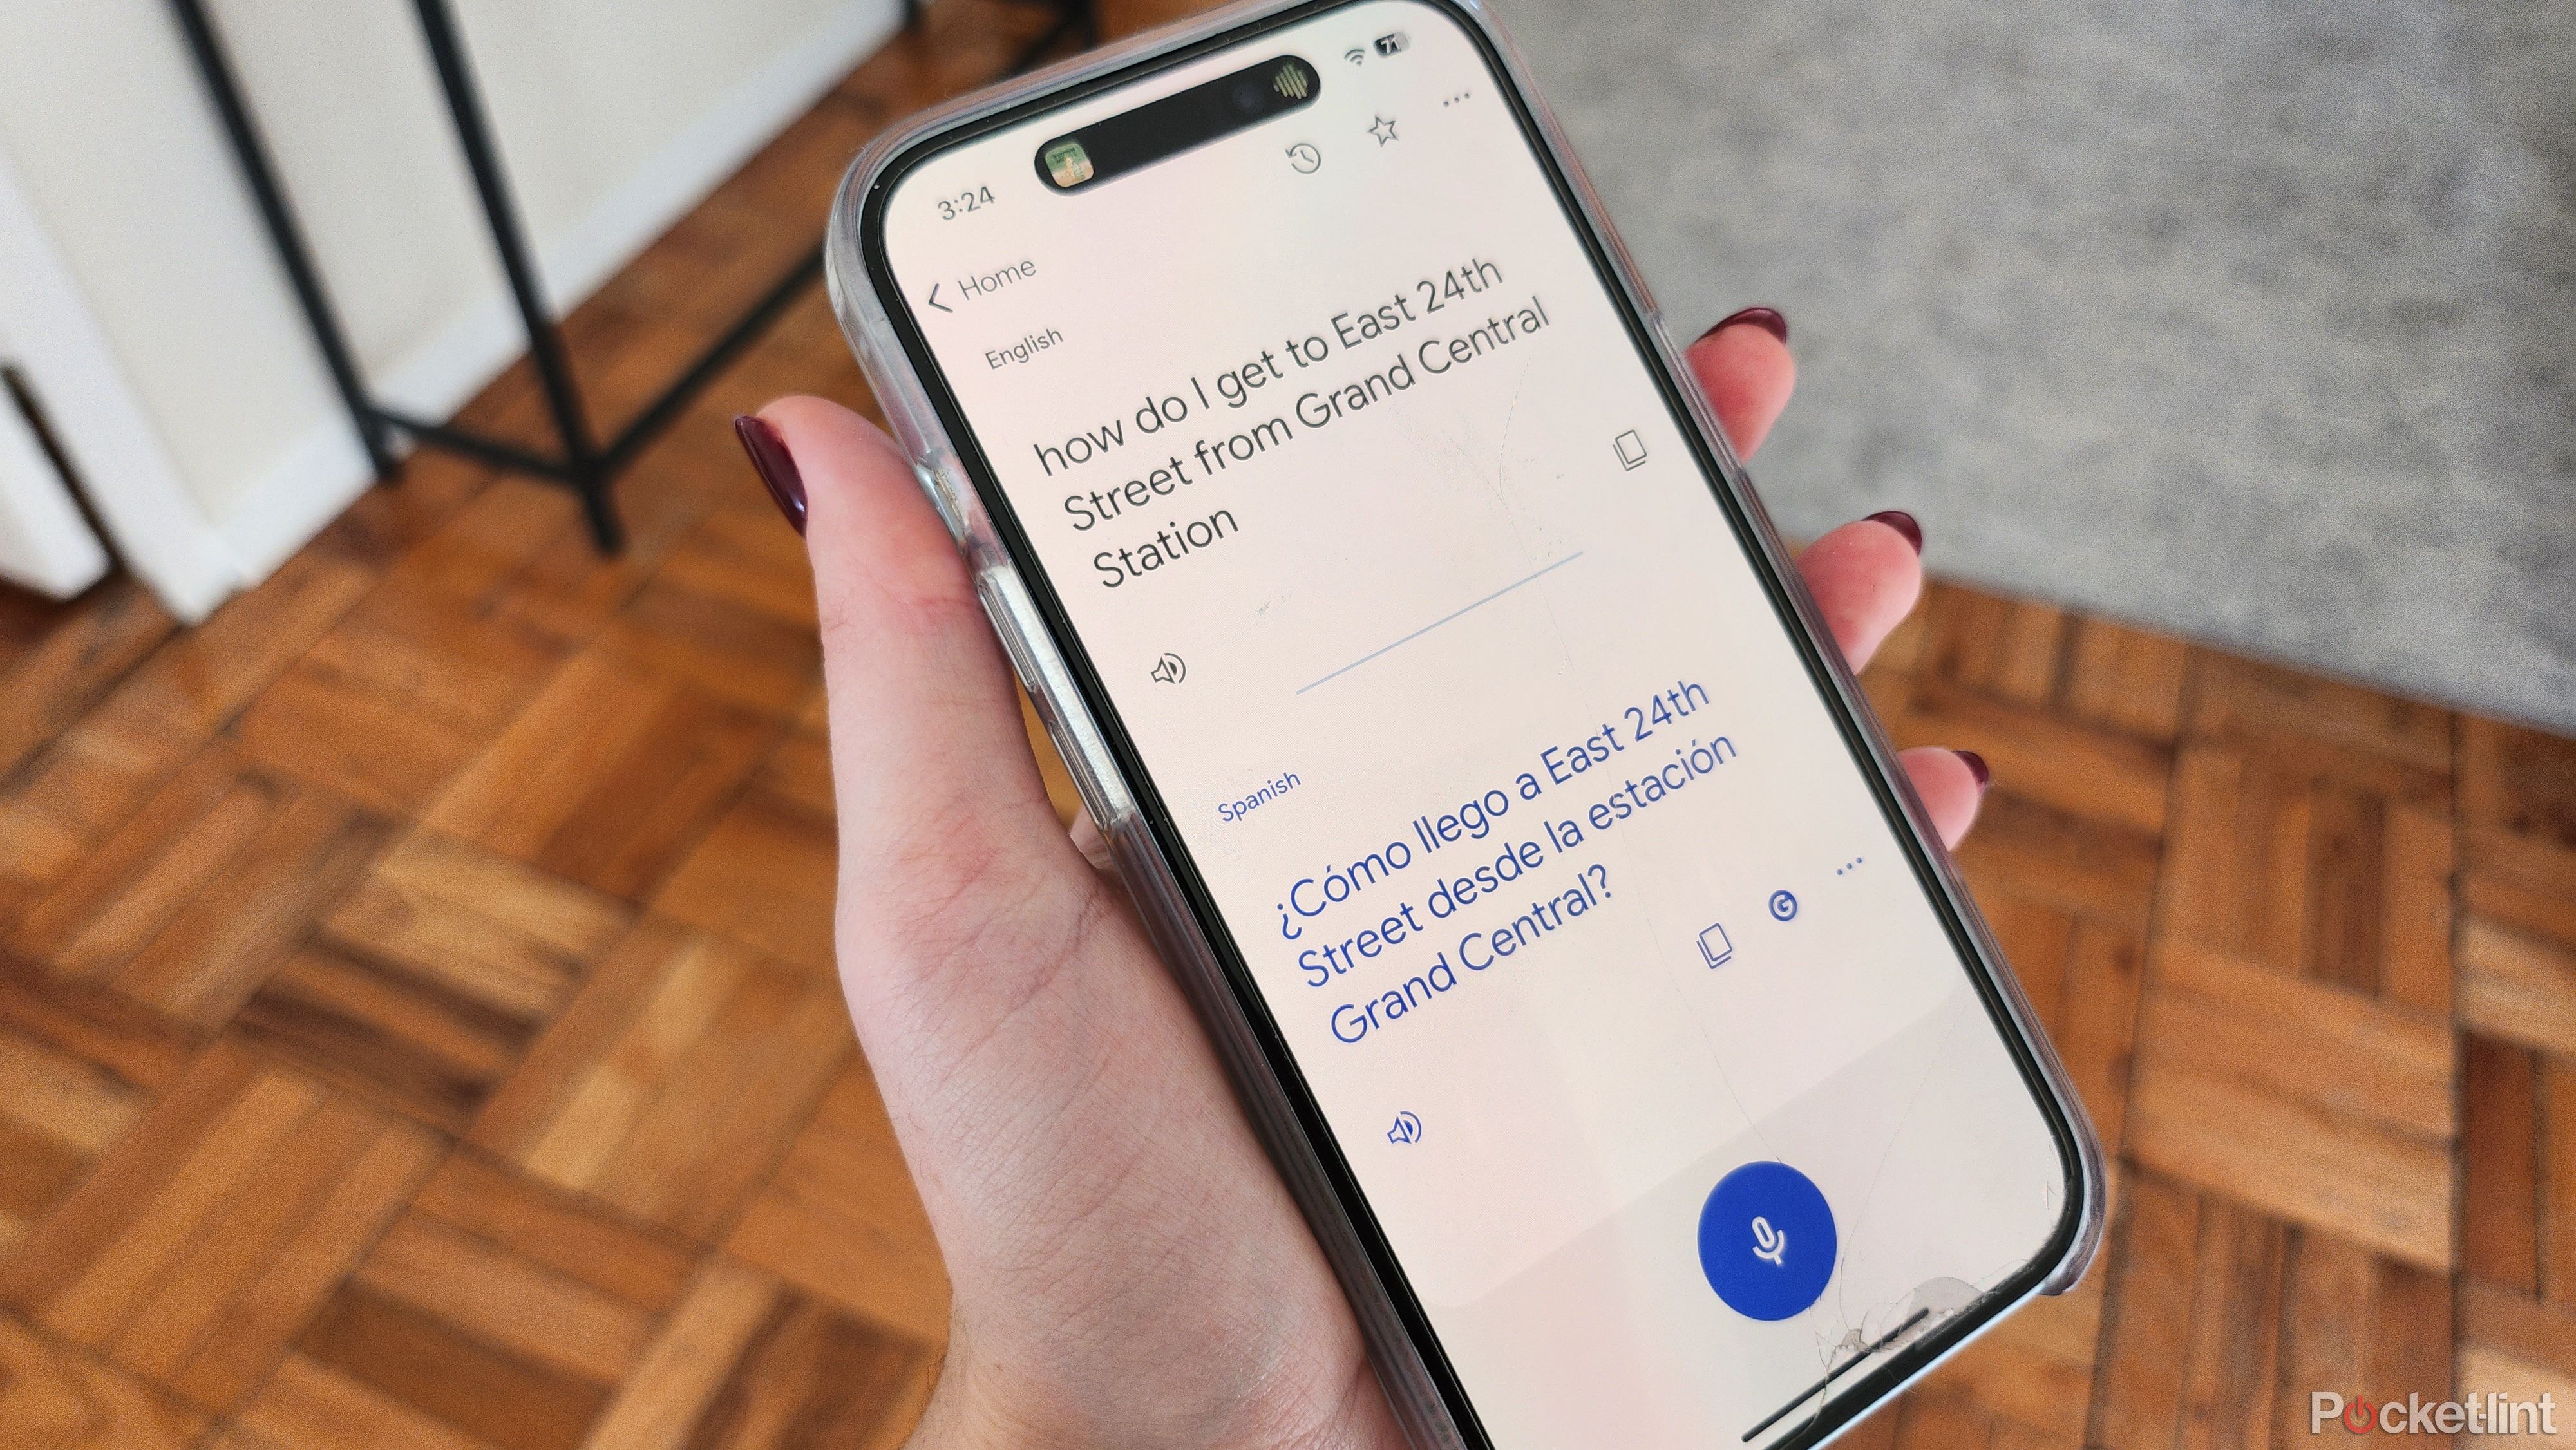
How to translate live conversations with Google Translate
With Google Translate, you have a translator in your pocket. You can translate and transcribe live audio — including conversations — in real time.
Google Translate provides similar functions, and may be preferable depending on your needs. For a lot of people, the main reason will be language choices — while Apple’s app supports 20 language variants as of this writing, Google supports 133, all the way from Afrikaans to Zulu. Apple has some pretty conspicuous gaps, such as Greek and Hindi.
Both apps offer offline support, so be sure to download language packs in advance if there’s the slightest chance you’ll need them. Offline translations may not be as accurate as online ones, but you’ll want the option if you end up somewhere remote.
6 Apple Wallet
All your bookings in one place
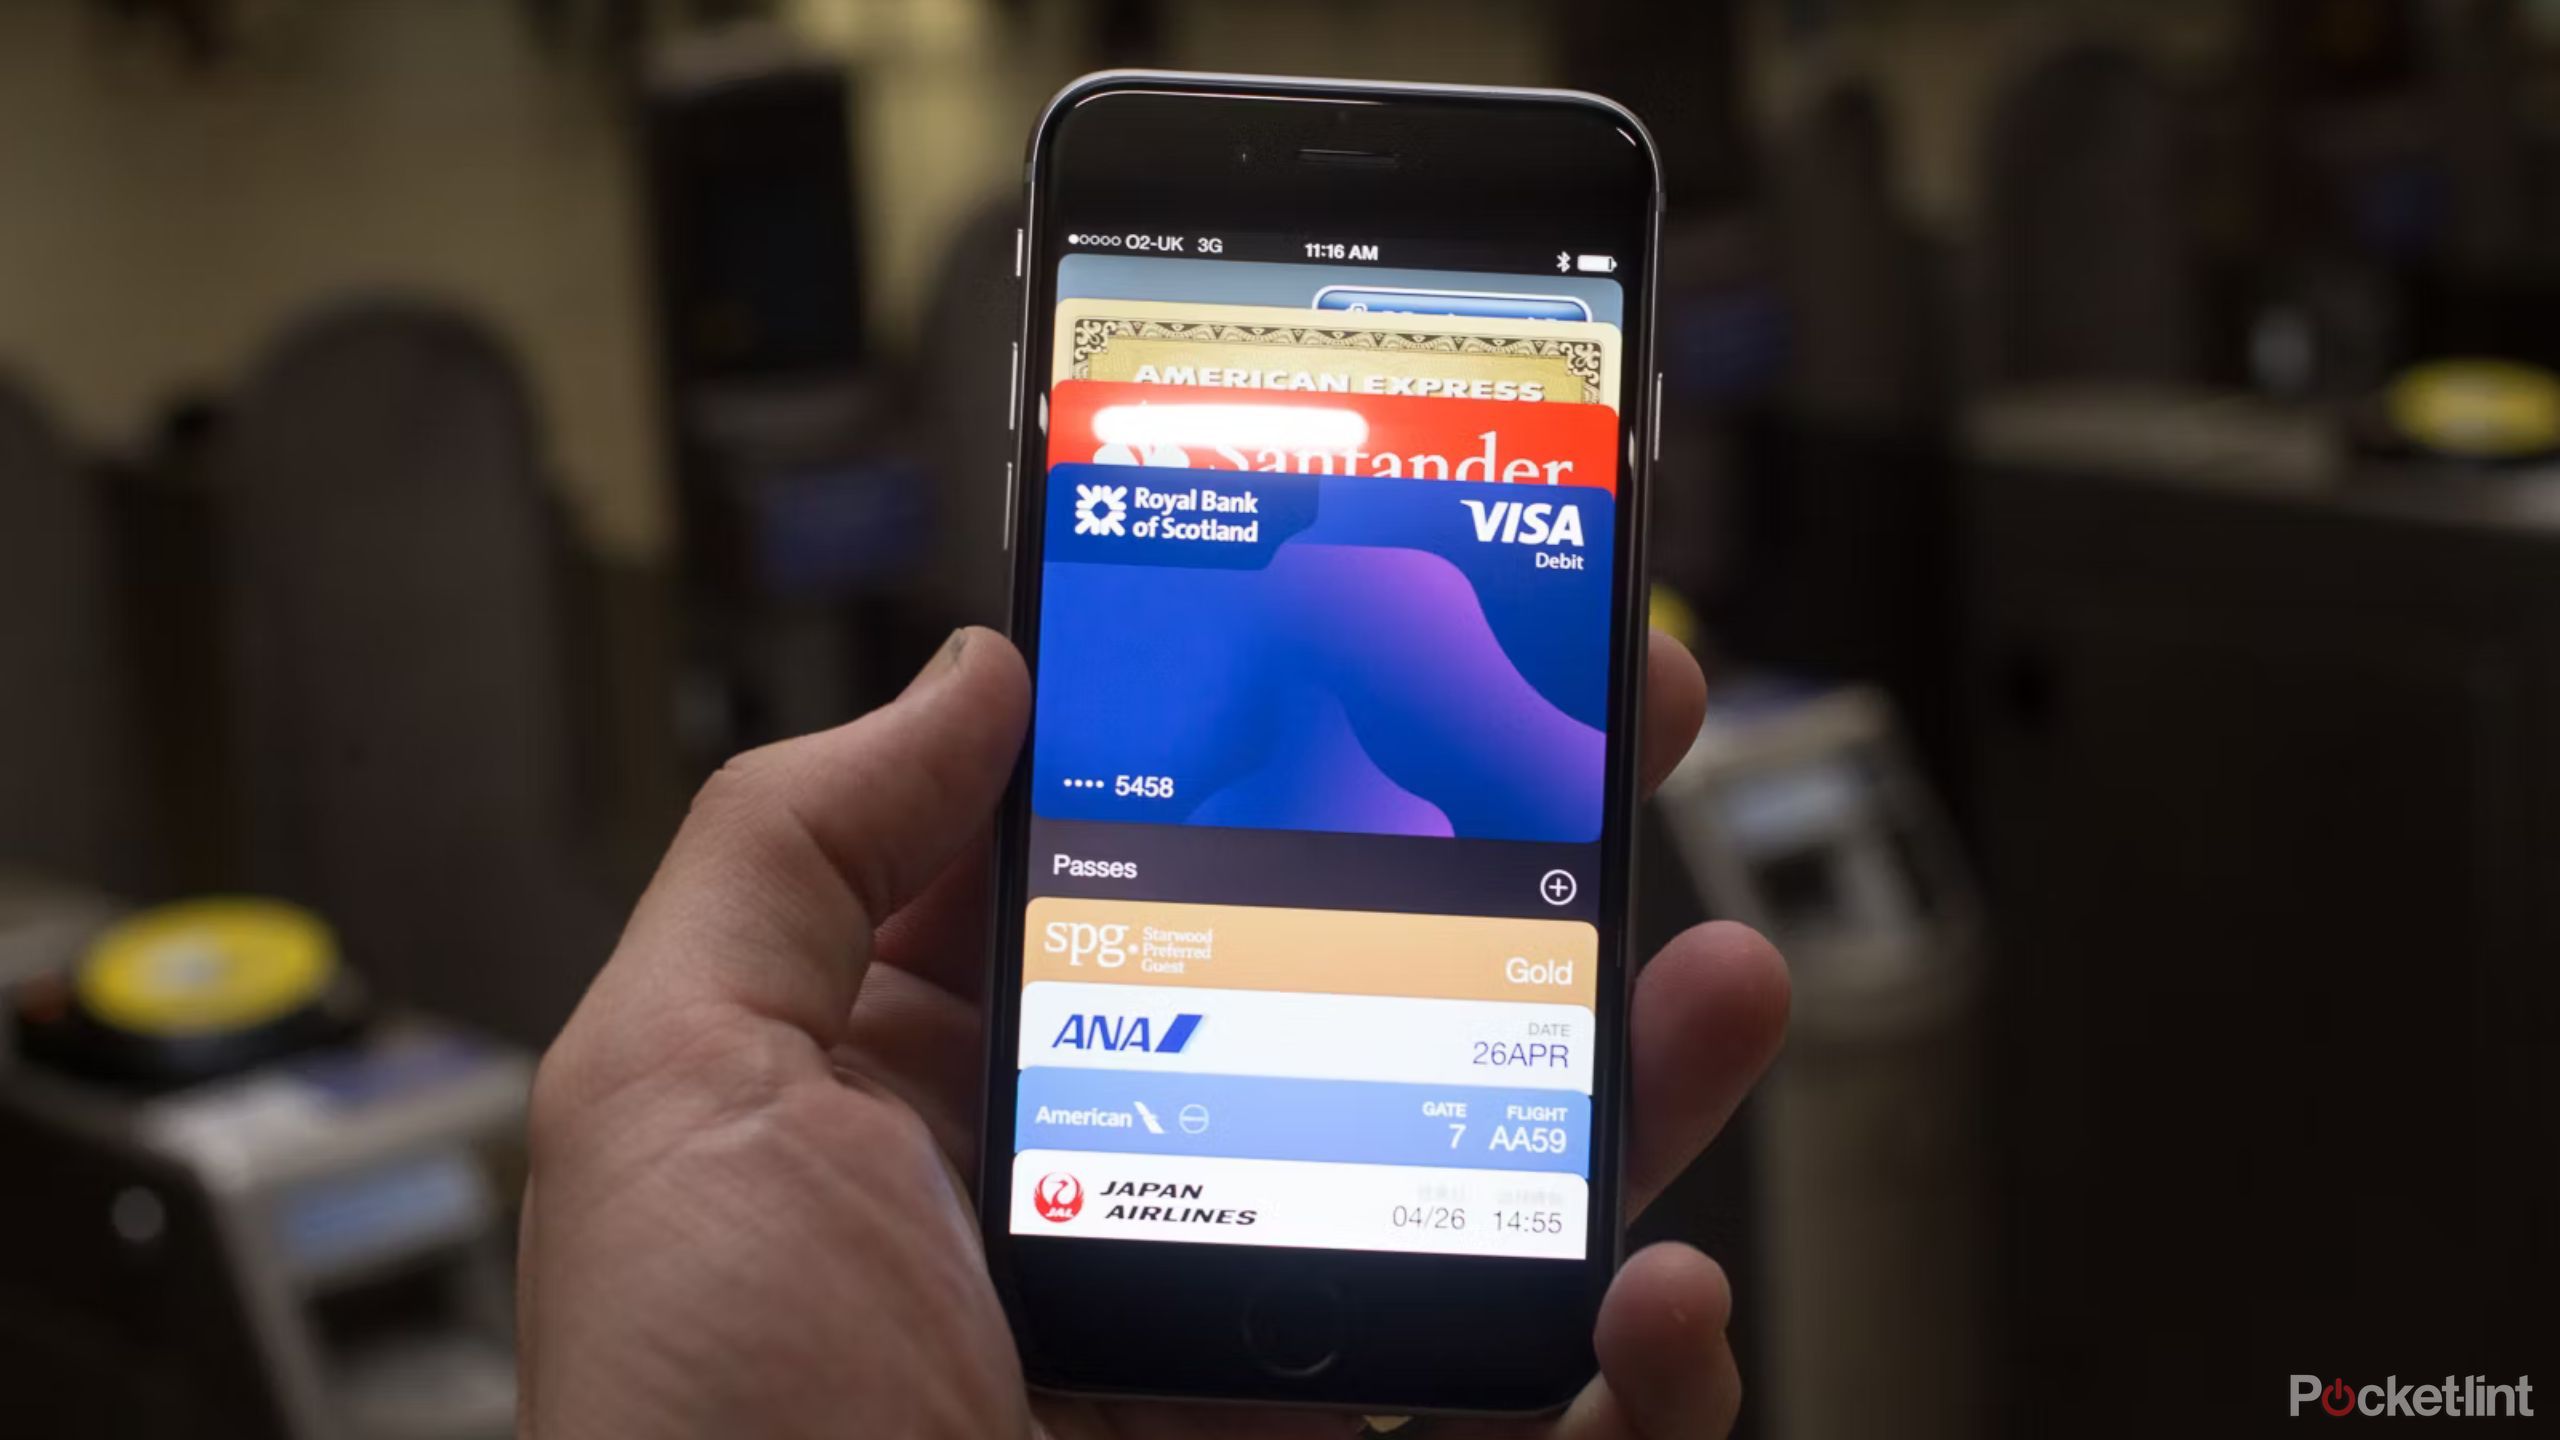
It’s increasingly de facto for airlines, rail lines, boat operators, and other businesses to offer digital passes you can add to the Wallet app, and you should take advantage of this whenever possible, even if you’ve picked up paper tickets. Mostly it’s just a matter of convenience — since you’ve often got your iPhone in hand anyway, you might as well use it to breeze through check-ins. More importantly however it’s easier for paper tickets to get lost or destroyed, and Wallet can provide digital backups. Search for Add to Apple Wallet buttons in your travel apps and websites, or else the email copies of tickets. If you tap one of those buttons on an iPhone, a pass should be added to Wallet automatically. Sometimes multiple passes will be added at once — say if you bought tickets for your family as well, and/or you’ve booked a round trip.
The big catch is that the usefulness of Wallet depends on where you’re traveling to and from. If you’re traveling within the US and Canada, you might never need a paper ticket for anything, including events like movies and concerts. In other regions, you might be lucky to download a single Wallet pass. I do recommend taking paper tickets whenever they’re offered, since you can treat them as a backup for your digital ones.
7 Flight tracking
Stay updated on time and gate changes
There are actually several ways you can track flights on an iPhone, the most obvious being directly through an airline app. As long as you’re connected to the internet, that app should have the absolute latest departure and arrival data, in turn syncing with any Wallet passes you have. I often jump straight to Wallet to check for gate and seat info.
Sometimes, of course, you’re tracking someone else’s flight to figure out when to pick them up. You can still use airline apps for this, but another option is to have the person send their flight number (e.g. AC1707) via SMS or iMessage. In the Messages app, you should be able to tap on this number if it’s underlined, glimpsing a quick preview of their flightpath with the option of more info.
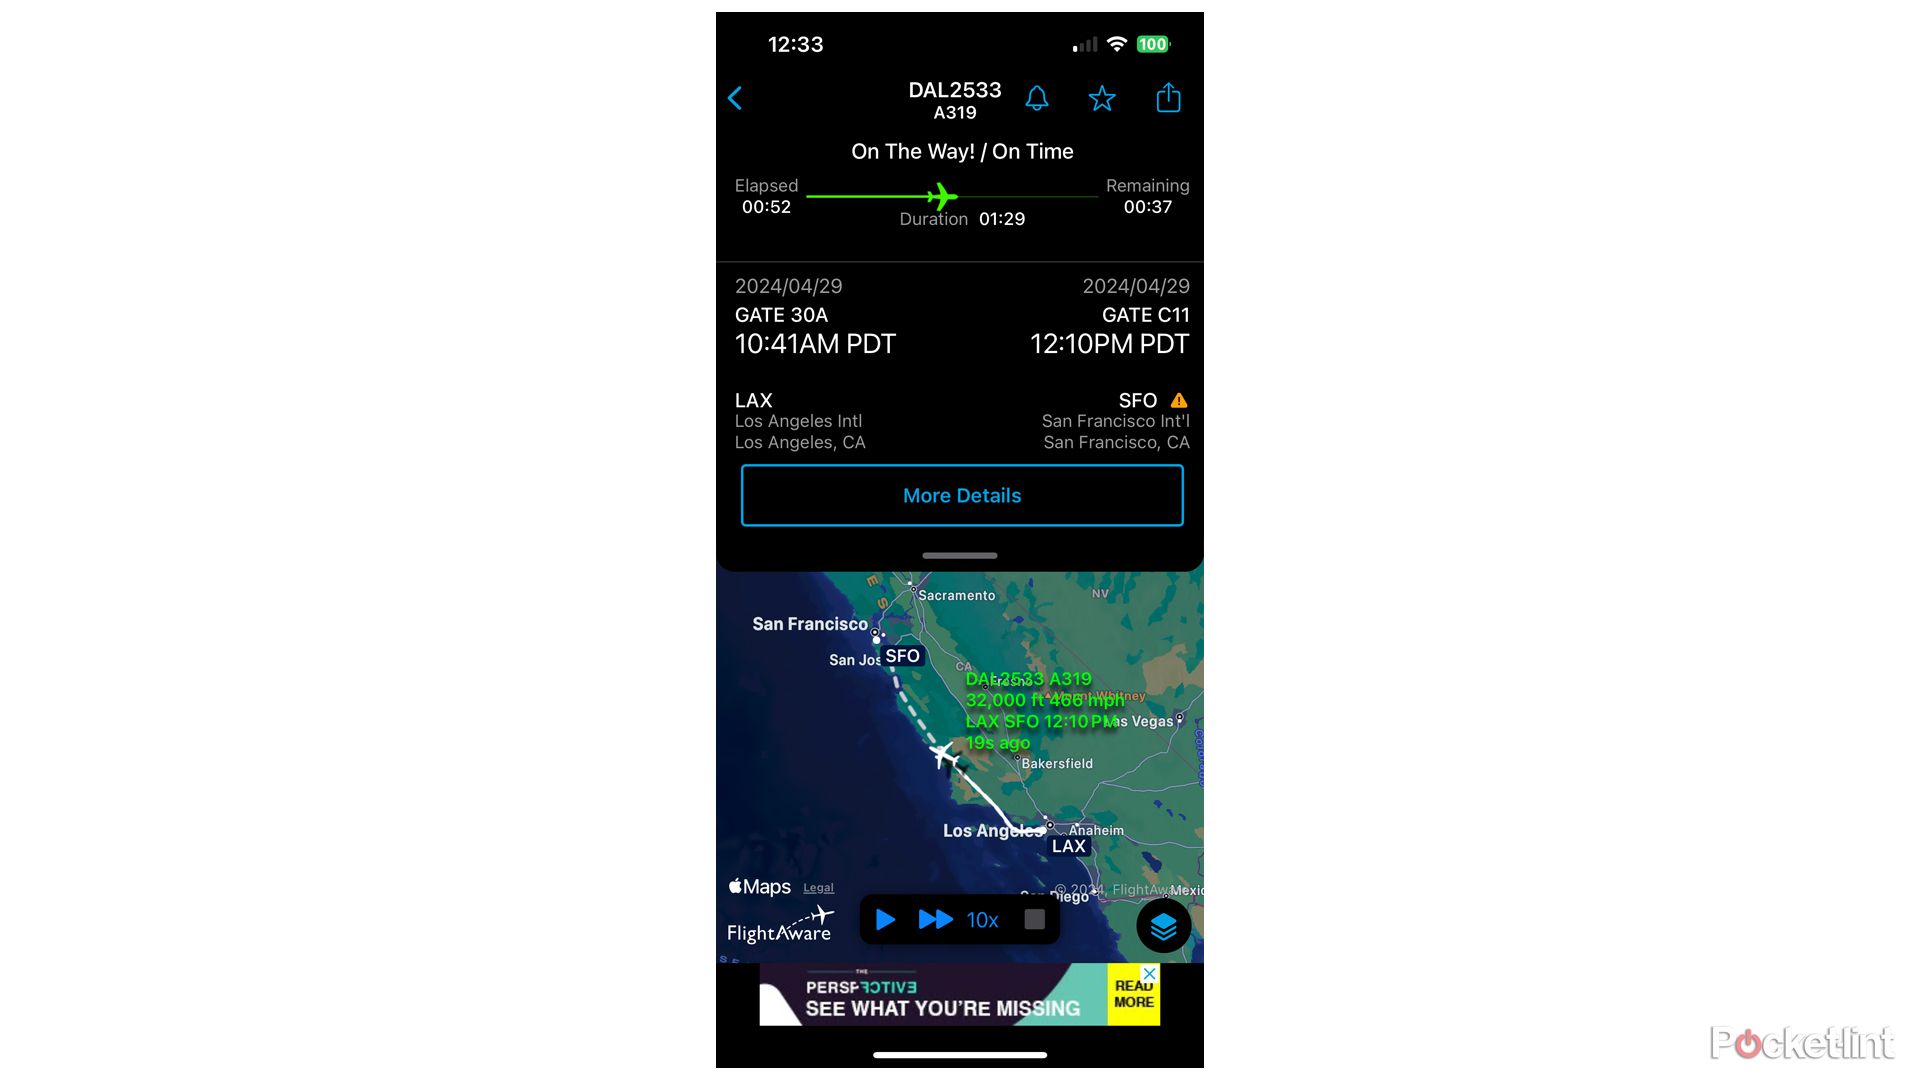
There are also third-party tracking apps that cover multiple airlines and offer additional features. The one I use is FlightAware (pictured above), which enables customized alerts, weather checks, and even the option to see which jets are currently overhead. It’s free as well — you only have to pay to remove banner ads or upgrade to an “Aviator” version suitable for flying piston planes.
8 Dual SIM
Switch cell coverage at will
All recent iPhone models support two SIMs simultaneously. In most countries, this translates to an eSIM and a nano-SIM slot — US buyers get twin eSIMs instead. Either way, though, this should allow you to buy a SIM for many travel destinations without removing the one for your home country. Some carriers, such as Airalo, specialize in selling short-term eSIMs for international travel. Local nano-SIMs are even easier to find through sources like Amazon, but factor in shipping times so you’re not caught off-guard.
Once you’ve followed activation instructions, the only trick is making sure the right SIM is active when you need it. If you go to Settings -> Cellular, you can select a phone line to enable or disable it. Disable your home country’s SIM before you cross any borders — international data roaming fees can often be extortionate, possibly costing you as much in one day as the whole period covered by a travel SIM.
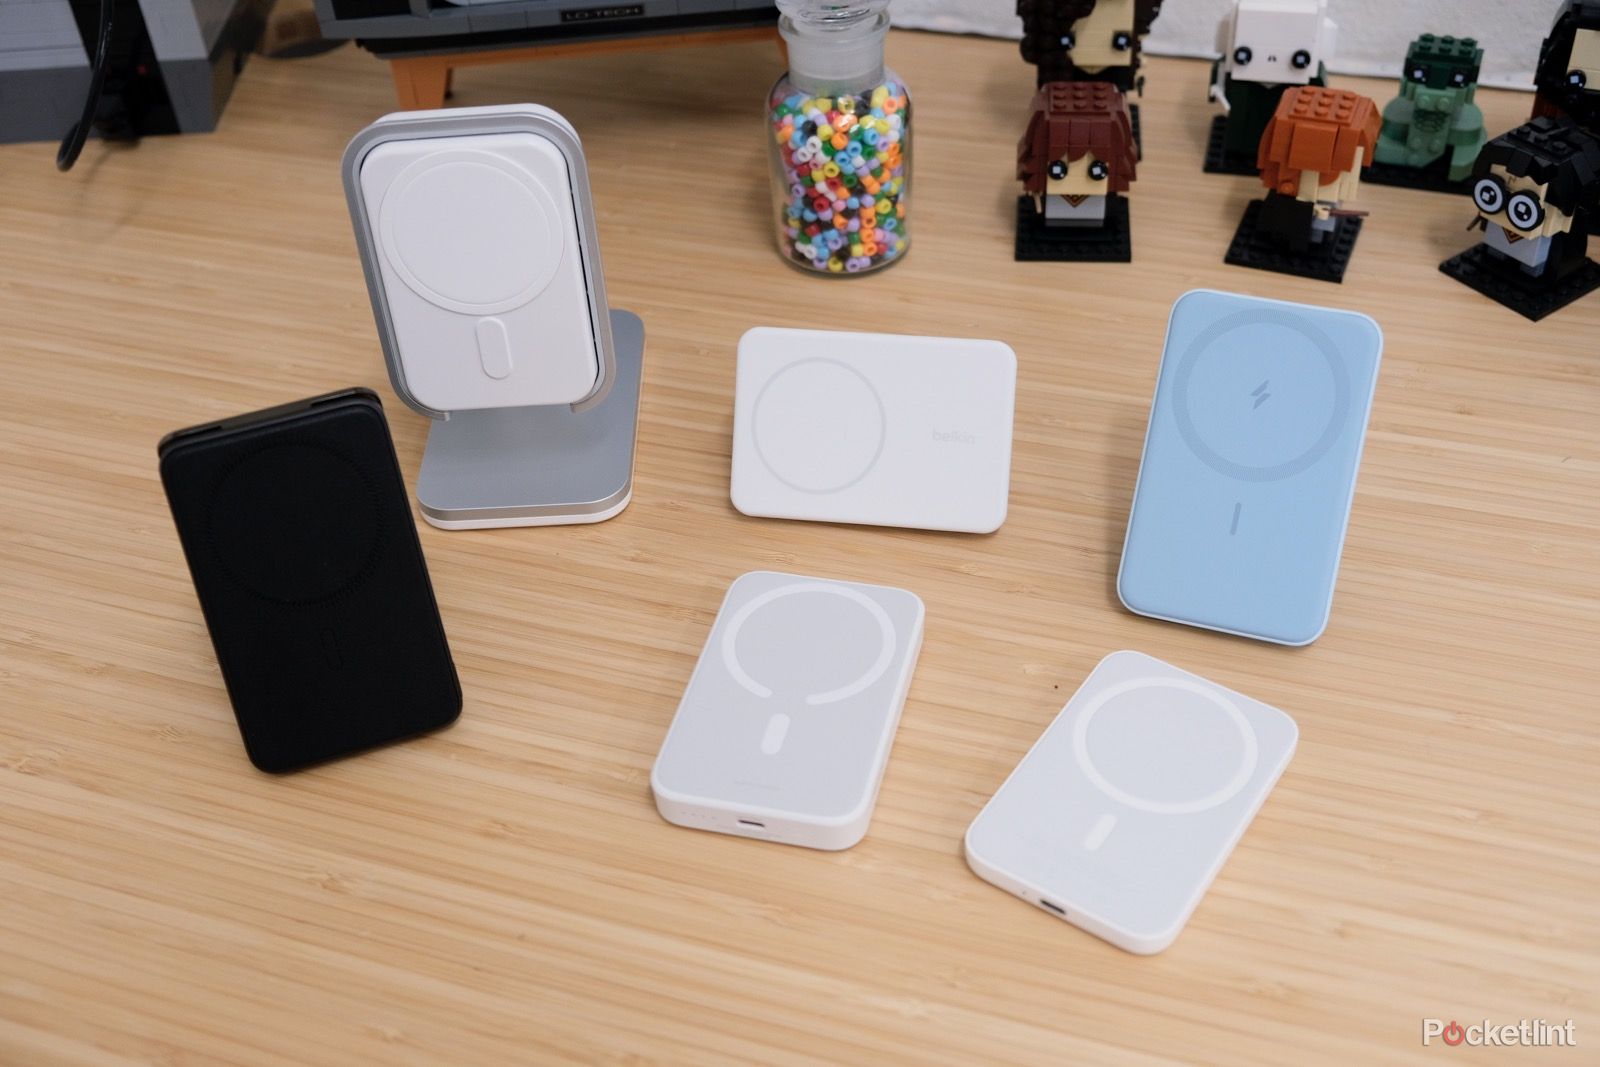
Best MagSafe battery packs: Expert tested and reviewed
Top-up your iPhone charge with these portable and multifunctional MagSafe battery packs from leading brands like Apple and Anker.
FAQ
Q: How long do travel SIMs last?
The standard window seems to be seven days. If you need anything longer, you’ll probably be paying extra for a 30-day SIM.
Q: Do I need a battery pack for traveling with an iPhone or iPad?
You should buy one for your iPhone, at least. While an iPhone often lasts a full day on a charge, usage can sometimes be very intense during travel, even with Low Power Mode active. During some trips, you may also find yourself unable to plug into a wall outlet for many hours, and the last thing anyone wants is to be stranded with a dead phone.
An add-on battery is less essential for an iPad, since you’re probably not using your tablet for phone calls and navigation, and its internal battery should survive over a day unless you spend several hours playing games or watching video. You’ll probably make it to an outlet in time unless you’re planning an extended camping trip.

